Kirigami: Cut and Fold Paper Into Pop-Up Art

Kirigami: Cut and Fold Paper Into Pop-Up Art

DariaCurated by Daria
Jump to the 10 picks

Flat Paper Has Been Hiding Something

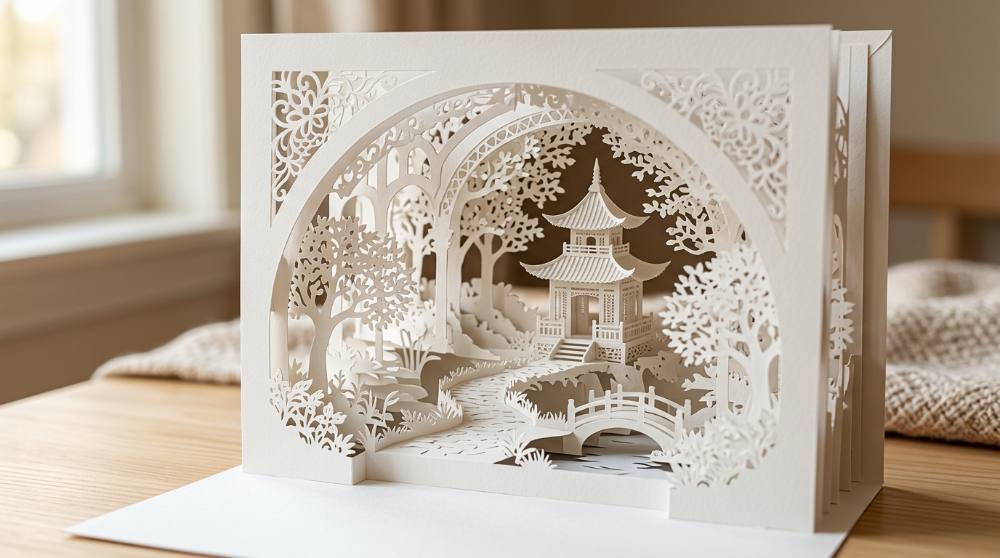
Take a folded sheet, cut into the fold, open it out — and a shape lifts off the page that wasn't there a second ago. That's kirigami: origami with the blade allowed in. It shows up as snowflakes taped to classroom windows, as lace-fine panels under glass, and as the paper buildings that Masahiro Chatani, an architecture professor in Tokyo, began cutting in the early 1980s before filling more than fifty books with them. The word itself is younger than the craft: an American author, Florence Temko, coined it in English in 1962, from kiri (cut) and kami (paper). And the geometry escaped the craft table, because engineers at MIT borrowed kirigami cut patterns to make shoe soles whose tiny steel spikes pop out as the foot bends, gripping ice better than a flat sole does.

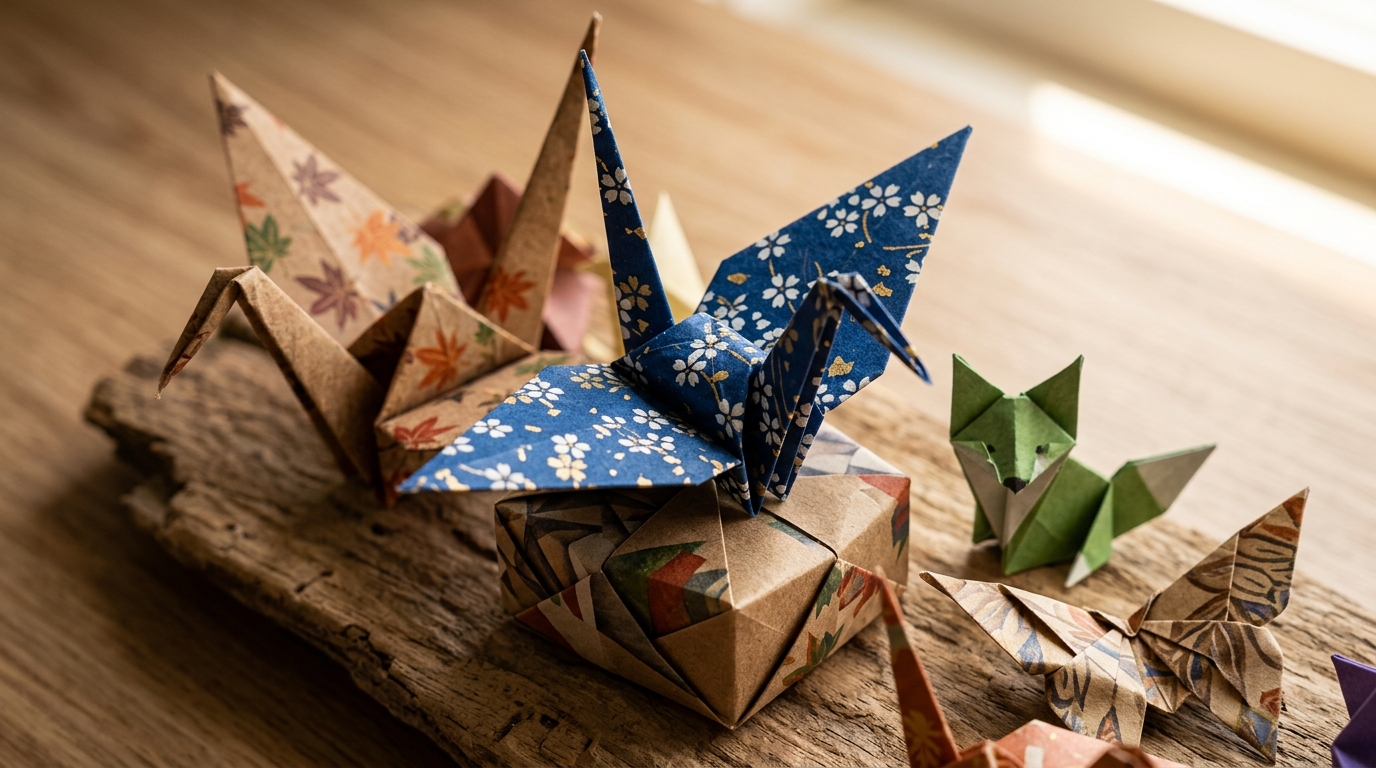
Folding on its own can only do so much. The sheet has to stay whole, so every form is built by doubling paper back on itself, which is the whole discipline of beginner origami folding. Add a cut and the rules change: a window opens, a tab swings forward, a whole facade stands up at ninety degrees off the backing card. Most people start with a tree, a heart or a folded snowflake, and are startled by how sculptural plain card suddenly looks. The hard part isn't the idea. It's cutting the line you actually meant to cut.

Buy as little as you can get away with. A knife that takes #11 blades, a self-healing mat, a steel rule and a stack of card will carry you through your first dozen models, and the templates themselves are scattered across the internet for free, so there's nothing to spend there either.

Nothing on this page costs more than lunch, which is deliberate — cut three cards, decide it isn't for you, and you're barely out of pocket.

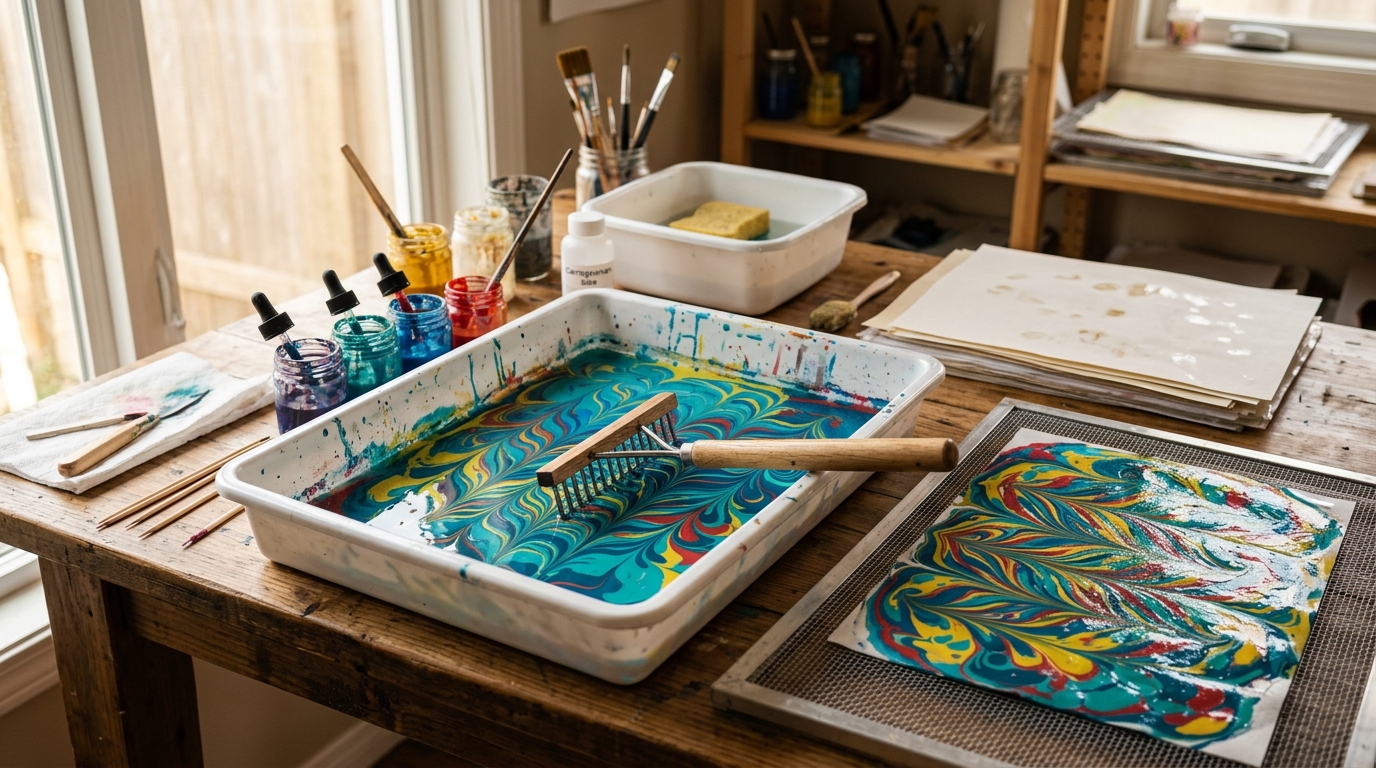
Kirigami takes well to coloured and patterned stock too; mounting a white cut-out on a sheet of hand-marbled paper is a five-minute upgrade that makes a plain design look deliberate. Start plain, though — white card and a strong desk lamp teach you more about shadow than colour ever does.

The Kit That Fits in One Drawer

All five of these live in a single drawer and together cost less than one good pair of craft-shop scissors. The thing beginners underestimate is the blade budget. A craft knife isn't a one-time purchase: the tip is the only part you use, it rounds off fast, and a rounded tip stops cutting and starts tearing. You feel it before you see it, as the blade begins dragging and snagging instead of gliding and thin cuts start to rip. Buy the spare blades at the same time as the knife.

Disclosure: This section may contain affiliate links to Amazon. We may earn a small commission from qualifying purchases at no extra cost to you.
precision craft knife for cutting fine detail in cardstock

Pick 01 of 10

precision craft knife for cutting fine detail in cardstock

A precision craft knife is a slim barrel that holds a small, replaceable pointed blade. It is the tool that makes kirigami possible, because scissors can only work in from an edge while a blade can start a cut anywhere you press it. Look for a barrel you can hold like a pen for long stretches, a chuck that grips the blade without wobble, and a cap, since a bare blade left on a desk is how most people cut themselves.

Why we picked this exact one: The X-Acto Black Gripster (X3627) is the standard #11-blade knife with a rubberised barrel instead of a bare metal one, which matters more than it sounds after an hour of cutting. Hand strain is a real complaint among people who cut paper daily, and a grip that doesn't force a tight pinch is cheap insurance against it. There's no retractable mechanism, so the cap is all that sits between the blade and your fingers.

See it on Amazon
replacement #11 blades for a precision craft knife

Pick 02 of 10

replacement #11 blades for a precision craft knife

The #11 blade is the small, straight-sided, sharply pointed blade that fits almost every hobby knife handle. These are consumables rather than accessories: the fine point is the only part touching the paper, and it rounds off long before the edge does. Packs that come in a dispenser let you push out a fresh blade and drop the spent one into a slot, which keeps loose razors out of your bin and away from your fingers.

Why we picked this exact one: The Excel Blades #11 15-pack arrives in a plastic dispenser, and the dispenser is the part worth paying for. Bulk tins of a hundred are cheaper per blade, but they leave you picking loose razors out of a container with your fingertips. Fifteen blades covers roughly three or four detailed projects, so plan on reordering rather than treating this as a lifetime supply.

See it on Amazon
self-healing cutting mat for blade work on a tabletop

Pick 03 of 10

self-healing cutting mat for blade work on a tabletop

A self-healing mat is a layered PVC board whose surface closes back over a cut instead of keeping the groove. It protects the table, but mostly it protects the blade, since cutting on glass or bare wood blunts a tip in minutes. Size matters more than beginners expect: a mat smaller than your paper means repositioning the sheet mid-project, and that is where slips happen.

Why we picked this exact one: The U.S. Art Supply 12x18 self-healing mat is a five-ply double-sided board, and it is one of the cheaper mats that still comes at a usable working size. It carries a half-inch grid plus 45 and 60 degree guides on both faces, green on one side and black on the other. That grid is printed rather than raised, so square your card against it but never run a blade along it freehand.

See it on Amazon
heavyweight white cardstock for pop-up structures

Pick 04 of 10

heavyweight white cardstock for pop-up structures

Cardstock for kirigami has to do two contradictory things: take a sharp crease without cracking, and hold its own weight once the model is standing. Cover weight around 65lb, or 176gsm, is the usual compromise for pop-ups. Bright white shows shadow best, and shadow is most of what makes a cut model read as three-dimensional.

Why we picked this exact one: Neenah's 96-bright card stock is 65lb cover, the weight most pop-up templates are drawn for. Two hundred and fifty sheets sounds excessive until you remember that the first few attempts at any design go in the bin. One honest caveat: for flat, lace-like cutting rather than pop-ups this is heavier than you want, and you'd be happier nearer 130gsm.

See it on Amazon
cork-backed steel ruler for guiding a blade and scoring folds

Pick 05 of 10

cork-backed steel ruler for guiding a blade and scoring folds

A metal straight edge does two jobs in kirigami: it guides the blade on straight cuts and it gives you a hard line to score folds against. Plastic and wooden rulers get shaved within a few projects, and once the edge is nicked the cuts follow the nicks. Cork or rubber backing lifts the rule a fraction off the paper so it neither slides nor smears.

Why we picked this exact one: The Pacific Arc 18-inch stainless rule has a cork back that stops the skating you get from bare metal on card. Eighteen inches deliberately overshoots a letter sheet, so you can anchor both ends off the page while you cut. Its markings run in 32nds and 64ths of an inch rather than millimetres, which is fine to cut against but awkward if your templates are metric.

See it on Amazon

With these on the table you can cut any beginner template you find, and most intermediate ones. Print the design onto ordinary copy paper, glue-stick one edge of it to your card, and cut through both sheets at once — that's the workflow nearly every papercutter uses, and it keeps pencil marks off the finished piece. If the card side of this turns out to interest you more than the sculpture side, most of the same kit carries straight over to stamped and die-cut Christmas cards.

What You'll Want Once the First One Works

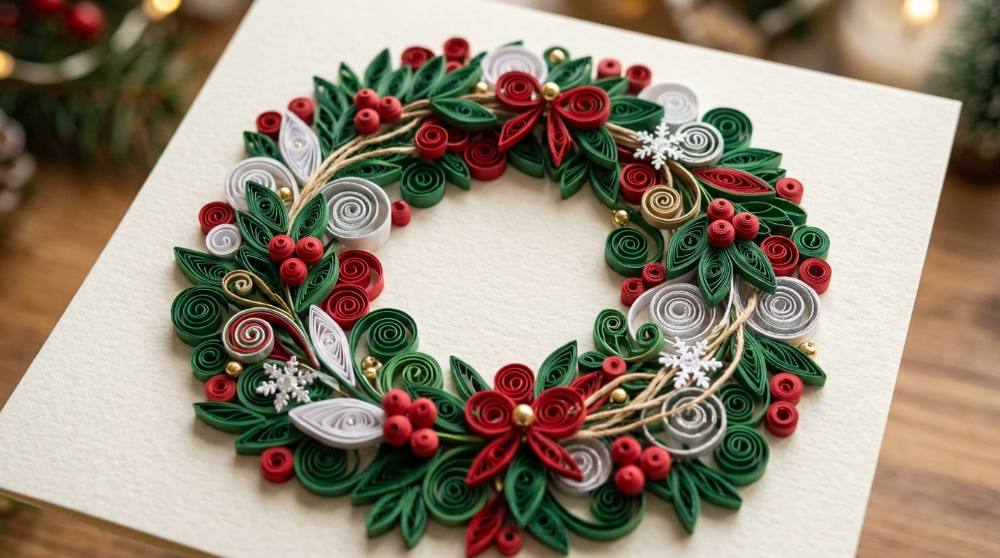
None of this is needed for your first model, and honestly I'd finish three or four before buying any of it. Each one solves a problem you won't believe exists until you hit it: creases that wander off the line, offcuts too small to pick up, a corner that looks square and isn't. Paper crafts leak into each other this way. The same tweezers and the same fine blade turn up again in rolled paper quilling, which is the other thing people do with a drawer full of card.

bone folders and scoring tools for crisp paper creases

Pick 06 of 10

bone folders and scoring tools for crisp paper creases

Scoring means pressing a channel into the card so it folds exactly where you want, instead of wherever the fibres decide to give. A set gives you different tip shapes: a broad edge for long folds, a point for short ones inside a design, a curved tail for working a crease flat afterwards. They are blunt by design, because anything sharp enough to cut is the wrong tool here.

Why we picked this exact one: This seven-piece Enjoy Myself set covers the four tip shapes you actually reach for, kept together on a book ring so they don't scatter across the desk. A ballpoint pen that has run out of ink does the same job for nothing, which is worth saying out loud; the set earns its place through the pointed and curved tips, which a pen barrel can't get into. The included push pin is also the easiest way to free a tiny offcut still hanging on by one fibre.

See it on Amazon
metal L-square for squaring cards and cutting true corners

Pick 07 of 10

metal L-square for squaring cards and cutting true corners

An L-square is two steel rules fixed at a right angle. In paper work it does the one thing a straight ruler cannot: guarantee that the second cut is genuinely perpendicular to the first. It doubles as a long straight edge when you are trimming a card down to size.

Why we picked this exact one: The Mr. Pen 8 x 12 inch carpenter square is a stamped steel L with imperial and metric scales on both arms, and it costs less than a sandwich. Being a builder's tool rather than a craft one, its edges are genuinely square and the steel is thick enough to cut against. It is also heavier and blunter-looking than a craft ruler, which is fine on a workbench and slightly ridiculous in a pencil case.

See it on Amazon
micro-tip craft scissors for freeing pieces and trimming curves

Pick 08 of 10

micro-tip craft scissors for freeing pieces and trimming curves

Detail scissors have short, narrow blades meeting at a fine point, so you can follow a curve while watching exactly where the tip is. They are the counterpart to the knife rather than a replacement: the knife starts cuts in the middle of a sheet, scissors finish the ones that run off an edge. Small, sharp and light in the hand is what you want, because heavier scissors crush the fibres at the fold.

Why we picked this exact one: The EK Tools Cutter Bee is a small micro-tip scissor that scrapbookers have leaned on for years, and its tips actually meet all the way to the point, which cheap detail scissors rarely manage. The loops are tight, so large hands will find them cramped. They are also strictly a paper tool; taking them to anything thicker will dull the edge quickly.

See it on Amazon
self-closing tweezers for handling tiny paper pieces

Pick 09 of 10

self-closing tweezers for handling tiny paper pieces

Reverse-action tweezers are sprung the opposite way to normal ones: they sit closed and open when you squeeze. That lets them grip a scrap of paper without you maintaining any pressure, which matters when you are holding a three-millimetre tab in place while a crease sets. Sets usually mix straight and curved tips so you can reach inside a partly folded model.

Why we picked this exact one: This Honoson six-piece set mixes straight and curved reverse-action tips for under ten dollars, which is about right for a tool you will certainly lose one of. Self-closing tweezers feel genuinely backwards for the first few minutes of use. The tips are stainless but not needle-fine, so anyone doing a lot of very small work ends up owning a surgical-grade pair as well.

See it on Amazon
chisel-tip replacement blades for clean stops and tight corners

Pick 10 of 10

chisel-tip replacement blades for clean stops and tight corners

A #17 blade is flat-ended rather than pointed, effectively a tiny chisel on the same handle as your usual blade. Instead of dragging a point through the card you set the flat edge on the line and press straight down. It uses the standard hobby-knife chuck, so this is a tip change rather than a second tool.

Why we picked this exact one: The Jetmore 100-pack of #17 chisel blades costs roughly what fifteen pointed ones do, because the chisel shape is a specialist tip that fewer people buy. A hundred is far more than one person will get through, so treat it as a lifetime supply rather than a bargain. Store the box out of reach of children; loose blades in a drawer are precisely the hazard that dispenser packs exist to avoid.

See it on Amazon

Buy these one at a time, as the frustration arrives. The scoring tools are what I'd get first; the rest is comfort. And if you start wanting the cut pieces to live inside something rather than on a shelf, making your own books already shares most of this kit — the mat, the steel rule and the bone folder especially.

The Blade Will Win Any Argument

A fresh #11 tip is sharper than most kitchen knives and it's mounted on a pencil-sized handle, which is a combination that makes people casual. Two habits cover most of the risk. Cut away from yourself with your free hand flat behind the rule rather than alongside the blade. And never grab at a knife you've knocked off the desk; let it fall. That second one is counterintuitive enough to be worth rehearsing in your head before it happens.

Change blades more often than feels necessary. A dull tip needs more force, more force means less control, and the cuts that need pushing are the ones that slip. Broken tips are the other hazard worth knowing about: when a point snaps it usually lands in the mat and sits there waiting for the next blade, and a light sweep of a fingertip across the surface before each session will find it. Used blades go into a sealed tin or the dispenser's own slot, never loose in the bin. This craft also has a real age floor — the folding and the snowflake cutting suit children happily with safety scissors, but the craft knife is an adult tool, full stop.

Why Your Second Card Is Usually Worse Than Your First

Why do my cut lines look ragged even with a brand-new blade?

Almost always because the cut was made in two or three passes instead of one. Beginners go gently on the first pass intending to deepen it, but the blade never lands in exactly the same groove twice, and the edge ends up fibrous. The fix is counterintuitive: one confident pass with enough pressure to go clean through, and a lighter grip than you think, because gripping hard makes the blade wander. Practise on scrap until a single pass stops feeling risky.

My pop-up won't close flat. What went wrong?

Nine times out of ten the fold lines aren't parallel to the spine, or the design isn't symmetrical about it. A ninety-degree pop-up only collapses if every mountain and valley lines up relative to that central fold, and angled folds that look fine when the card is open will fight each other when you close it. Before cutting a design with slanted folds, fold a plain paper mock-up. It costs one sheet and tells you in thirty seconds what an hour of cutting would.

Should I fold first or cut first?

Score everything, cut everything, then fold, in that order and without mixing them. Once part of a model is folded up the sheet no longer lies flat on the mat, and a blade pressed on an unsupported curve of card tears rather than cuts. Scoring first matters too: a scoring tool run across a sheet that already has holes in it crushes the paper around them. Flat, scored, cut, then folded.

How do I cut small circles and tight curves without them going polygonal?

Stop turning the knife and start turning the paper. Hold the blade at a constant angle and rotate the sheet into it with your free hand, so the cut becomes one continuous arc instead of a series of short straight chords. Below about a centimetre, don't cut at all. A hollow punch tapped once with a small hammer gives a cleaner hole than any blade will, and a small set of them is cheap.

Can I just use a cutting machine instead?

You can, and plenty of people eventually do for repeat work, but it changes what you're learning. A machine cuts the lines in a file; it doesn't score, fold or coax the model into shape, and those are the steps where a kirigami piece actually succeeds or fails. People who use machines well mostly learned by hand first and still prototype by hand. Start with a blade and buy the machine later, if you find yourself cutting the same design for the tenth time.

Cut a snowflake tonight out of printer paper. It'll be wonky, and it'll still teach you more about blade angle than this whole page did.

Love what you see here? Save individual picks with on any item, or copy everything to a list of your own in one click — great for coming back to later, or dropping as a not-so-subtle hint.

Disclosure: This section may contain affiliate links to Amazon. We may earn a small commission from qualifying purchases at no extra cost to you.