Hand papermaking means soaking old paper until it falls apart, blending it into a grey soup, and lifting that soup out of a tub on a mesh screen. What stays on the screen is a sheet that didn't exist a minute ago. People do it at kitchen sinks, in school art rooms, and in the handful of small mills that have worked this way since before the paper machine was patented in 1799. Here's the bit nobody guesses: that soft feathery edge on expensive books is called a deckle edge, and it began life as a flaw, caused by pulp seeping under the frame. Publishers started charging extra for it. Machines fake it now.
What surprises most beginners is how little of this is about skill and how much is about water. You're not drawing or carving. You're managing a tub of very dilute pulp, and almost every bad sheet traces back to the same two things: too much pulp in the water, or a shake that carried on after the sheet had already drained. Get those right and a first evening produces real, usable paper, thick and a bit wonky at the corners and unmistakably yours.
The philosophy here is to keep the shopping list embarrassingly short. A frame with mesh on it, something to blend with, a tub and a few absorbent cloths will make paper tonight. Everything else is curiosity rather than equipment.
A few real moments and results from this hobby — made with tools no fancier than the ones below.
Three sheets, three pressed flowersEvery edge on these is a deckle edge, left exactly as the frame made it.
Steam rising off the vatThe mould goes in at an angle and comes out level, and the sheet forms in the seconds between.
Wet pulp smells faintly of damp cardboard and feels like cold porridge, which is not a selling point but is the honest truth of the first ten minutes. The photographs below show where that ends up. Look at the edges - nothing there was cut or trimmed.
The Four Jobs Your Kit Has to Cover
There's a tidy logic to this list: pulp has to be made, held, lifted, and then let go of. Four jobs, and missing any one of them stops you dead. The one people try to skip is the couching surface, usually by reaching for a tea towel. It sort of works. Then the sheet tears as you peel it away and you understand why papermakers are fussy about what wet paper lands on.
Disclosure: This section may contain affiliate links to Amazon. We may earn a small commission from qualifying purchases at no extra cost to you.
01Pick 01 of 12
Wooden Paper Mould and Deckle Set
A mould and deckle is a pair of matched wooden frames. The mould carries a fine mesh that catches the fibres, and the deckle sits on top to fence the pulp in and give the sheet its edges. Look for a taut, evenly tensioned mesh and frames that lie flush against one another, because any gap between them lets pulp creep underneath.
Why we picked this exact one: The Caydo Paper Making Frame Kit comes in three sizes, which matters more than it sounds: starting on the smallest frame gets you a usable sheet several attempts sooner than wrestling a big one. It holds a 4.4-star average across several hundred ratings, and the mesh is stapled taut rather than glued in. The frames are thin pine, so they will warp if you leave them sitting in the tub overnight.
A standard countertop blender is what turns soaked scrap paper into pulp at home. It chops the fibres rather than fraying them the way a proper beater would, which is part of why recycled handmade paper comes out softer and weaker than the paper that went in. A glass jar helps, because you can watch the last recognisable flecks break down.
Why we picked this exact one: The BLACK+DECKER BL2010BG is the cheap, heavy, unglamorous blender papermakers tend to end up with anyway, and at well over sixteen thousand ratings it is a known quantity. The glass jar is the real argument: you can see the pulp and stop the moment the flecks disappear. It will not touch cloth rags or tough plant stems, so a handful of soaked paper at a time is the working limit.
These 2 do the same job. You only need one of them, so pick the one that suits you better.
03Pick 03 of 12Option A
Absorbent Couching Sheets for Papermaking
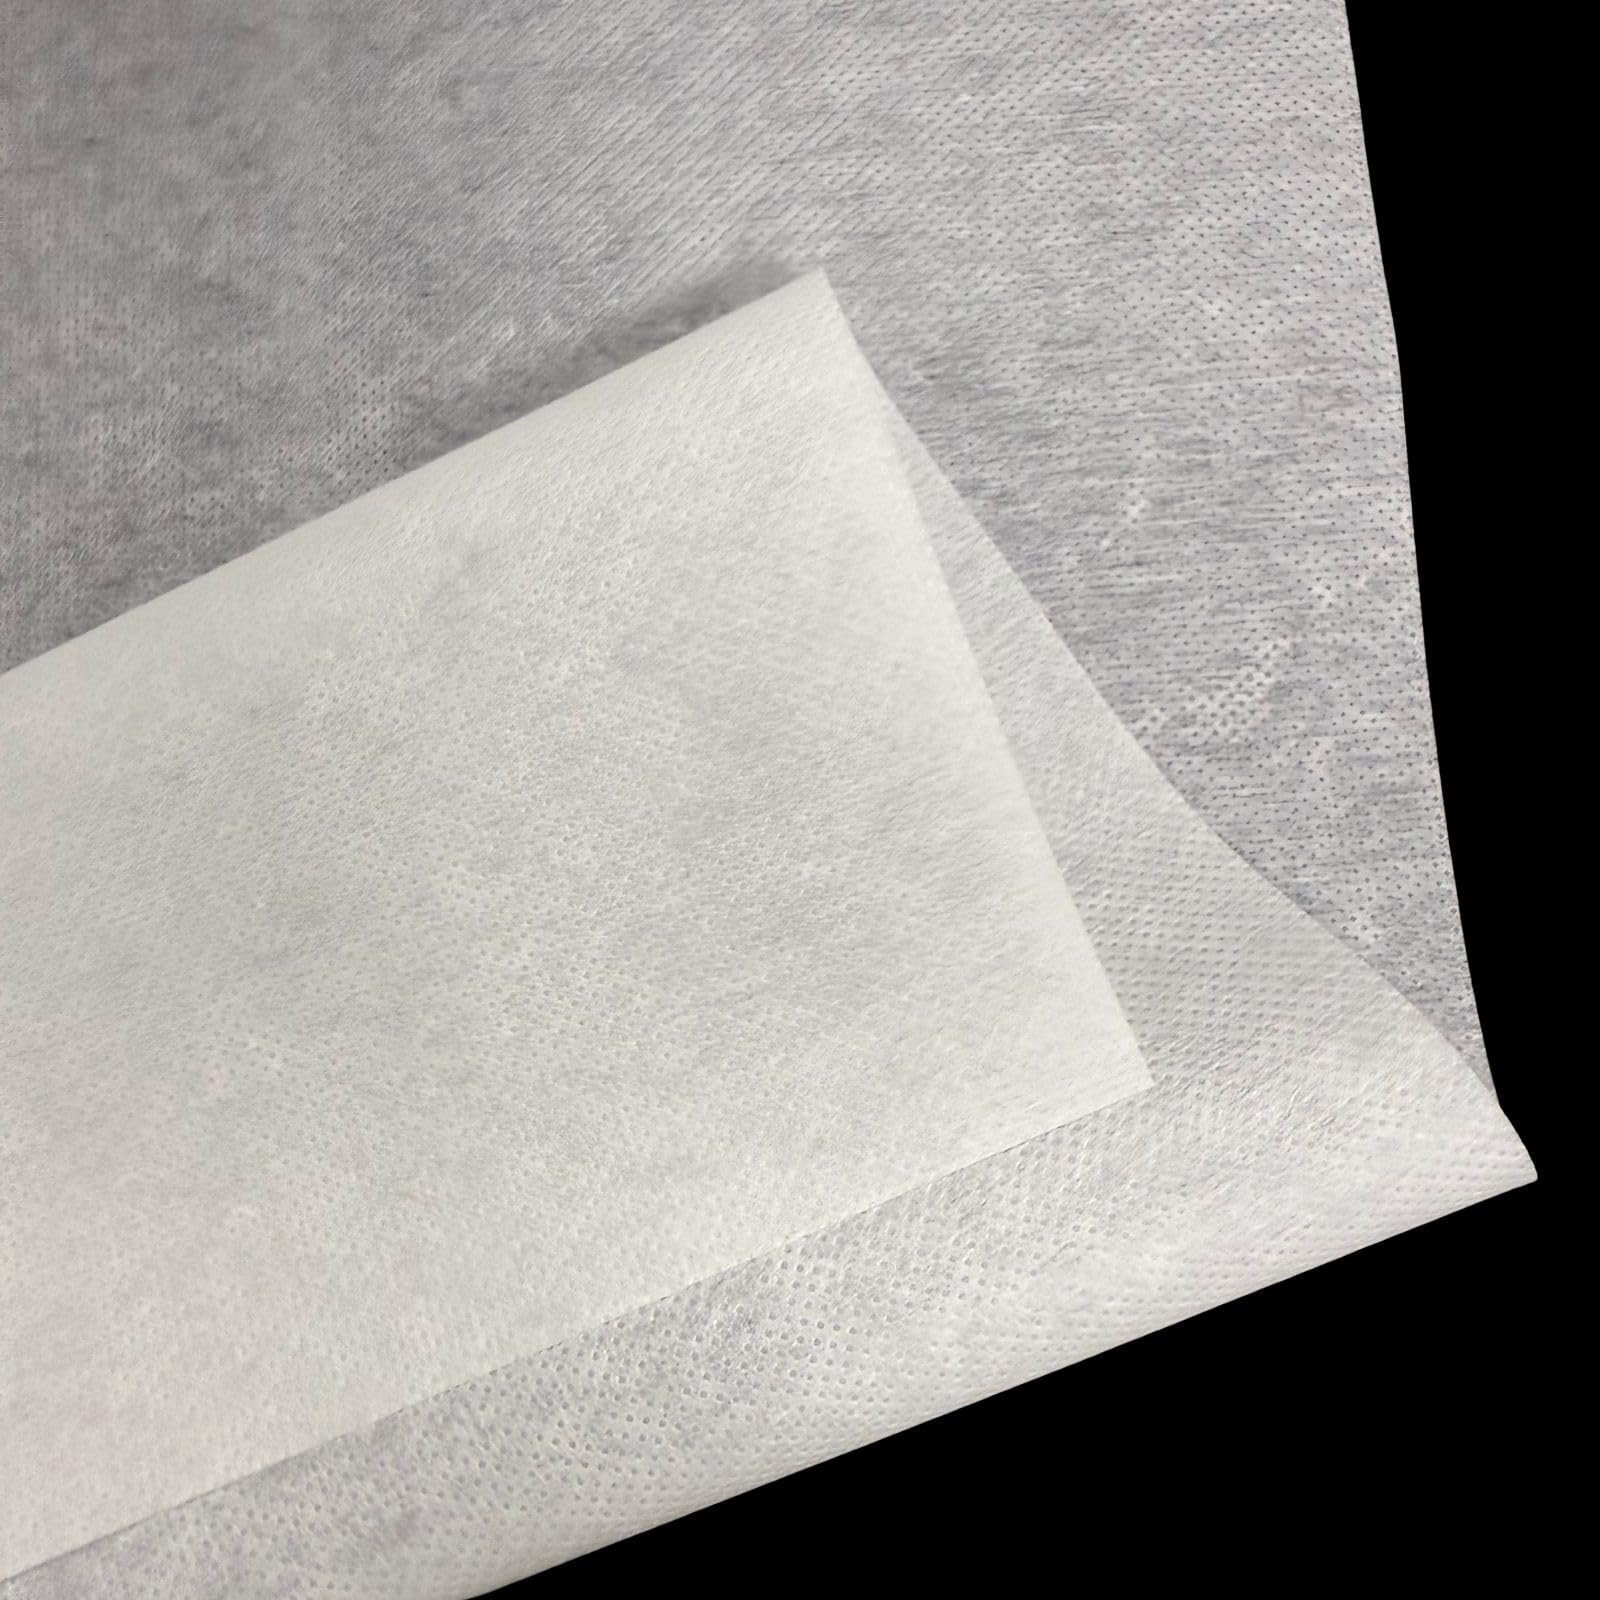
Couching sheets are the absorbent layer a freshly formed sheet is rolled onto when it comes off the mesh. They need to hold water and give slightly, so the wet paper releases in one piece instead of tearing. Non-woven sheets sit at the smooth end of the range, which shows up as a flatter, less fibrous surface on the finished paper.
Why we picked this exact one: The Paperry couch sheets are the purpose-made option, sold fifty to a pack in two sizes, so there is room to build up a stack of wet sheets in one session. They average 4.7 stars, though only across a few dozen ratings, because papermaking supplies are a small market and nothing here carries thousands. They soften with use and eventually need replacing, which is the trade for how little they interfere with the paper's surface.
Pros
Made for papermaking, so they leave almost no texture behind
Fifty sheets covers a whole session without pausing to rinse anything
Two sizes included, so small and large moulds are both handled
Cons
A consumable - they soften and get replaced
Costs more than twice as much as the fabric option
Non-fusible interfacing is a sewing material that papermakers borrow as a couching cloth. It is thin, washable and dries quickly, and sheets couched onto it can be peeled off wet or left stuck to it to dry flat. Buy the sew-in kind: anything sold as fusible has glue on one face and will ruin both the cloth and the sheet.
Why we picked this exact one: The YLM1991 sew-in non-fusible interfacing gives you two yards of lightweight non-woven cloth for under ten dollars, enough to cut a dozen couching cloths with some left over. It sits at 4.5 stars across fifty-odd ratings, and the lightweight grade is thin enough that a stack of wet sheets presses evenly. It holds less water than purpose-made couch sheets, which is fine for a few sheets and slower once you are working through a full tub.
Pros
Washable and reusable for years
Dries fast, so one cloth comes back round within a session
Sheets can be left on it to dry flat and peeled off later
Cons
Thinner than purpose-made couch sheets, so it holds less water per sheet
Arrives as a roll you have to cut to size yourself
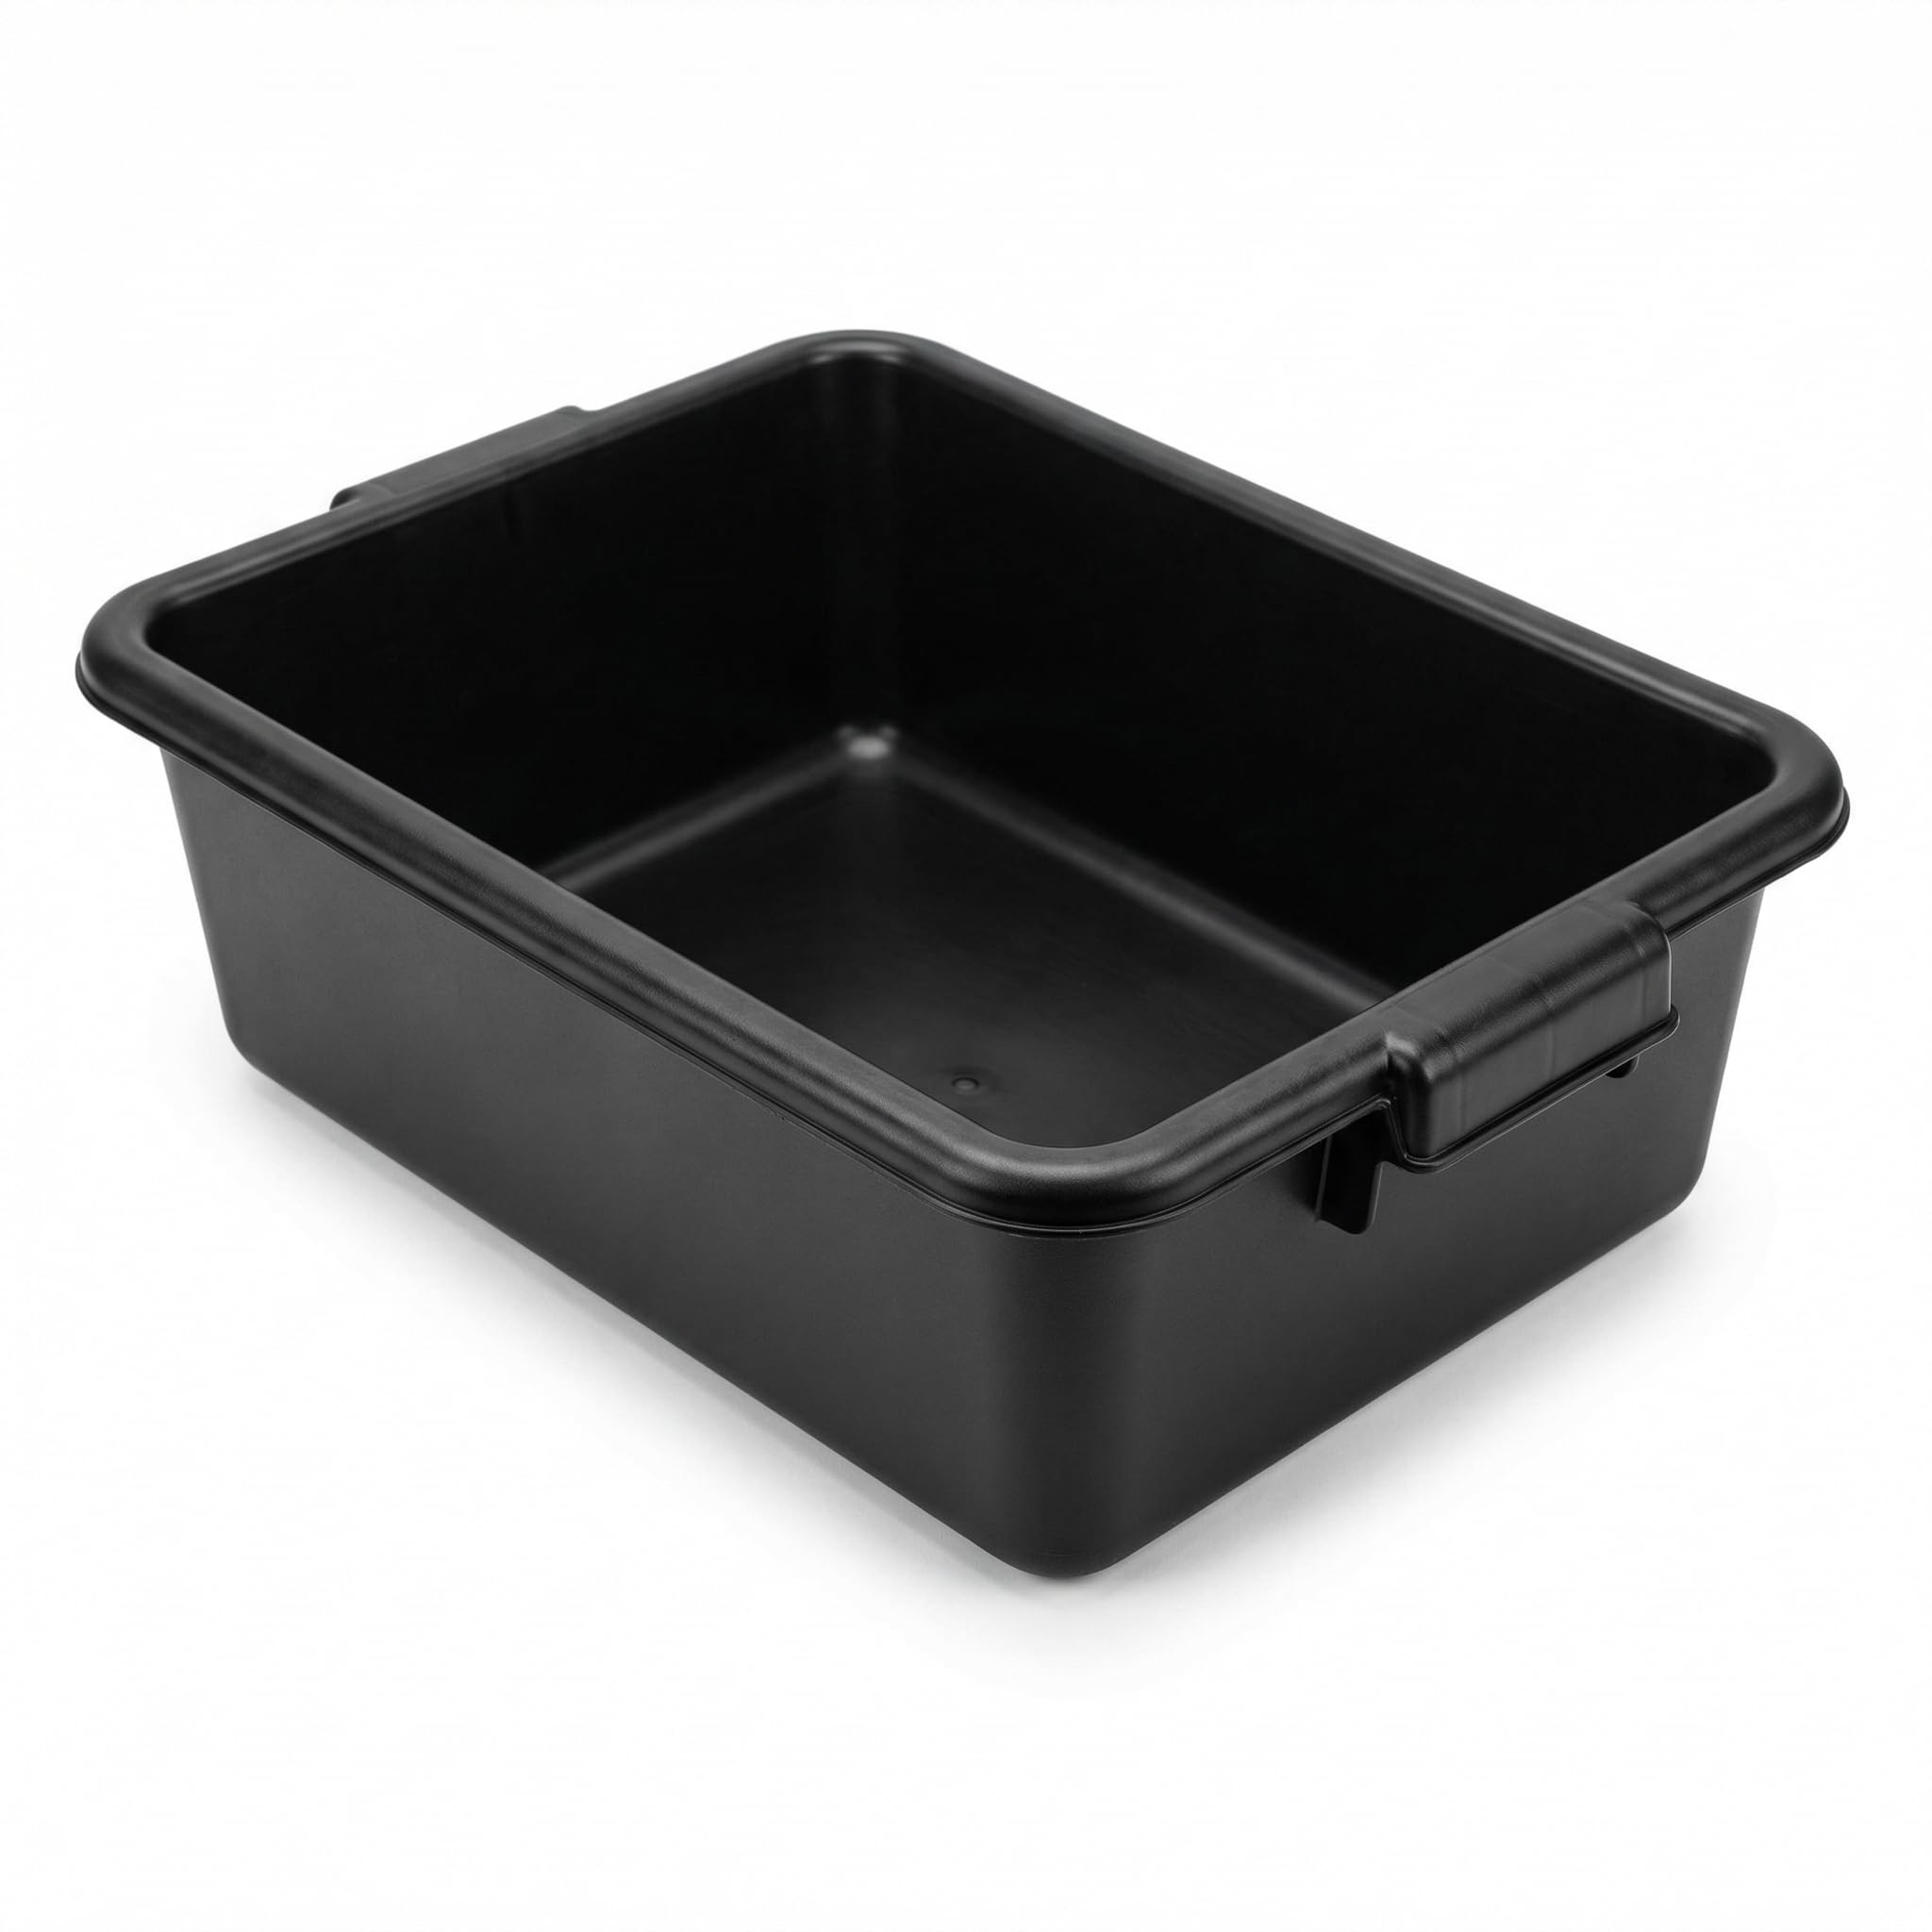
The vat is simply a tub big enough to move the mould around inside. The working rule is about three inches of clearance on every side of the frame and at least five or six inches of depth, so the mould can be dipped to the bottom and lifted out level. Restaurant bus tubs and builders' mixing trays are what most people end up using, because they are wide, shallow and cheap.
Why we picked this exact one: The Carlisle Comfort Curve bus box measures 15 by 20 by 7 inches, which lands squarely on the clearance and depth papermaking guides ask for. At 4.8 stars it was the best-rated tub I compared, and it is sold singly rather than in the four-packs restaurant suppliers tend to push. It is food-service kit rather than craft kit, so it looks like exactly what it is on a kitchen table.
With those four jobs covered you can make paper all afternoon, and the limiting factor becomes drying space rather than anything you bought. Expect the first three or four sheets to come out thick and uneven while you learn how much pulp the water actually wants. Keep them anyway - they're the ones that look best torn up later for building pictures out of paper instead of paint.
The Difference Between Paper and Nice Paper
Everything so far makes paper. This section is about making paper you'd actually write on, or hand to somebody. Most of it answers the same complaint: a first batch comes out lumpy, wavy and thirsty, and ink spreads on it the way it would on a paper towel. If all you want is textured scraps to glue into a journal stuffed with ephemera, you can honestly stop after the essentials. I'd buy the rest in the order they're listed rather than all at once.
06Pick 06 of 12
Wooden Bookbinding Screw Press
Pressing is what turns a fragile wet mat of fibres into something you can handle. The usual home method is to stack the sheets between felts, lay a board on top and stand on it; a screw press does the same job evenly and without the acrobatics. More pressure also means the sheet picks up more of the texture of whatever it was couched onto.
Why we picked this exact one: The FUXAFU wooden book press has a 14.7 by 11.4-inch platen, which swallows an A4 sheet with room for felts on both sides. It is a screw press rather than a clamp, so pressure goes on gradually and you can feel the water stop coming. At 4.2 stars it is the lowest-rated pick on this page: it is a light craft press, not a cast-iron nipping press, and it will not out-muscle standing on a board - what it gives you is even, repeatable pressure instead.
Blotters are the interleaving layer in exchange drying: pressed sheets go between them, the whole stack sits under a weight, and the damp blotters get swapped for dry ones each day. Done that way the paper dries flat instead of curling. Depending on humidity, fibre and thickness, a stack takes anywhere from a day to a week.
Why we picked this exact one: The Ecoofor blotting paper comes as twenty A4 sheets, enough to interleave a stack of around ten pressed sheets. It holds a 4.8-star average, the highest of anything on this page, and the sheets are thick enough to dry out and reuse rather than bin. They are A4, so a larger mould needs two laid side by side.
Unsized paper drinks ink the way a paper towel does, which is why a pen line on a first sheet spreads into a fuzzy caterpillar. Sizing is what stops that. Dried sheets can be sized externally by dipping them in a warm, weak gelatin solution and drying them again; the alternative is a synthetic internal size stirred into the pulp, which papermaking suppliers sell and general shops do not.
Why we picked this exact one: The NutraBloom unflavoured beef gelatin is plain gelatin, which is what papermakers reach for when a proper ketone dimer size is not worth ordering for a handful of sheets. It averages 4.3 stars across more than eight hundred ratings, so the gelatin itself is dependable. Two four-ounce tubs is far more than a year of sizing, which is the honest drawback - you are buying a food product in food quantities for a craft that uses a spoonful at a time.
Restraint drying means brushing a damp sheet onto a flat, non-porous surface and leaving it there until it dries and releases itself. Glass and acrylic give the smoothest result, with a faint sheen on the side that was stuck down. Wooden boards work too, but only untreated ones, because paper sticks to varnished surfaces and will not come off cleanly.
Why we picked this exact one: The Source One 12-inch acrylic square is 3/16 of an inch thick, rigid enough to stand against a wall with a wet sheet on it and not flex. It carries 4.6 stars across a couple of hundred ratings, which makes it the straightforward choice. A pane of window glass does the same job for nothing if you already have one - the only real argument for acrylic is that you can drop it.
Add these over a few months and the gap between your sheets and shop-bought paper narrows enough that people start asking where you buy it. A stack of your own sized, pressed paper is also the obvious raw material for stitching your first book by hand. The one thing none of it fixes is fibre length, which was settled the moment you chose what to pulp.
Paper You Can Plant, Paper With a Garden In It
This is the part that makes people stop and look twice. Press a flower into a wet sheet and it stays there, suspended, the same preserved-botanical effect you get from framing pressed flowers behind glass, except that here the paper itself does the holding. Scatter seeds through a sheet instead and the finished card can be buried in a pot and watered until it sprouts. Both tricks share one rule nobody mentions: the flowers and the seeds go onto the sheet after it is formed, never into the blender. Blend a seed and it's gone.
10Pick 10 of 12
Wooden Flower Press
A flower press is a stack of boards and absorbent liners held under tension by corner bolts, which dries petals flat instead of shrivelled. Flat matters here, because the pulp can only hold what actually touches it - the flatter the petal, the more of its surface is in contact with the wet sheet. Presses with more layers let you put a whole walk's worth of material in at once.
Why we picked this exact one: The Aboofx wooden flower pressing kit is 11 inches square with ten layers, which is a lot of capacity for the money and part of why it has collected over a thousand ratings at 4.6 stars. Ten layers also lets you press in batches and keep colours apart, which matters once you find out that some flowers bleed. It is a bulky thing to store for a hobby that otherwise lives in one tub.
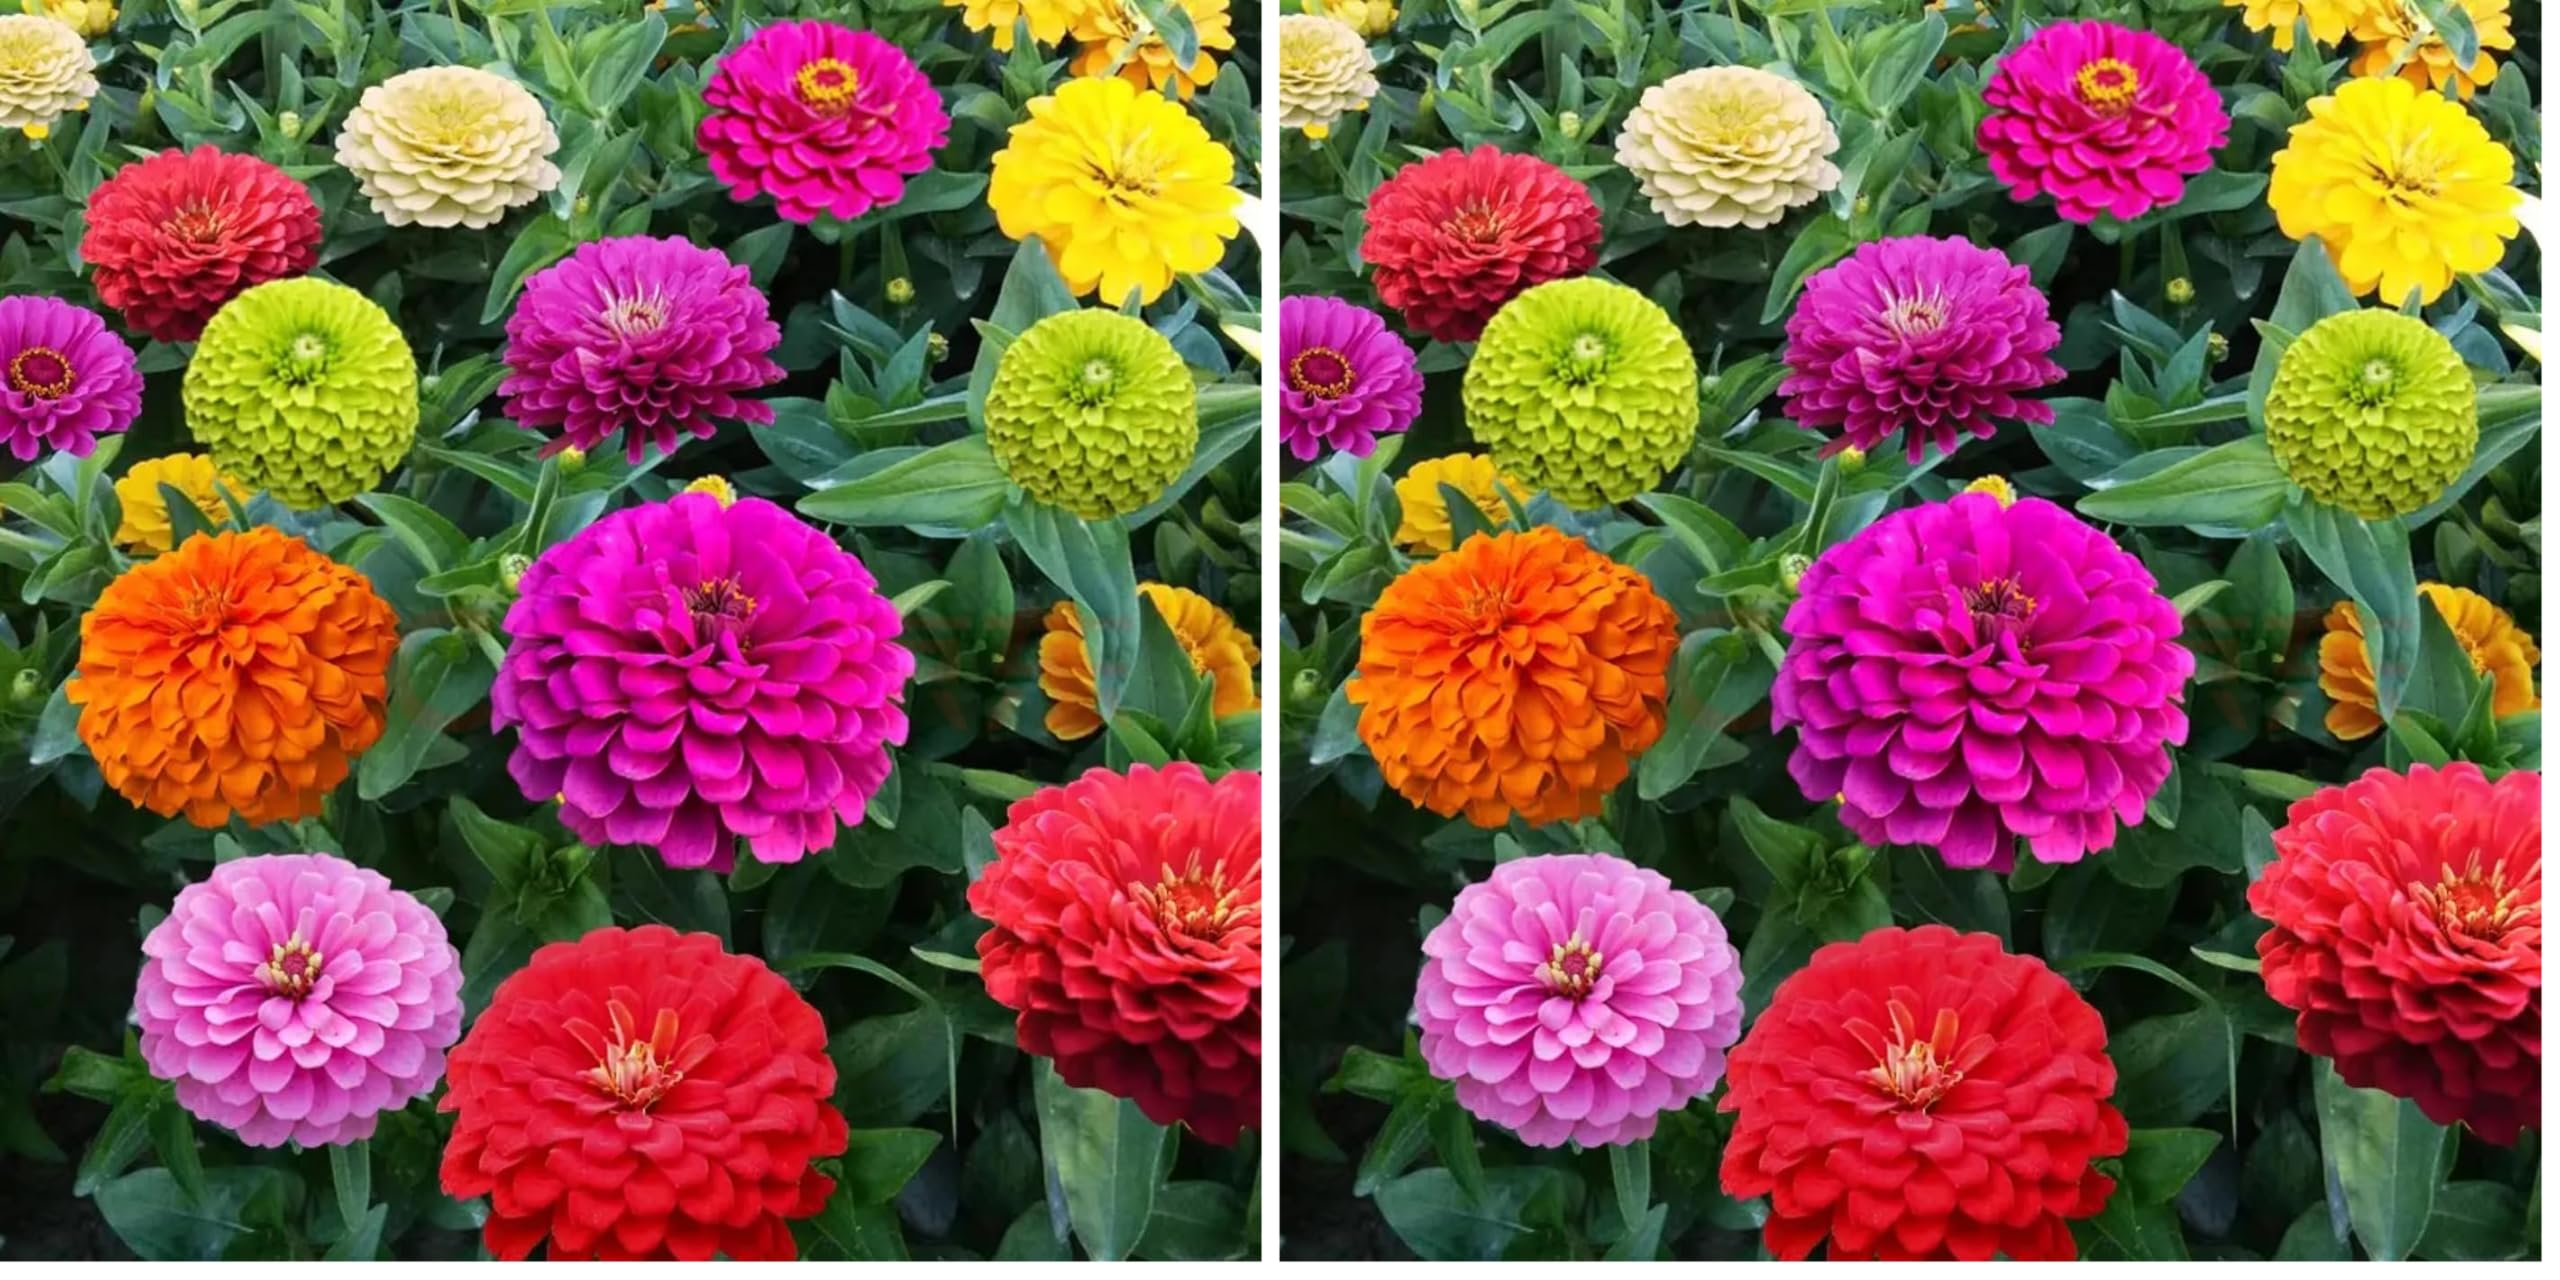
Plantable paper works by trapping viable seed in the sheet, so the whole card can be buried and watered. The seeds are scattered over the formed wet sheet and pressed in with a fingertip or the back of a spoon, sometimes with a thin layer of pulp laid over the top. The choice of seed matters more than the technique: pick something suited to the place the card will be planted, which counts double if you are giving it away.
Why we picked this exact one: The VISTATU Crazy Blend zinnias are a single named species, Zinnia elegans, rather than an anonymous wildflower blend, and that is the whole reason they are here: a mixed packet can carry something that counts as invasive two states away and you have no way of knowing which. A named annual you can look up before you post it. It holds 4.2 stars across more than seventeen hundred ratings, and two packets is far more seed than a batch of cards needs, so plan on the garden getting the rest.
Pressed petals are thin enough to tear under a fingertip and light enough to cling to dry skin, so they get placed with tweezers instead. A mix of straight and curved tips covers most arrangements: curved for sliding under a petal already lying down, straight for dropping something exactly where you want it. Any set with fine, well-aligned tips does the job.
Why we picked this exact one: The CHERALKEST six-piece set covers straight, curved and angled tips for under five dollars, making it the cheapest thing on this page by a distance. It carries 4.5 stars across more than fifteen hundred ratings. These are electronics tweezers rather than florists' ones, so the tips are finer and sharper than the job strictly needs and a light grip matters.
Expect the first plantable cards to look a little muddy and to feel thicker than ordinary paper, because seed needs bulk around it to stay put. That's fine. Nobody frames a seed card. And if the real appeal here is the plants rather than the paper, steaming real leaves straight into fabric gets you botanical prints without a tub of pulp at all.
Things That Go Wrong Around Sheet Number Four
My sheets came out grey and sad. Did I do something wrong?
Probably not - you just chose the wrong scrap. Newspaper and office paper are made from short wood fibres with brighteners and inks already in them, and all of that goes into the pulp and stays there. The sheet that comes out is weaker than the paper that went in every time, because blending cuts the fibres shorter rather than fraying them. Switch to offcuts of drawing, watercolour or printmaking paper, which are made from rag, and the difference shows in a single batch. Shiny magazine stock isn't actually off-limits either; it pulps into a pleasant grey flecked with colour. It's plastic-coated paper you have to leave out.
Why is one end of every sheet thicker than the other?
Because the mould came out of the vat at an angle, or the shake went on too long. The sheet forms in the second or two while water is still draining through the mesh, and whatever the frame is doing in that moment is what you get. Lift straight up, hold it level, give it a short shake front-to-back and then side-to-side, and stop while water is still running out. The other half of it is the vat itself: pulp is heavier than water and sinks, so if you haven't stirred since the last sheet, the top of the tub is thinner than the bottom.
The stack I left to dry has started to smell. What happened?
The interleaving layers did their job and then quietly stopped. In a weighted drying stack, the blotters or cloths pull water out of the sheets and hold onto it, and once they're saturated the whole pile just sits there wet. Left like that it will go mouldy instead of drying. The fix is dull but it is the entire trick: swap every damp blotter for a dry one once a day until the sheets are dry, which takes anywhere from a day to a week depending on humidity, fibre and thickness.
Can I leave the leftover pulp in the tub until next weekend?
Better to drain it. The standard practice is to pour the tub through a fine sieve or a mesh paint-strainer bag, squeeze what's left into a ball, and let it dry out completely rather than storing it wet. A dried pulp ball keeps on a shelf indefinitely. When you want it again, soak it overnight, pull it apart and run it back through the blender. That one habit also means a half-finished session never commits you to finishing it.
Why does my pen bleed on paper that looks perfectly fine?
Because handmade paper is unsized unless you size it. Commercial writing paper has a size worked into it that stops ink travelling sideways through the fibres, and a sheet pulled from a home vat has nothing of the sort. The ink soaks outward along the fibre and a crisp line turns fuzzy. You can dip dried sheets in a weak, warm gelatin solution and dry them again, or stir a proper internal size into the pulp before forming. Either way, decide before you make a batch, because sized and unsized sheets look identical until a pen touches them.
People Worth Following Into This Hobby
Real practitioners we found while researching this setup — people who do the work, show their process, and publish on sites they run themselves. No sponsorships, no affiliations; we just think they're worth your time.
Publishes a free Beginner Series written by working papermakers, covering mould construction, couching surfaces, fibre choice and pulp additives.
Their columns are the source behind the specifics on this page - the three-inch vat clearance, the rougher sheet you get from felt versus interfacing, and why a drying stack moulds if the blotters aren't swapped daily.
Makes paper from New Zealand flax, maize leaves and thistle down, and runs papermaking workshops and school sessions in Australia.
Her recycling page answers the question this setup opens with - which scrap pulps well - and she's the practitioner who says shiny magazine stock is fine while plastic-coated paper is not.
Makes plant-fibre paper in a Walthamstow studio and teaches papermaking and book arts courses in London.
Once a beginner has pulled a few sheets from recycled scrap, her pages show what the same process gives you with natural fibres instead - the step this setup's blender can't take you to.
Makes pulp paintings and installations from foraged fibre and has written original papermaking tutorials at Paperslurry since 2012.
Her free recycled-paper tutorial is the exact method this setup equips - the handful-of-paper blender rule, the 45-degree dip, and the 'close the door, open the door' couching motion.
Love what you see here? Save individual picks with on any item, or copy everything to a list of your own in one click — great for coming back to later, or dropping as a not-so-subtle hint.