Eco-Printing: Steam Real Leaves Into Exact Fabric Prints

plain cotton flour sack cloth for leaf printing

Start here · pick 01 of 12

plain cotton flour sack cloth for leaf printing

See it on Amazon

Affiliate link: we may earn a small commission, at no extra cost to you.

DariaCurated by Daria
Jump to the 12 picks

The Leaf Does the Drawing

Press a real leaf against damp cloth, roll the whole thing into a tight sausage, tie it hard and steam it. An hour later, cut the string. The leaf is gone, but its ghost is in the fabric — every vein and serrated edge, printed in rust and olive. People do this on kitchen stoves, mostly with leaves they picked up on the morning walk. And here's the bit nobody believes: eucalyptus leaves are grey-green, and on silk they print bright orange.

The technique got its name and most of its vocabulary from India Flint, the Australian textile artist credited with discovering the eucalyptus ecoprint. What every dyer since has repeated is that this isn't painting. You don't control the result. You stack the odds — the right fabric, a proper mordant, tannin-heavy leaves — and then the pot decides. That gap between effort and outcome is exactly why people get hooked, and also why a first attempt is so often a pale disappointment.

Our take: spend money only on the things that decide whether a print appears at all. That's cloth, alum and string, plus something to roll the bundle around. Leaves are free. The pot is probably already in your kitchen.

Nothing below costs enough to sulk about if you try this twice and never again.

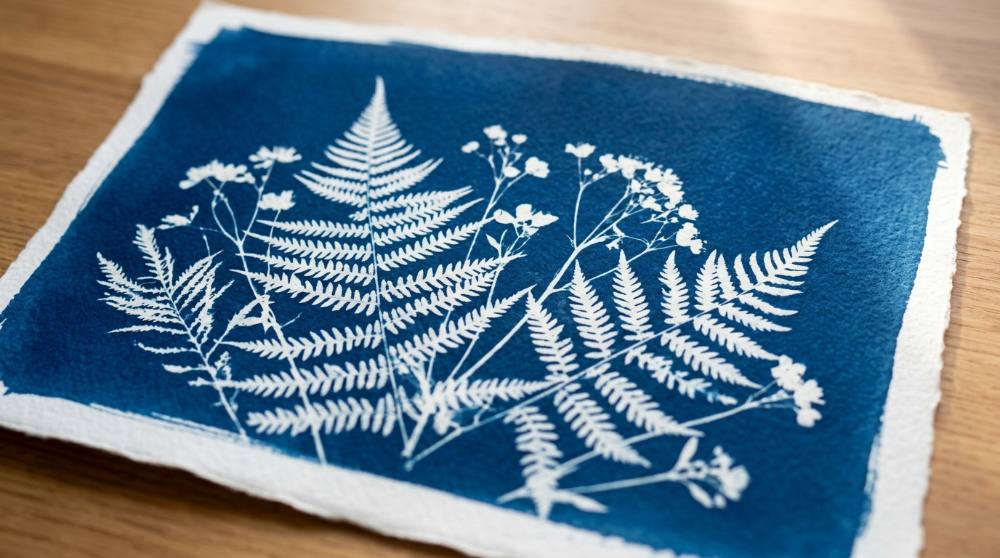
One thing worth knowing before you spend anything: this is a slow hobby with a very fast payoff. The bundle sits in steam for an hour or two, then cools overnight, and then you get about four seconds of pure did-that-really-work. If that shape of patience appeals, you'll probably also like cyanotype sun printing, which swaps the steam for sunlight.

The Short List That Actually Prints

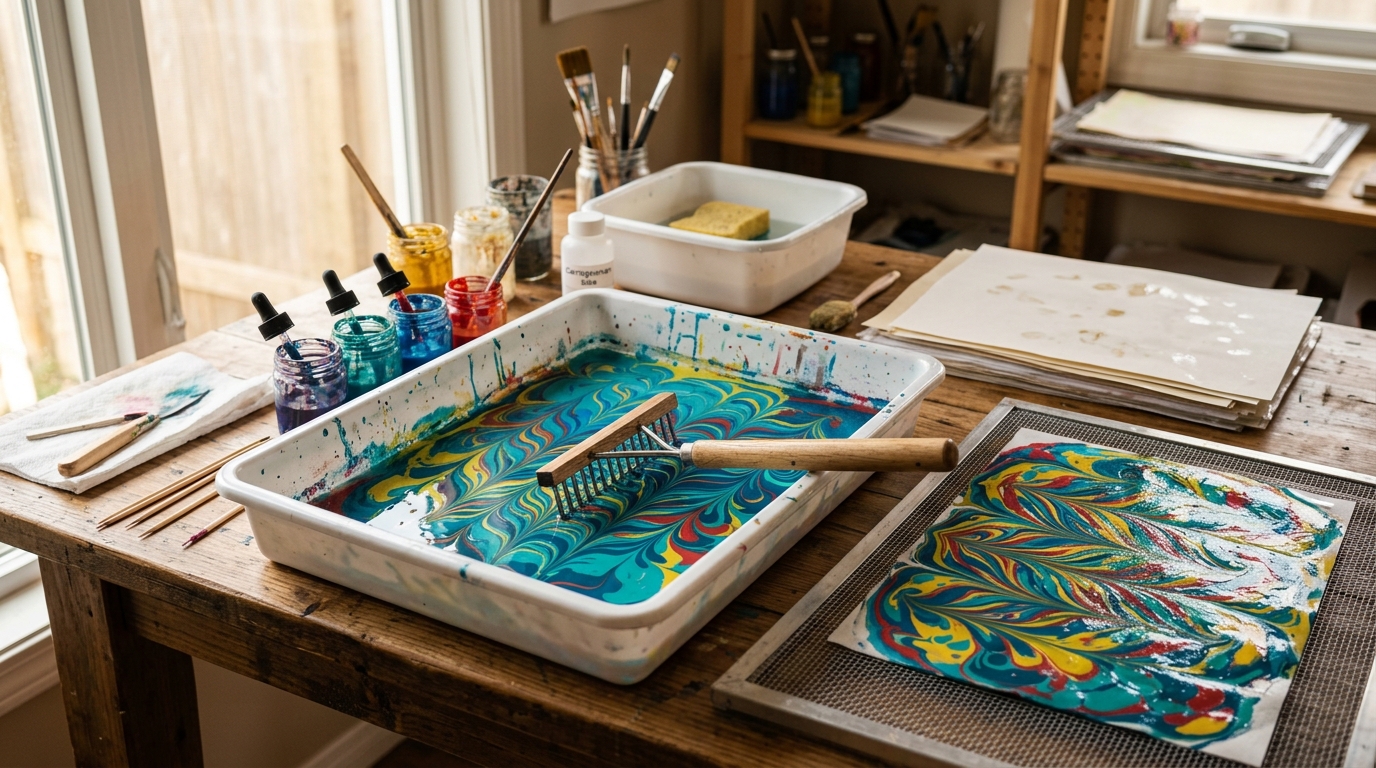
Almost every disappointing first bundle fails for one of two reasons: the fabric was never mordanted, or the roll wasn't tight enough. Both are cheap to fix. A mordant is the metal salt that gives plant tannin something to grab onto; skip it and the colour sits on the surface and walks out in the first wash. Alum is the one beginners want, and it's the same compound doing the gripping in beginner paper marbling, where alum-painted paper is what makes the floating pattern hold. Cotton is where I'd start — not because it prints best, but because you can afford to ruin four towels learning how hard to pull the string.

Disclosure: This section may contain affiliate links to Amazon. We may earn a small commission from qualifying purchases at no extra cost to you.
plain cotton flour sack cloth for leaf printing

Pick 01 of 12

plain cotton flour sack cloth for leaf printing

Unbleached or white cotton flour sack cloth is the standard practice surface for eco printing. It is a soft, open plain weave with no nap, so leaf edges read clearly once the fabric has been scoured and mordanted. Look for 100% cotton with hemmed edges and no permanent-press or stain-resistant finish, since those coatings stop dye reaching the fibre.

Why we picked this exact one: Aunt Martha's flour sack dish towels are the craft-blank version of this cloth, sold for embroidery and surface design rather than kitchen duty. At 28 inches square they fold and roll around a dowel without fighting you, and the 4.7-star average reflects how consistent the weave is batch to batch. The pack holds only two, so order more than one if you want a proper test batch.

See it on Amazon
alum mordant powder for preparing fabric and paper

Pick 02 of 12

alum mordant powder for preparing fabric and paper

Aluminium sulfate is the mordant most natural dyers reach for first. Dissolved in hot water and used as a soak, it bonds to the fibre and gives plant tannins a metal site to fix onto, which is what makes a print survive washing. Buy it as a plain single-ingredient powder with no fragrance or anti-caking additives, and keep the bag away from food storage.

Why we picked this exact one: Pure Original Ingredients sells aluminium sulfate as a single-ingredient pound bag, which is exactly the form natural-dye instructions assume when they tell you to use alum. A pound mordants far more cloth than a beginner gets through in a year, so the cost per bundle is close to nothing. It's a chemical rather than a craft product, so expect a plain bag and handle it with gloves and a dust mask.

See it on Amazon
wooden dowel rods for rolling leaf bundles

Pick 03 of 12

wooden dowel rods for rolling leaf bundles

A smooth wooden rod is what the damp cloth gets rolled around so the bundle holds an even cylinder. Smoothness matters more than thickness: a rough or splintered rod snags wet fabric and makes the roll uneven. Untreated hardwood beats painted or varnished rods, since finishes soften in steam and can mark the cloth.

Why we picked this exact one: This Coowayze ten-pack of half-inch by twelve-inch unfinished hardwood dowels is sized for the small test bundles a beginner should be making. Having ten of them means you can roll several at once and leave them all to cool overnight. They are thin, so a full-length scarf wants something fatter — a length of PVC pipe or an old curtain rod does that job, and plenty of dyers use exactly that.

See it on Amazon
cotton kitchen twine for binding steamed bundles

Pick 04 of 12

cotton kitchen twine for binding steamed bundles

Plain cotton twine holds the rolled bundle under tension through an hour or more of steam. Natural undyed cotton matters here: synthetic string can soften at steaming temperature, and coloured string can bleed into the cloth it is tied around. One large spool lasts through dozens of bundles.

Why we picked this exact one: Regency Wraps butchers twine is heavy-duty undyed cotton on a 500-foot spool, and it takes a hard pull without snapping the way thin craft string does. It's the sort of product that has quietly gathered more than 35,000 reviews by doing one job properly. It's sold for trussing meat, so it'll live in a kitchen drawer until you move it to the dye shelf.

See it on Amazon
collapsible stainless steamer insert for bundle steaming

Pick 05 of 12

collapsible stainless steamer insert for bundle steaming

A folding stainless basket drops into a pot you already own and holds the bundle above the waterline. Keeping the bundle clear of the water matters: a submerged bundle leaches colour into the bath instead of into the cloth. The expandable petal design fits a range of pot diameters, which is useful before you know what size bundles you'll settle on.

Why we picked this exact one: The SAYFINE folding steamer basket expands from about 5.5 to 9.2 inches, so it adapts to whatever pot you end up commandeering. Stainless steel matters here, because it won't react with iron or tannin the way an aluminium insert can. At well under ten dollars it's cheap enough to dedicate to dyeing and never cook with again, which is exactly what you should do with it.

See it on Amazon

With these five on the table you can run a bundle start to finish this weekend. Do it. The first one teaches more than any amount of reading — and one warning saves most of the disappointment: scour new cotton before you mordant it. Factory sizing is invisible, it blocks dye completely, and it's the commonest reason a careful beginner opens a bundle to find a blank towel. Keep notes on what you picked and where, which is roughly the point where a beginner nature journaling kit starts making sense too.

Where the Prints Get Darker and Stranger

The first few bundles usually come out pale, and the instinct is to blame the leaves. Usually it's the absence of iron. Iron reacts with leaf tannin and drops the whole print into grey, olive and near-black, outlining every vein in a way alum alone never manages — dyers call it saddening the colour, which sounds like a complaint but is the effect most people are chasing. The other upgrade is the surface itself. Protein fibres take plant colour far more readily than cotton does, which is why one silk scarf will teach a beginner more than a stack of tea towels.

loose iron for mixing a homemade iron modifier

Pick 06 of 12

loose iron for mixing a homemade iron modifier

Iron water is the usual way to darken and sharpen eco prints, and it's made by steeping scrap iron in water with a splash of vinegar until the liquid turns rusty. Loose iron offers far more surface area than a handful of nails, so the solution becomes usable in days rather than weeks. The liquid is then used as a dip for leaves or cloth rather than as a mordant bath on its own.

Why we picked this exact one: This one-pound bag of iron filings from American Heritage Industries is sold for science classrooms, but it's the cheapest clean source of rustable iron for making dye-strength iron water. A pound makes more solution than most people use in several years of bundles. The catch is real: the strength of homemade iron water can't be measured, so keep notes on your dilution, and dyers who want repeatable results eventually buy ferrous sulfate instead.

See it on Amazon
plain white silk square as a printing surface

Pick 07 of 12

plain white silk square as a printing surface

Silk is a protein fibre, and protein fibres accept plant pigment far more readily than cotton or linen. A plain white square with a reasonably tight weave shows leaf edges most clearly, while loose open weaves blur the detail. Buy it undyed and white, and check it is genuine mulberry silk rather than a silk-feel polyester, which won't take plant dye reliably.

Why we picked this exact one: The vimate 35-inch mulberry silk square is a genuine silk blank in white, which is oddly hard to find on a general marketplace. The size is generous enough to fold leaves inside and still wear the thing afterwards. It's sold as a fashion scarf rather than a dyer's blank, so it arrives in gift packaging you'll throw away, and you do need to make sure you've selected the white colourway.

See it on Amazon
preserved eucalyptus leaves for reliable prints

Pick 08 of 12

preserved eucalyptus leaves for reliable prints

Eucalyptus is the most dependable printing plant a beginner can get hold of, and round-leaved silver dollar varieties are the ones most often sold dried. Preserved leaves stay pliable rather than drying brittle, so they rehydrate in warm water and lie flat against cloth. Outside the regions where eucalyptus grows, buying a bag is simply easier than hunting for it.

Why we picked this exact one: This NKYUX bag holds roughly 600 preserved silver dollar eucalyptus leaves, two to three inches across, which is effectively a lifetime supply at starter scale. They are genuinely preserved plant material rather than fabric imitations, and that matters, because only real leaves carry the tannins that print. They're sold as wedding decor, so the bag arrives scented and nobody involved was thinking about a dye pot.

See it on Amazon
large stainless stockpot kept only for dyeing

Pick 09 of 12 · Worth the upgrade

large stainless stockpot kept only for dyeing

A tall stainless pot gives a rolled bundle room to stand upright above the water instead of being bent to fit. Twelve quarts is the size most natural dyers settle on, big enough for scarf-length bundles. Stainless is the neutral choice, because aluminium and copper pots act as mordants in their own right and shift the colours unpredictably.

Why we picked this exact one: The Tramontina Gourmet 12-quart stainless stock pot is the step up from steaming in a borrowed saucepan, and it earns its place once you've made four or five bundles and know you'll keep going. Its impact-bonded base holds a steady steam for two hours without scorching dry. At around eighty dollars it's by far the priciest thing here, and anyone still deciding whether they like eco printing should stay with the kitchen pot and a basket.

See it on Amazon

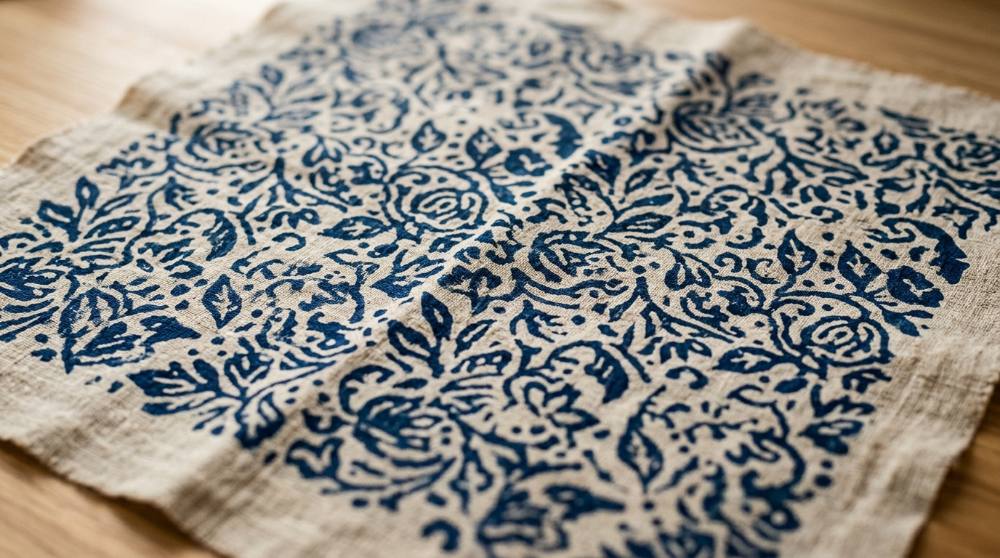
Put iron in one bundle and leave the next one without it, and you'll learn more in an afternoon than from any chart of plant colours. Go easy at first. Too much iron turns everything a flat grey and the greens vanish altogether. If the appeal turns out to be repeatable, carvable pattern rather than this one-off botanical chaos, beginner block printing with stamps and ink scratches a very different itch.

The Same Leaves, On Paper Instead

Paper eco printing looks like a variation and behaves like a different craft. There's no rolling and no dowel. You soak sheets in alum, lay leaves between them, build a stack, clamp it flat and steam the whole brick lying down. What comes out reads as a print rather than a textile, and it's the quickest way to get something frameable out of an afternoon — which is why these sheets end up as cards, book covers and journal pages. If the idea of a botanical image surfacing on paper through a chemical process appeals, it's the same family of pleasure as cyanotype, the blue sun-printing process.

heavyweight cotton watercolour paper for steam printing

Pick 10 of 12

heavyweight cotton watercolour paper for steam printing

Paper for eco printing has to survive an alum soak, an hour or more of steam, and handling while soaking wet. Heavyweight 140lb cotton rag paper manages this where wood-pulp drawing paper falls apart. A cold-press surface holds slightly more pigment in its texture than a smooth hot-press sheet.

Why we picked this exact one: Arches 140lb cold press is 100% cotton rag, which is why it comes out of the steamer still behaving like paper. Its 4.8-star average reflects a mill that has been making this exact sheet for a very long time. It is expensive for something you will deliberately ruin while learning, so buy one pad and cut the sheets down rather than printing full size.

See it on Amazon
large metal clips for clamping flat paper stacks

Pick 11 of 12

large metal clips for clamping flat paper stacks

Flat paper bundles need even pressure across the whole stack, and that pressure comes from clips rather than string. Two-inch clips are the practical minimum once a stack is a dozen damp sheets thick. Many printers also sandwich the stack between two small boards or tiles so the clips press against something rigid.

Why we picked this exact one: The Ufmarine two-inch binder clips come forty to a box, which is enough to edge a full stack and still leave spares. Two inches is the size that actually grips a dozen damp sheets, where the smaller office sizes pop off as the paper swells. They are plain black office clips, so nothing about them was designed for a dye kitchen beyond being cheap and strong.

See it on Amazon
wide roasting pan with a rack for flat steaming

Pick 12 of 12

wide roasting pan with a rack for flat steaming

A clamped paper stack needs a wide, shallow vessel rather than a tall pot, plus a rack to hold it clear of the water. A 16-inch roasting pan takes a letter-sized stack lying flat and sits across two burners. A tight cover keeps the steam in, which matters more than the pan's depth does.

Why we picked this exact one: The Onlyfire 16-inch stainless roasting pan with a U-rack is the cheapest honest version of this, at roughly a quarter of what a branded roaster costs. The U-rack sits high enough to keep a clamped stack above the waterline through a long steam. There's no lid, so plan on covering it with foil, and once you've steamed alum and leaves in it, it has stopped being a roasting pan.

See it on Amazon

Watercolour paper is the one place I'd spend properly, because cheap paper turns to pulp in the steamer and you lose a whole stack at once. Paper is unforgiving. Expect a first batch blotchier than you hoped, because a sheet shows every spot where contact was poor far more honestly than cloth does. The energy-source question turns up here the way it does in the choice between sunlight and a UV lamp for cyanotype — steam is just the version you can run after dark.

Why Your First Bundle Came Out Beige

I used a bright red maple leaf and got a green print. What happened?

Leaf colour comes from pigments that mostly don't survive the process, while the print comes from tannins and other compounds that are invisible in the fresh leaf. Red maple is the classic example, and dyers routinely pull green or grey prints off leaves that looked scarlet on the tree. The consequence is that you can't plan a palette by looking at the plant. Treat every new species as a test: print a small sample, note the date and the fabric, and build your own reference over a season instead of trusting a colour chart.

Why does one leaf print beautifully and the one next to it leave nothing?

Two things usually explain it, and neither is the leaf's fault. The first is which way up it went: the underside of most leaves prints considerably stronger than the top, so a leaf laid face-down gives you a fraction of the detail. The second is contact. A leaf sitting over a wrinkle, a hem or a thick stem is held a hair off the fabric and prints as a ghost. Lay leaves vein-side down on smooth, flat cloth and keep stems out of the middle of the roll.

Can I just boil the bundle instead of steaming it? It looks faster.

You can simmer, and plenty of dyers do, but a bundle sitting in water loses colour into the bath instead of driving it into the cloth, and silk in particular dislikes being held at a rolling boil. The usual failure is a bundle that comes out evenly tea-stained with weak leaf shapes, because the colour went somewhere, just not where you wanted it. Steam gently for one to two hours rather than boiling hard. Then leave the bundle tied and cooling overnight, because the print keeps developing long after the heat is off.

It's called natural dyeing. Do I really need gloves and a mask?

Yes, and the name is the trap: natural describes where the colour comes from, not how friendly the chemistry is. Alum and iron are both skin irritants in concentrate, and iron powder is fine enough to breathe in while you're measuring it out. The rule dyers actually follow is that any pot, spoon, jar or sieve that has touched a mordant never goes back to food use. Wear gloves for the mordant bath, put a dust mask on before you open a powder, and keep the equipment on its own shelf.

My prints looked great and then faded after one wash. Was the mordant wrong?

More often the fabric was never properly scoured. New cotton carries sizing and starch from the mill, second-hand cloth carries body oils, and both sit between the fibre and the mordant so the mordant never really bonds. The print then behaves like a stain and leaves with the first detergent. Simmer new cellulose fabric in water with washing soda and a drop of dish soap before mordanting. Silk and wool are the exception — they're delicate, and are washed gently rather than scoured.

Love what you see here? Save individual picks with on any item, or copy everything to a list of your own in one click — great for coming back to later, or dropping as a not-so-subtle hint.

Disclosure: This section may contain affiliate links to Amazon. We may earn a small commission from qualifying purchases at no extra cost to you.