Collage Art: Build Images From Paper Instead of Paint

Collage Art: Build Images From Paper Instead of Paint

DariaCurated by Daria
Jump to the 8 picks

Your Old Magazines Have One Job Left

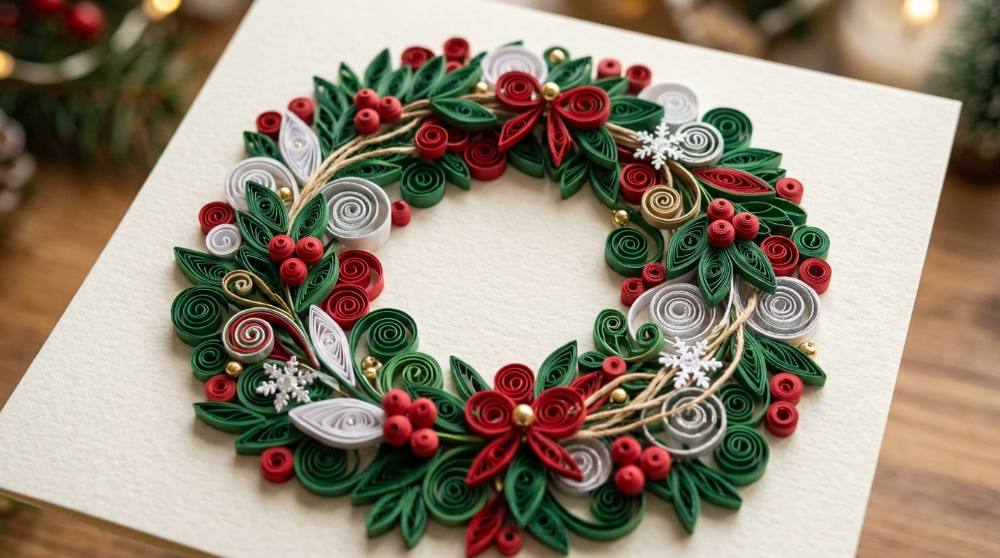
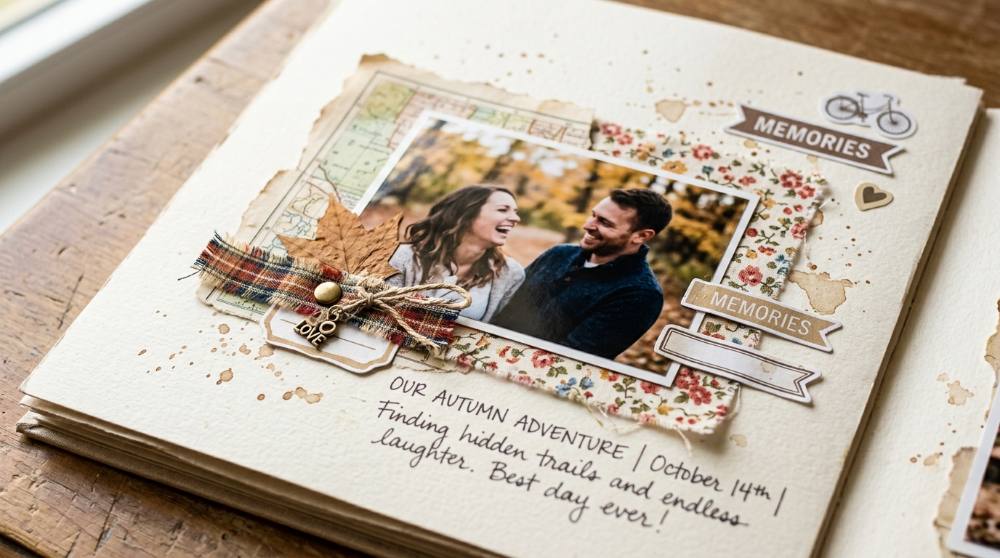
Collage is picture-making by scissors. You cut or tear fragments out of printed paper, glue them onto a board, and keep going until the pieces stop reading as scraps and start reading as an image. People do it at kitchen tables, in art-school studios and in community workshops, usually with a heap of stuff that was headed for the recycling. The word comes from the French verb coller, to glue, and the modern version is normally dated to 1912, when Georges Braque bought a roll of wallpaper printed to imitate oak grain and began gluing bits of it onto his charcoal drawings. Here is the detail I like best. An Englishwoman called Mary Delany took up paper collage at seventy-two and went on to make 985 botanical pictures she called flower Mosaicks.

What surprises most beginners is how little of this is about shopping. Your image library is whatever paper you already own, and the skill is in seeing it differently, reading a grey car advert as shadow or a close-up of bread as fur. The part you do have to buy is short and dull: something rigid to build on, something sharp, something sticky, and something to spread the sticky stuff with. That is the whole list.

Start with fewer tools than you think you need. A rigid board, one small sharp pair of scissors, a jar of matte medium and a cheap flat brush will carry you through your first dozen pieces, and the paper costs nothing.

Everything below is the kind of cheap where a bad first attempt costs you an afternoon rather than a grudge.

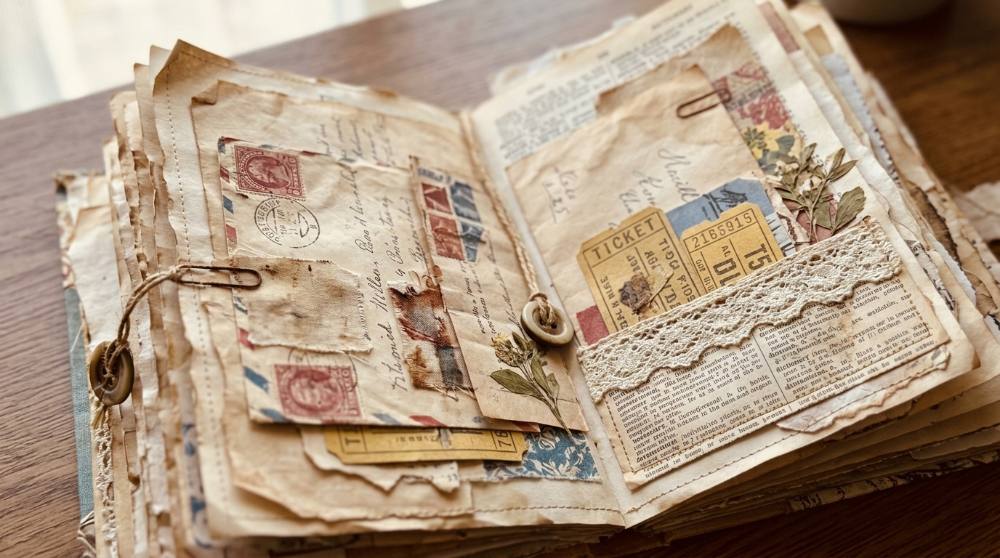
Collage sits next to a whole family of paper hobbies that keep their results in a book rather than on a wall, so if gluing into bound pages appeals more, beginner junk journaling covers that instead. The distinction matters for what you buy. A journal page can afford to be flimsy; a piece you mean to hang cannot, and everything in the next section assumes you are hanging it.

Four Things, and Three of Them Are Cheap

The order of operations catches people out. You do not glue as you go. You arrange the whole thing dry first, shove pieces around for twenty minutes, take a photo of the arrangement on your phone so you can get back to it, and only then start sticking. Glue is the last five percent of the work. The kit below is built around that: a surface stiff enough to survive being wet, blades fine enough to follow a curve, an adhesive that stays put for decades, and something to push it around with.

Disclosure: This section may contain affiliate links to Amazon. We may earn a small commission from qualifying purchases at no extra cost to you.
rigid cradled wood panels for mounting paper collage

Pick 01 of 08

rigid cradled wood panels for mounting paper collage

Cradled wood panels are thin birch boards glued onto a deeper wooden frame, so the surface stays flat and the finished piece hangs straight off a nail without framing. For collage they matter because wet adhesive makes paper swell, and a rigid support refuses to follow it. Look for a smooth sanded face, a cradle around half an inch deep or more, and a multi-pack in a small size, since 8 by 10 inches is plenty for a first picture.

Why we picked this exact one: The Falling in Art 8x10 birch studio panels come four to a pack, which is the right number for a beginner who is going to ruin one and learn from it. They hold a 4.6-star rating, and the face arrives sanded smooth enough to take medium without priming first. The honest caveat is that the veneer is thin, and a few buyers report it bubbling when the surface gets soaked, so brush medium on in thin coats rather than flooding it.

See it on Amazon
fine-tipped detail scissors for cutting shapes out of magazine paper

Pick 02 of 08

fine-tipped detail scissors for cutting shapes out of magazine paper

Detail scissors are short-bladed, needle-tipped shears made for cutting curves out of thin paper rather than cutting across it. The tip is what matters, because a fine point lets you turn inside a shape, like the gap between an arm and a body, without tearing the sheet. Blades under about three inches give the most control, and a second larger pair is handy for rough-cutting a page down before the fiddly work starts.

Why we picked this exact one: The Beaditive High Precision Detail Scissors Set gives you two pairs, a needle-tip one for shapes and a larger one for cutting pages down, for under ten dollars. Nearly eight thousand buyers have rated it, which is a lot of evidence for a cheap pair of scissors. The blades are bare stainless, so adhesive residue wipes off easily, though the protective caps are the sort of thing you will lose within a month.

See it on Amazon
acrylic matte medium that glues collage paper down and seals it

Pick 03 of 08

acrylic matte medium that glues collage paper down and seals it

Acrylic matte medium is a milky liquid that dries clear and flat, and it does two jobs in collage: it sticks paper down and it seals the surface afterwards. The usual method is to brush a coat onto the board, lay the paper into it, then brush a second coat over the top, which locks the edges down and stops them lifting later. It costs more per ounce than a glue stick and earns it on anything you intend to keep, because it stays flexible instead of cracking or yellowing.

Why we picked this exact one: Liquitex Professional Matte Medium is the bottle most mixed-media people reach for, and the 8-ounce size lasts through a lot of small collages. It rates 4.8 stars, and the consistency is the useful part, thin enough to brush over a magazine page without dragging it out of position. If you work large you will get through it quickly, and there are cheaper quart-sized acrylic mediums that do the same job less elegantly.

See it on Amazon
flat synthetic brushes for spreading adhesive evenly across paper

Pick 04 of 08

flat synthetic brushes for spreading adhesive evenly across paper

Flat synthetic brushes are the applicator for liquid medium, and collage wants a couple of widths: a broad one to coat a whole board in a few strokes, and a narrow one to work medium under a lifting corner. Synthetic bristles are the sensible choice, because acrylic medium is hard on brushes and natural hair suffers faster. Treat them as consumables and rinse them before the medium sets, which takes minutes rather than hours.

Why we picked this exact one: This GACDR five-piece flat set runs from a quarter inch up to an inch and a half, which is the useful spread for collage. At eight dollars they are cheap enough to treat as disposable, and that matters more here than refinement does, because acrylic medium will eventually wreck any brush left sitting in it. Expect the bristles to splay after a while, which at this price is closer to a feature than a fault.

See it on Amazon

Buy these four and you can make a real piece this weekend. One thing worth knowing before you start: any water-based glue swells paper and board a little, so coat the back of your panel as well as the front, one side at a time, and let each side dry flat under a stack of books. Collage is also the least precious of the paper hobbies in this respect. There is no ruled grid to keep tidy the way there is in a beginner bullet journal setup, and a piece that goes wrong simply becomes the underlayer of the next one.

The Things You Will Want by Collage Number Four

None of this is required, and I would resist buying it all at once. Each one solves a problem you have to hit before you really understand it: the blister that rises under a big sheet, the home-printed photo that smeared the instant medium touched it, the lost afternoon spent hunting for one particular grey. They also assume you have somewhere to leave a half-finished board lying flat for a day, which is most of what setting up a beginner art space at home comes down to. Buy them as the problems arrive.

rubber brayer roller for pressing glued paper flat

Pick 05 of 08

rubber brayer roller for pressing glued paper flat

A brayer is a small rubber roller on a handle, borrowed from printmaking and used in collage to press a freshly glued sheet down from the middle outwards. Rolling that way drives trapped air and excess medium out to the edges instead of leaving them sitting under the paper as a blister. Softer rollers suit collage because they conform to a stack of layers, while harder ones apply more pressure and work best on a perfectly flat surface.

Why we picked this exact one: The AKIRO four-inch rubber brayer is the roller that turns up on nearly every mixed-media supply list, with close to nine thousand ratings behind it. It is sold for printmaking and for gluing alike, and four inches covers a small panel in two or three passes without becoming unwieldy. It does need washing straight after use, because dried medium on the rubber leaves a texture you will transfer onto the next piece.

See it on Amazon
spray fixative that stops home-printed ink running under wet glue

Pick 06 of 08

spray fixative that stops home-printed ink running under wet glue

Workable fixative is a fine clear acrylic spray that seals a paper surface without turning it glossy or unworkable. In collage its main job is protective, going over anything printed at home before adhesive is allowed anywhere near it. It also rescues soft media, like a pencil line or a pastel mark on a collage element, that would otherwise smear the moment you brush medium across it.

Why we picked this exact one: Krylon Workable Fixative is the standard can for this, and 11 ounces will outlast the hobby for most people. It carries more than eight thousand ratings, which is unusual for a niche art aerosol. Use it outdoors or by an open window, because it is solvent-based and the smell lingers in a small room far longer than you expect.

See it on Amazon
printed vintage-style paper pack for collage backgrounds and texture

Pick 07 of 08

printed vintage-style paper pack for collage backgrounds and texture

Printed paper packs supply the material categories magazines rarely do: aged book pages, botanical plates, handwriting, maps, postmarks and large areas of quiet neutral tone. They earn their place as the layer underneath, the ground that cut images sit on. Look for packs sold as loose sheets rather than sticker sheets, and check that the advertised count is actual paper, since some kits pad the number out with die-cut shapes.

Why we picked this exact one: This emmoolife 200-sheet vintage pack is the best-rated of the cheap ephemera bundles at 4.7 stars, and the mix leans towards aged paper and botanical plates rather than the cutesy sticker end of the category. The sheets are thin, which is right for collage, because heavy cardstock builds height fast and fights the layers above it. Designs do repeat across the pack, so treat it as a texture library rather than 200 unique images.

See it on Amazon
precision craft knife and self-healing mat for interior cuts

Pick 08 of 08

precision craft knife and self-healing mat for interior cuts

A craft knife handles the cuts scissors physically cannot reach: a window in the middle of a sheet, a long straight edge against a ruler, a shape too small to get blades around. It works against a self-healing mat, a slightly soft plastic sheet that closes up behind the blade so the surface stays flat and the next cut stays clean. Blades are the consumable here, and a dull one drags and tears paper instead of slicing it.

Why we picked this exact one: The Anezus set pairs a precision knife with an A4 self-healing mat and thirty spare blades for ten dollars, which is the cheapest honest way to own both at once. Over five thousand ratings sit behind it. The mat is A4, fine for cutting elements and too small for trimming a finished panel, so if you already work large, buy the mat separately in A3.

See it on Amazon

None of these make a better picture by themselves. They just remove the four most common ways a good one gets ruined in the last ten minutes, and if you buy in order, the brayer and the fixative will save you the most grief. If you find you enjoy the hunt for paper more than the gluing, that is a recognised condition, and a beginner scrapbooking setup is usually where that instinct ends up.

The Bits Nobody Mentions Until Your Board Has Already Curled

Why does my finished collage curl up at the corners a day later?

Because you only wet one side of it. Paper and board both expand as they absorb water from glue and contract again as they dry, and when that only happens on the front, the front shrinks tighter than the back and the whole thing bows. The fix collage artists use is to coat the back of the substrate with medium as well, one side at a time, letting each dry before the next. If a piece has already bowed, damp it briefly under a cloth and then leave it pressed under a stack of books, properly flat, for a day rather than an hour.

I printed a photo at home and it smeared the second I glued it. What happened?

Your printer is an inkjet, and inkjet ink is water-soluble and sitting on the surface of the paper. Brushing water-based adhesive over it redissolves the ink and drags it sideways, and reds bleed first and worst. Either seal the print with a light spray of fixative and let it dry before it goes near glue, or print on a laser printer, where the toner is fused into the sheet and shrugs water off. Magazine pages are safe, because commercial printing is long dry by the time it reaches you.

How do I stop a collage looking like a pile of random clippings?

By choosing pieces for how light or dark they are rather than for what they show. Collage artists squint at an arrangement, which blurs the detail and leaves only the big shapes of light, mid-tone and shadow. If everything reads as the same mid-grey, there is no structure and the eye slides straight off. Group similar values together and save your strongest light-against-dark contrast for the one place you want looked at first. A dark navy and a dark green will often do the same job, because the hue matters far less than you would think.

Should I sort my paper first, or just dig through the pile as I go?

Sort first. Hunting for a specific colour mid-piece breaks the run of decisions that was going well, and you come back to the board having lost the thread. Tear out anything that catches your eye whenever a magazine is in your hands, and file it loosely by tone: warms, cools, darks, lights, neutrals, textures. Neutrals are the ones to hoard, because advertising pages are designed to shout and the calm mid-greys run out long before the bright stuff does.

People talk about torn or cut like it is a style choice. Is it?

It is a decision about edges, and it changes how the piece reads. A cut edge is clean but hard, which is why the sharp-angled, graphic collages are all scissors and blade. Tearing rips through the paper's core and exposes a pale fibrous lip, which reads as soft and lets one element melt into the one beneath it. Which side of the tear shows that white lip depends on which way you pull, so tear a test strip off the same page before committing. Most finished pieces use both, and beginners default to cutting because it feels more controllable.

Love what you see here? Save individual picks with on any item, or copy everything to a list of your own in one click — great for coming back to later, or dropping as a not-so-subtle hint.

Disclosure: This section may contain affiliate links to Amazon. We may earn a small commission from qualifying purchases at no extra cost to you.