Decoupage is gluing paper onto an object and then burying it under enough clear finish that the paper stops looking like paper. People do it at kitchen tables and on garage benches, mostly on thrifted boxes, trays and tired side tables. Here is the part nobody mentions: it started as counterfeiting. Eighteenth-century Venetian cabinetmakers could not get enough lacquered furniture from China and Japan to meet demand, so they cut out hand-coloured prints, pasted them down and varnished over the top, and called the result lacca contrafatta - counterfeit lacquer. Traditionalists still bury their work under thirty or forty coats of varnish, sanded smooth between each one, which is roughly thirty-nine more than your first box will need.
The thing that surprises people is how transparent a napkin goes the moment glue touches it. Whatever sits underneath shows straight through, so paint your box white first or the pattern just sinks into the wood grain. That one step is most of the gap between a box that looks deliberate and a box that looks smudged. None of this is the full thrifted-dresser flip, by the way: no stripping, no wobbly joints, no new hardware. You are decorating a surface, not rescuing a carcass.
Keep the pile small. Glue, a packet of printed napkins, one brush and something wooden you would not mind ruining - that is the whole list, and it gets you to a finished lid tonight. Everything further down this page is for later.
Nothing below costs more than a takeaway, which matters, because your first attempt probably goes in the bin.
Where This Little Kit Can Take You
A few real moments and results from this hobby — made with tools no fancier than the ones below.
Four drawers, four patternsEvery drawer front carries a different printed panel, which is what makes the cabinet read as collected rather than bought.
A napkin becoming furnitureThe glue is already underneath; the brush is only there to coax the paper flat before it dries that way.
Decoupage sits in the same family as building pictures out of cut paper instead of paint, except the finished thing is a box you keep socks in. The instincts overlap more than you would expect. Cutting is cutting.
Start With a Box You Can Afford to Ruin
A first decoupage project takes an evening, and a good share of that is waiting for coats to dry. The active part - glue on, paper down, smooth it, glue over the top - is maybe twenty minutes a side. That is why it keeps turning up on lists of crafts that look far harder than they are. Four things get you there, plus one you already own: cling film, for pressing the napkin down without shredding it with your fingertips.
Disclosure: This section may contain affiliate links to Amazon. We may earn a small commission from qualifying purchases at no extra cost to you.
01Pick 01 of 12
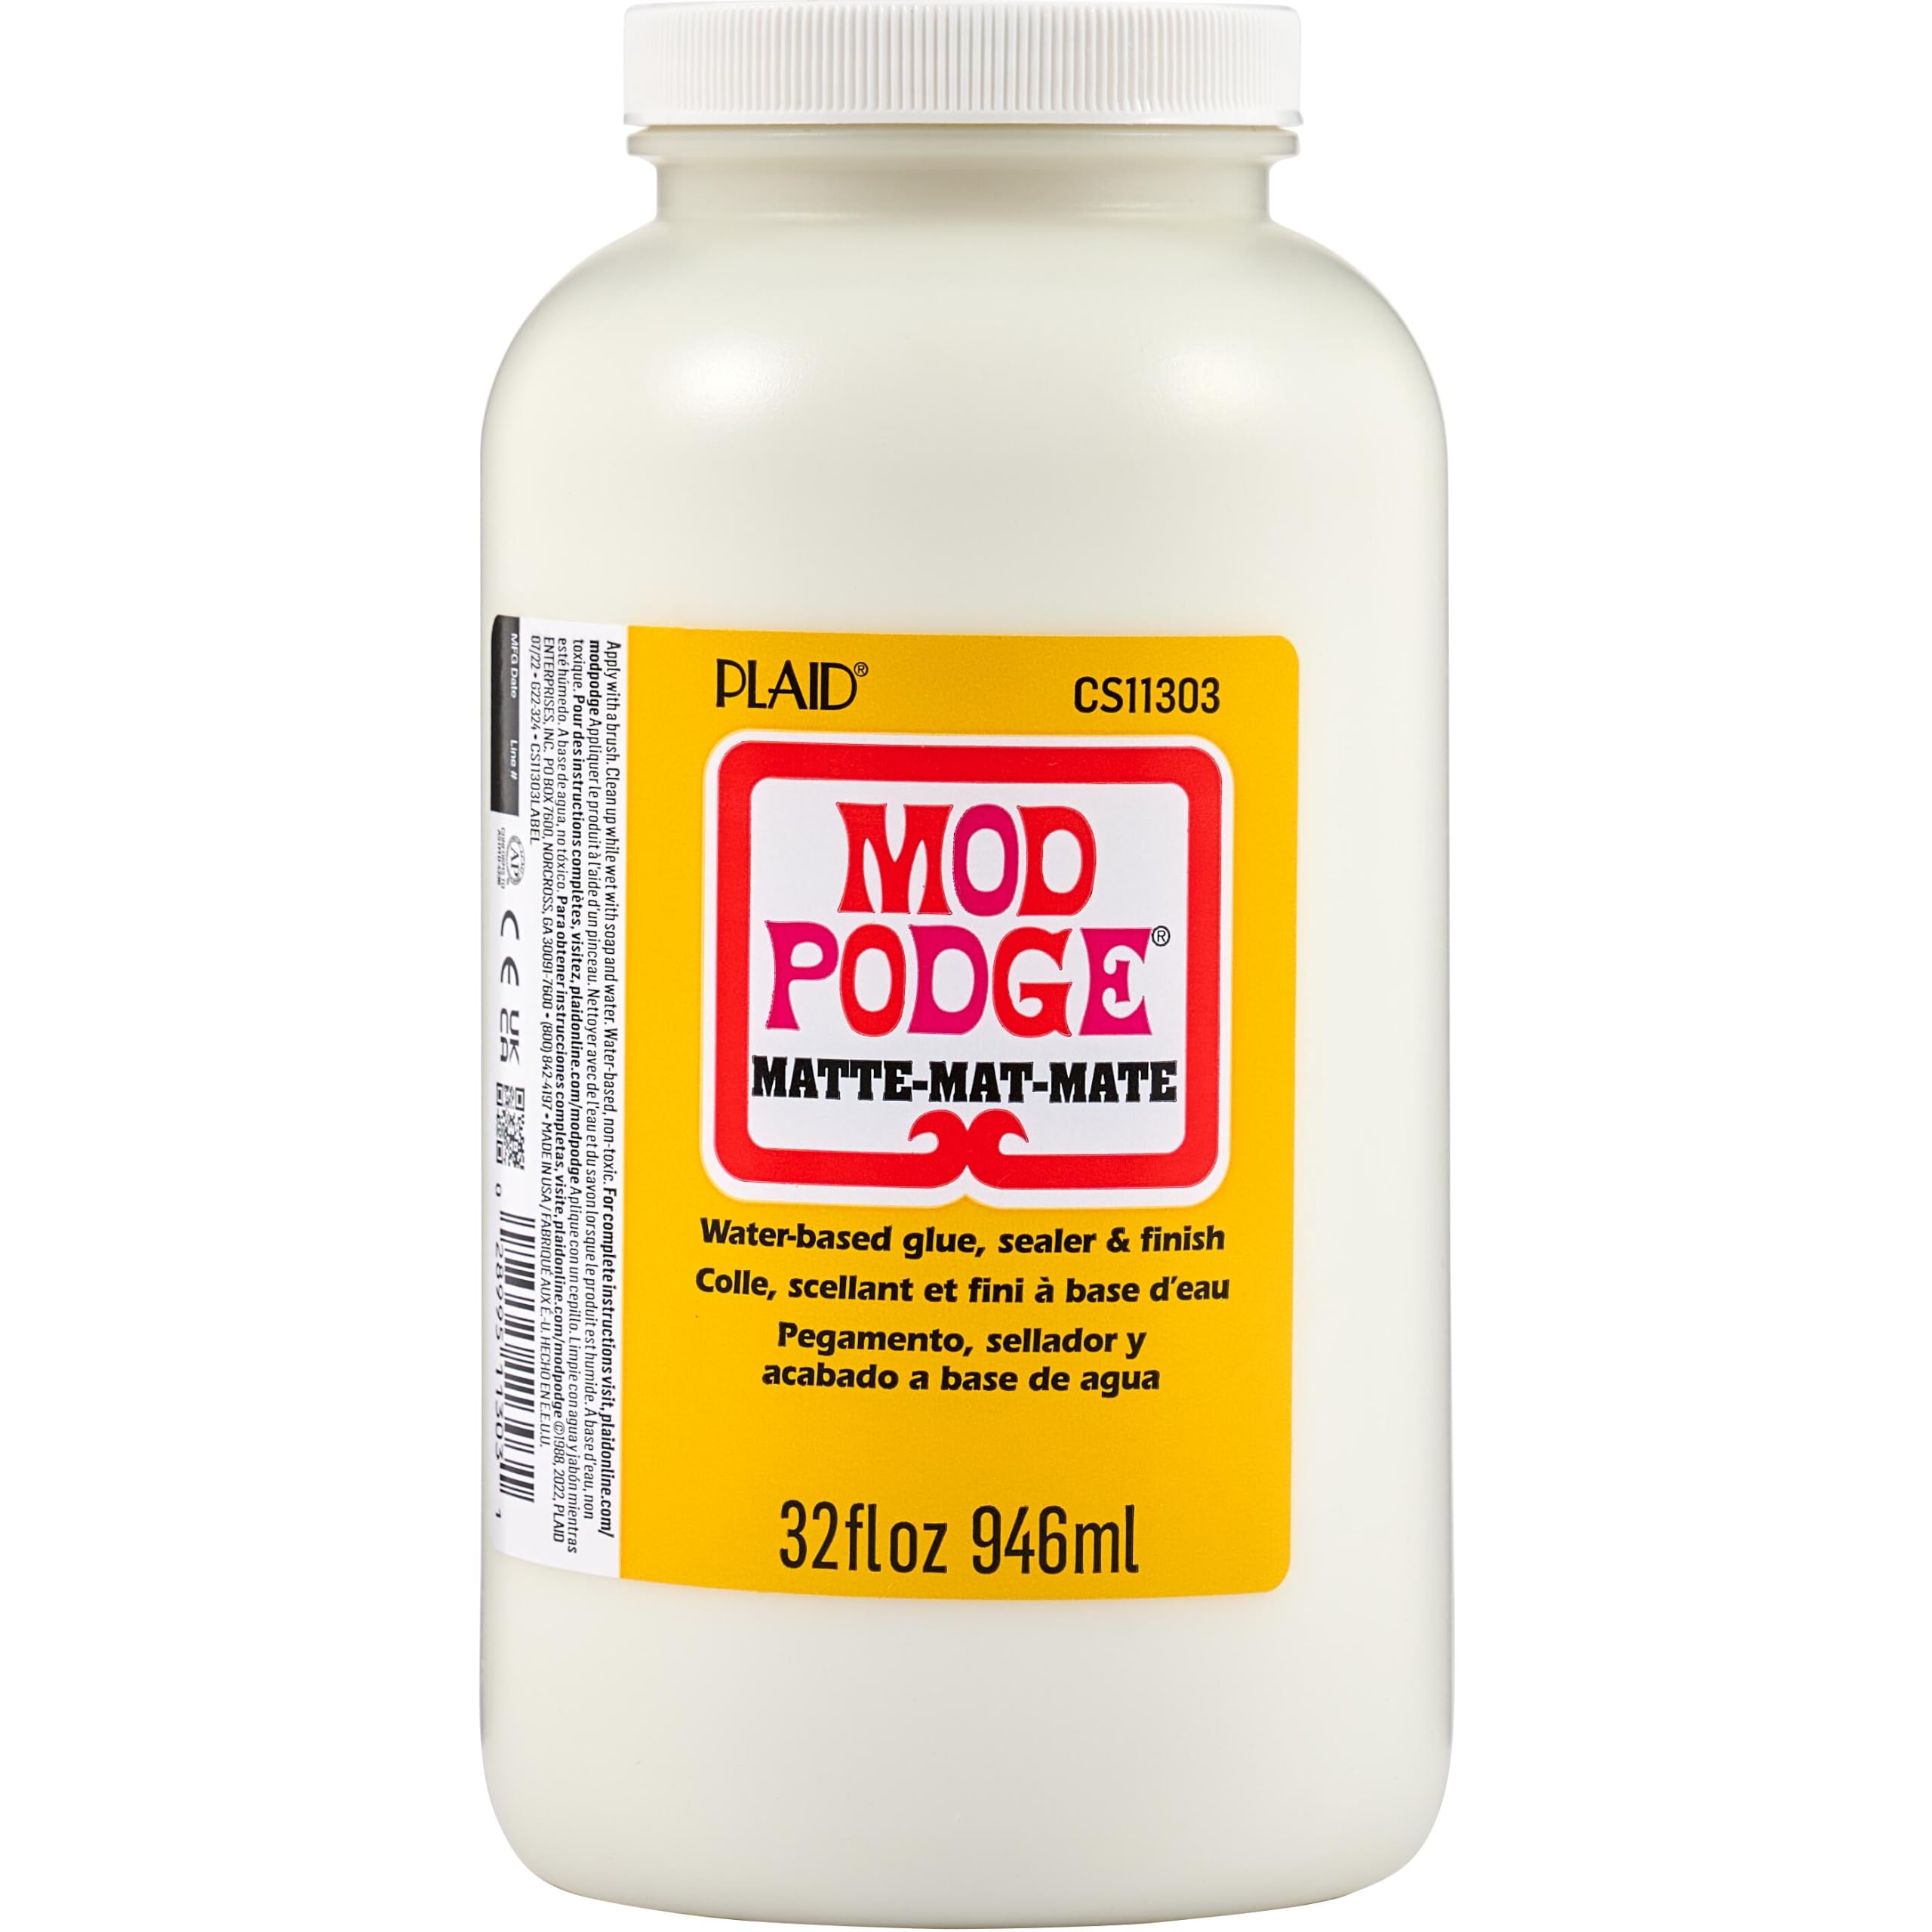
Matte Decoupage Medium
A water-based glue and sealer in one, thin enough to brush out over paper without dragging it. In decoupage it does two jobs: it wets the surface so the paper lies flat, and it goes over the top as the first protective layer. Beginners should look for a matte version, because a glossy one shows every brush stroke and stays tacky longer.
Why we picked this exact one: Mod Podge Matte is the jar nearly every decoupage tutorial assumes you already have, and matte is the sheen that forgives a beginner's brushwork. The 32-ounce bottle costs about what the half-size one does, which stops mattering the moment you paper a whole chest of drawers. Its one real fault is thickness: it is gloopier than some rival mediums and an old bottle clumps, so thin it with a splash of water rather than fighting it.
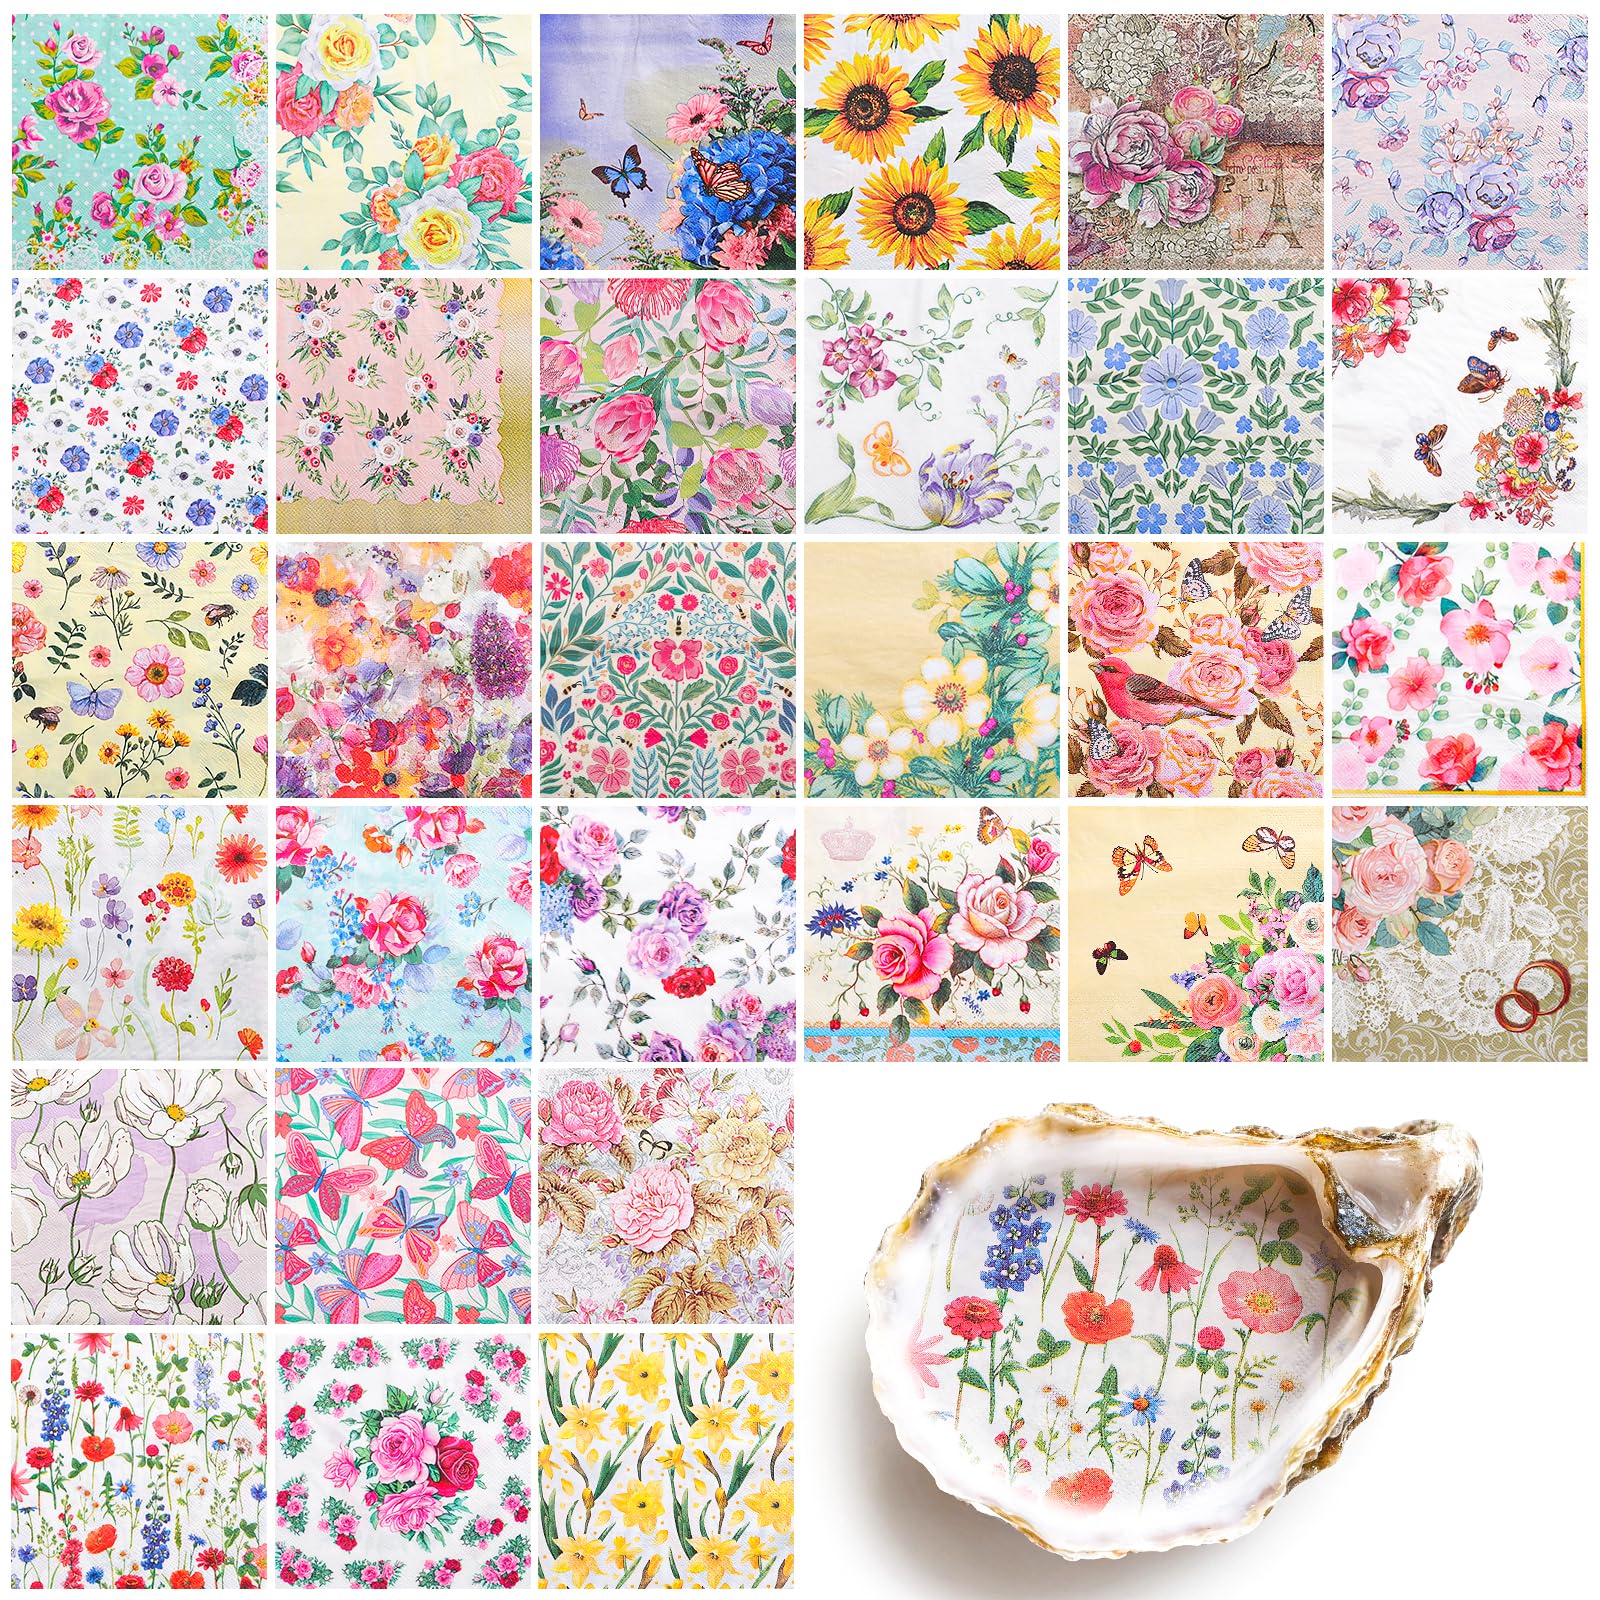
Decorative paper napkins printed with florals, toile or chinoiserie patterns and sold in assorted packs. The printed top layer peels away from the two blank layers underneath, and that single thin sheet is what gets glued down. Look for patterns without a printed border, because a border has to be cut off and the cut edge is hard to hide.
Why we picked this exact one: The NatNarr thirty-pack gives you thirty different patterns rather than thirty of the same one, which helps while you are still learning what reads well at drawer size. It holds 4.6 stars across more than five hundred ratings, and the print quality is the thing reviewers keep mentioning. These are cocktail size at 13 inches square, so a full drawer front needs two overlapped - easy once you can match a pattern, fiddly on your first go.
Short-handled flat brushes with soft synthetic bristles, sized for small surfaces like lids, trays and drawer fronts. The job is to lay a thin even film of medium, then smooth more over the top of the paper without shifting it. Decoupage medium is hard on brushes, drying in the heel and stiffening them, so a washable synthetic is what survives a few projects.
Why we picked this exact one: The Mod Podge 10615 three-piece set is built around this exact medium, with taklon bristles that wash clean under a tap and keep their shape after a dozen projects. Plenty of decoupagers swear by disposable foam wedges instead, because foam leaves no stroke marks at all; the trade-off is that foam tears and gets binned after a session or two. These cost little enough that owning both is the sane answer.
A plain softwood box with a hinged lid and a small clasp, sold raw and unsealed. The flat lid gives you one generous panel to work on, far easier than a curved or fiddly shape for a first attempt. Raw wood needs a light sand and a coat of pale paint before any paper goes near it.
Why we picked this exact one: The WSICSE box is 9.2 by 5.5 inches, which is almost exactly one napkin wide, so your first panel needs no overlapping and no pattern matching. At 4.5 stars over 111 ratings the reviews are consistent about what arrives: usable raw pine, not heirloom joinery. Sand the lid before you paper it, and wipe the dust off with a dry cloth rather than a damp one, because damp raises the grain.
With these four you can paper a lid, sand the overhang off and end up with something that looks bought. Expect the surface to stay faintly tacky for a day or two; that is the glue behaving normally, not a mistake you made. If the appeal here is the bit where wet paper does something you cannot quite control, floating ink on water scratches the same itch for about the same money.
What You'll Want by the Third Project
The first project teaches you what your fingers cannot do. Thin wet napkin tears under a fingertip long before it goes flat, and at some point you give up and reach for something broad to push with. These four are the ones that change results, as opposed to the ones that end up in a drawer. If you find yourself hoarding pretty paper for its own sake, there is a whole craft built on that habit.
05Pick 05 of 12
Small Rubber Brayer Roller
A hand roller with a soft rubber barrel on a steel frame, run across freshly laid paper to push trapped air and surplus glue out to the edges. Four inches is the useful width for lids, trays and drawer fronts. The rubber wants to be soft enough to flex under pressure rather than skid across the surface.
Why we picked this exact one: The AKIRO four-inch brayer carries 9,008 ratings at 4.7 stars, which for a tool this simple mostly tells you the rubber does not go hard after a year in a drawer. A roller is one of the three smoothing tools decoupagers name, alongside a folding tool and an old gift card, and it is the one that covers width fastest. Rinse it the moment you finish, because medium left to dry on the rubber is a nuisance to get off.
Small scissors with slim, very sharp blades that meet cleanly right to the point, used to cut single motifs out of a printed sheet. Thin napkin paper drags and tears under blunt household scissors. The useful ones have short blades, because short blades turn tight corners.
Why we picked this exact one: The Beaditive two-piece set holds 4.7 stars over 7,883 ratings, and the pair splits the work sensibly: a straight blade for outlines, a curved one for working round petals. They ship with blade covers, which matters more than it sounds, because tips this fine bend if they rattle loose in a drawer. They are paper scissors; cutting cloth with them takes the edge off.
Foam blocks coated in abrasive on several faces, flexible enough to follow an edge and washable when they clog. In decoupage they do three separate jobs: smoothing raw wood before painting, taking the paper overhang off once the glue is dry, and polishing a streaky clear coat. The grit range matters far more than the brand.
Why we picked this exact one: The SACKORANGE eight-pack covers 120, 220, 320 and 400 grit, which happens to be exactly the range this craft uses: 120 for the overhang, 220 before painting, 400 for polishing a streaky topcoat. Sponges beat sheets here because they flex around a lid lip without creasing. At 4.5 stars over 760 ratings the abrasive is ordinary rather than premium - it clogs on fresh paint, but it rinses out.
A clear water-based polyurethane finish, brushed on in thin coats over dried decoupage to leave the surface hard and wipeable. It is a different product from decoupage medium, which never fully hardens. Water-based versions are preferred over oil-based ones on pale surfaces because they do not amber with age.
Why we picked this exact one: Minwax Polycrylic is water-based, and that is the property doing the work: it dries hard and stays clear over white paint instead of ambering the way an oil-based varnish does. The half-pint is the sensible size for boxes and trays, since a quart will skin over long before you reach the bottom. This is the gloss sheen, which gives the deep glassy look the craft is known for, and it also shows brush marks more than the matte version of the same line - thin coats, or pick matte.
If you are rationing, buy the topcoat first and the rest later. A box that never stops feeling sticky is the classic first-project disappointment, and the topcoat is what prevents it. Pages built to hold photographs use much the same cutting and placing instincts, if you would rather work flat than on furniture.
When One Napkin Isn't Big Enough
Craft napkins mostly arrive around thirteen inches square. A drawer front is wider than that. You can overlap two and match the pattern, which works and also shows every seam if you get the alignment even slightly wrong. Or you can switch to something made to cover a big area in one go. Two things do that, and they behave nothing alike - one is dry and unforgiving, the other is wet and endlessly patient.
Pick one
These 2 do the same job. You only need one of them, so pick the one that suits you better.
09Pick 09 of 12Option A
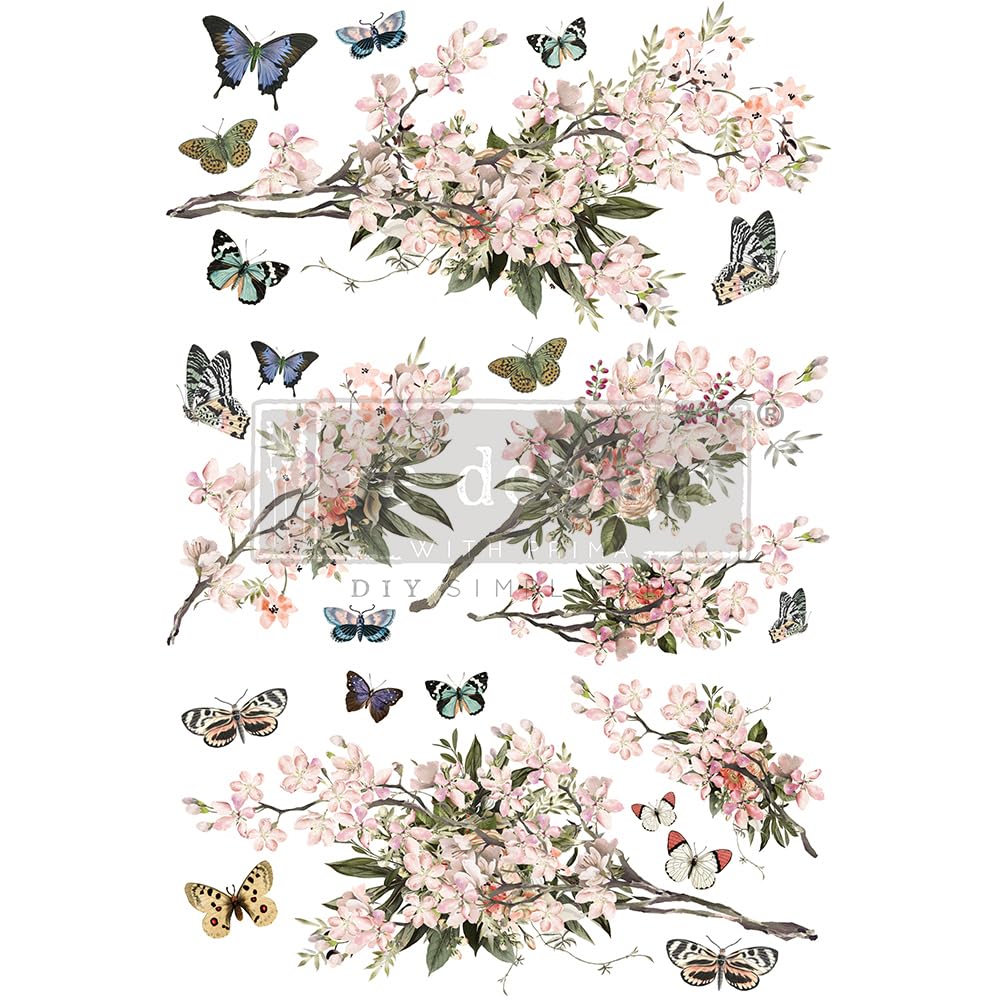
Large Furniture Rub-On Decor Transfer
A pressure-sensitive sheet carrying a printed design that releases onto a surface when you rub the back of it. No glue is involved - the image transfers dry, onto a surface that is already painted and sealed. Sheets this size cover a drawer front or a cabinet door in one piece.
Why we picked this exact one: Redesign with Prima's Blossom Botanica sheet is 24 by 35 inches, big enough that a dresser front takes one piece and no pattern matching at all. It is the transfer brand furniture painters actually reach for, and 4.7 stars across 168 ratings backs that up. The catch is unforgiving: the paint underneath has to be fully dry and sealed, which means days rather than hours, and once the design touches the surface it is down for good.
Pros
Opaque, so it reads clearly over dark or coloured paint
One sheet covers a whole drawer front with no seams
No glue, no wrinkles, no drying time
Cons
Placement is one-shot - it cannot be lifted and slid over
Needs a painted, sealed, fully dry surface underneath
Costs roughly twice what a pack of rice paper does
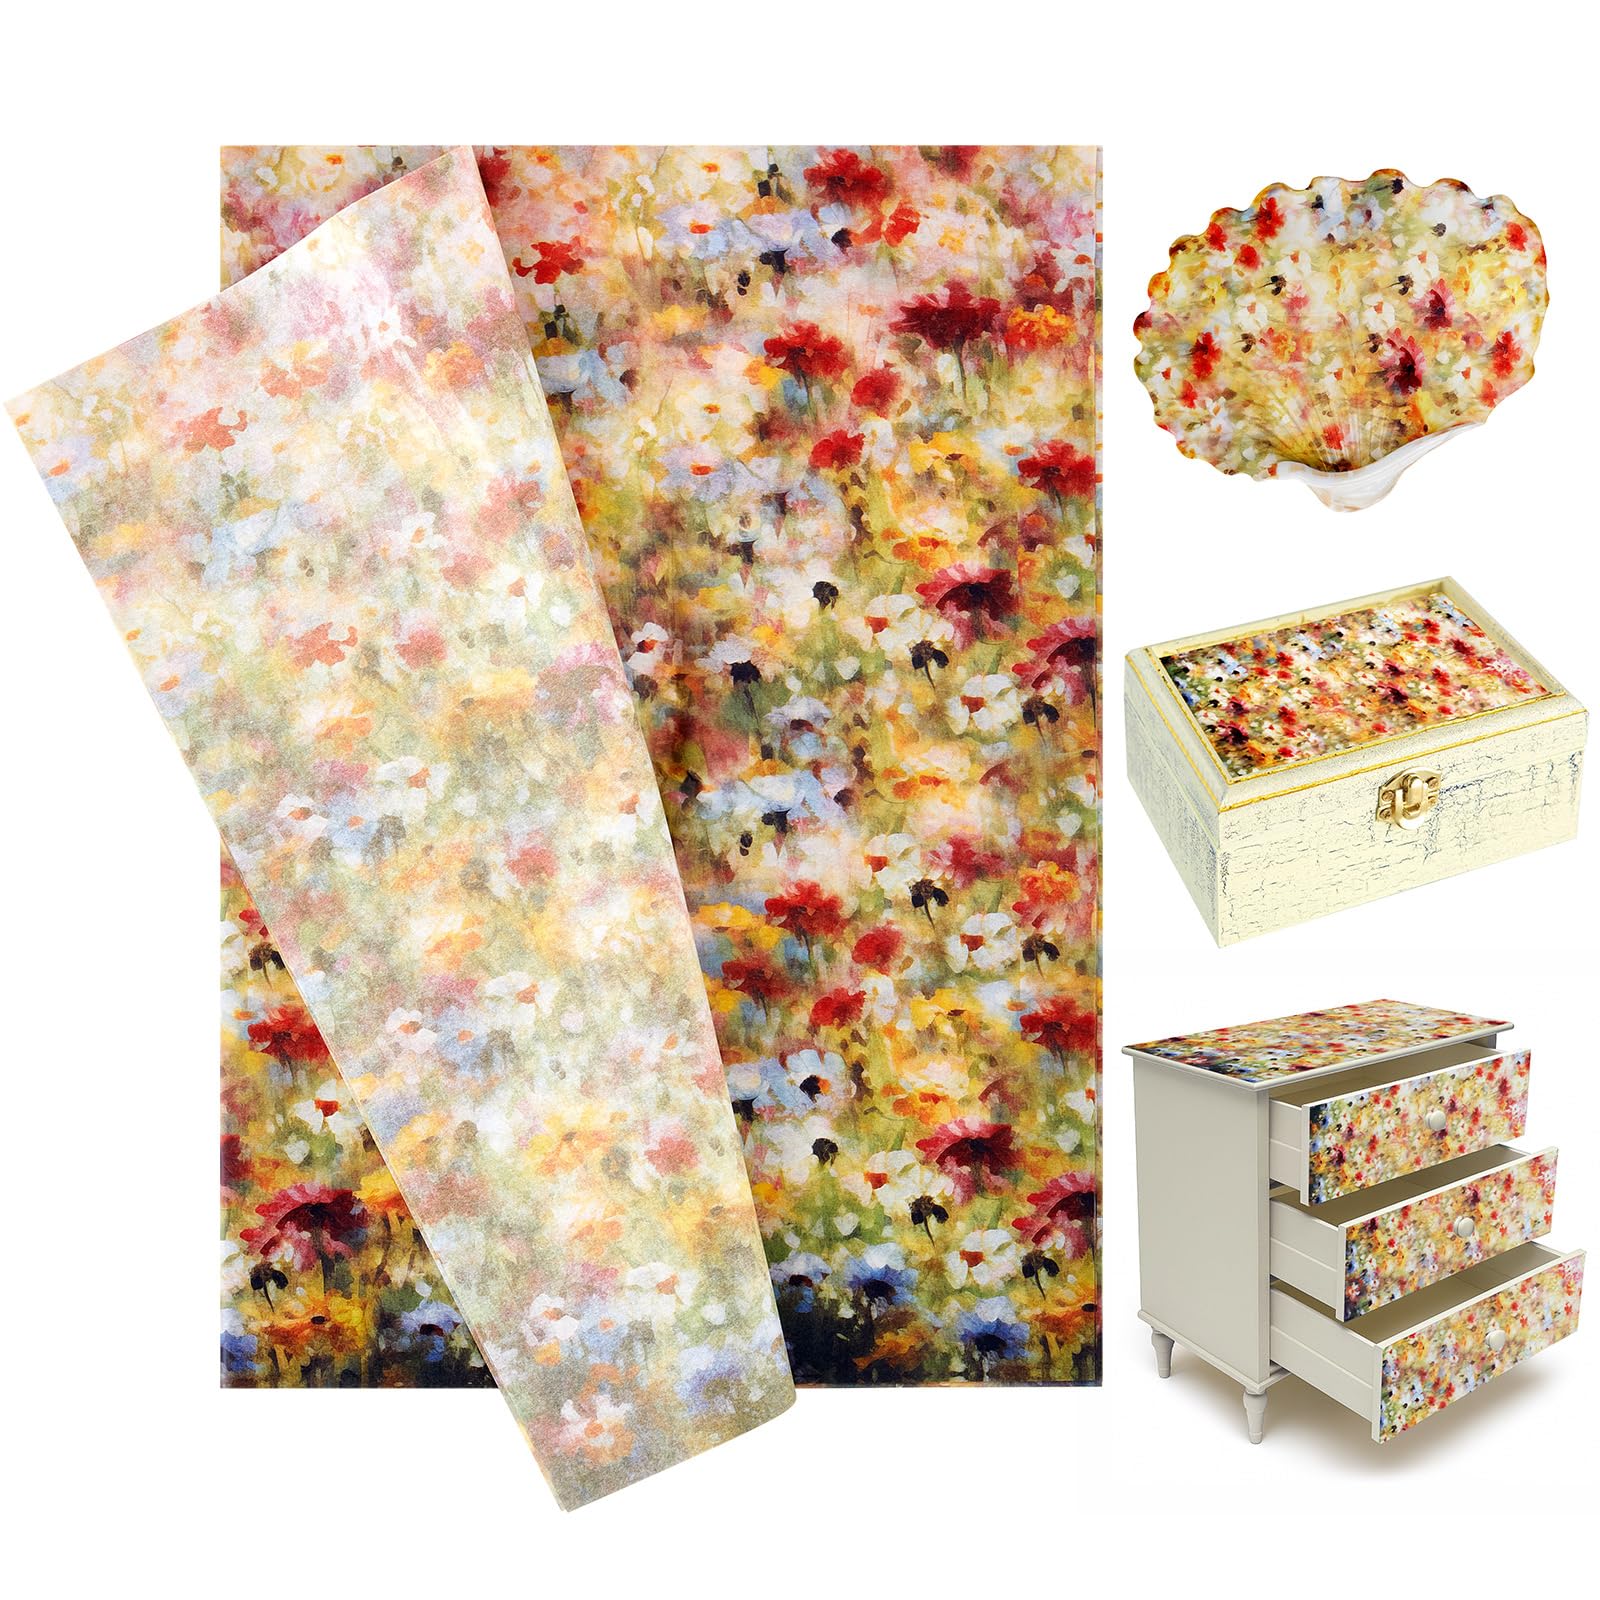
Thin mulberry-fibre sheets printed with decorative designs and sized to cover a large surface in one piece. They go down with decoupage medium exactly like a napkin, but the long fibres make them far less prone to tearing when wet. A little of that fibre texture stays visible in the finished surface.
Why we picked this exact one: The Crtiin pack gives ten sheets at 20 by 27.5 inches for roughly the price of a single rub-on transfer, so you can afford to waste the first two learning how wet is too wet. At 4.7 stars across 80 ratings the print comes through sharp rather than washed out. It is still translucent like any decoupage paper, so it wants a pale base coat underneath to read properly.
Pros
Ten sheets, so a ruined first attempt costs almost nothing
Thin enough that a large panel wrinkles less than thick paper would
Goes down with the same glue and brush as the napkins
Cons
Translucent - needs a pale painted base to show properly
Wet paper still wrinkles over curves and mouldings
The fibre texture can stay faintly visible in the finish
A flat, blunt-edged tool traditionally cut from bone, used to press and smooth paper against a surface without cutting into it. For rub-on transfers it is what drives the image off its carrier sheet; on wet paper it works as a squeegee. The edges are rounded on purpose, so it slides instead of scoring.
Why we picked this exact one: The VENCINK folder is solid cattle bone, and the blunt rounded edge is the part that matters: it presses without scoring the paper the way a hard corner would. It sits at 4.8 stars across 7,598 ratings. Bone will crack if you drop it on a tiled floor, which a plastic folder shrugs off.
A gentle-adhesion masking tape made for freshly painted and delicate surfaces, designed to peel away without lifting the finish underneath. In transfer work it holds a large sheet in exactly the right place while you burnish the first section. Ordinary masking tape has far more grab and will take paint with it.
Why we picked this exact one: Scotch Delicate Surface tape is the purple roll rather than the standard blue, and the lower tack is the entire point: it comes away from paint that has only had a couple of days to harden. One inch is the width that holds a big sheet steady without covering the design you are trying to line up. It costs more per yard than ordinary blue tape, which is the price of not pulling your base coat off with it.
Transfers want a surface that is painted, sealed and properly dry; rush that and the transfer peels. Rice paper forgives nearly everything except impatience. Either route turns a plain lid into something people pick up and turn over, which is how decoupaged boxes end up on so many December making lists.
The Questions That Hit You About Twenty Minutes In
Why did my pattern vanish into the wood?
Napkins go translucent the second glue touches them, so whatever colour sits underneath wins. Beginners skip painting because the raw wood looks lovely, then watch a bold floral fade to a faint stain. Paint the surface white or a pale shade first and let it dry properly before any paper goes on. On bare wood you can also get tannins bleeding up through light paint, which a coat of shellac underneath stops.
It's been three days and it's still sticky. Have I ruined it?
No, that is the glue behaving exactly as it does. Decoupage medium needs at least two days to stop feeling tacky and much longer to harden fully, and humidity stretches both. The mistake is reaching for a spray sealer on day one, which traps the moisture underneath and makes it worse. Move the piece somewhere warm with air moving over it, give it the two days, then seal it with a water-based polycrylic - that is what actually ends the tackiness.
Do I have to cut the napkin to fit the lid?
No, and cutting it usually makes things worse. A cut edge has to land exactly on the edge of the lid, and it never quite does. Let the napkin hang over instead, let the glue dry hard, then sand the overhang off along the edge with 120 grit and it comes away clean. The same trick hides the small brand logos printed in one corner of most napkin packs: position them where the sanding will take them off.
Why does my clear coat look streaky?
Almost always because a second coat went on over a first that was half dry, which drags the setting layer around behind the brush. Work in thin coats and never go back over a patch that has started to set - catch it on the next pass instead. If it is already streaked, 400 grit over the dried surface polishes it flat without cutting through to the paper. Gloss shows all of this far more than matte, which is worth knowing before you pick a sheen.
Can I decoupage something I'll actually use, like a table?
Yes, but decoupage medium is not a finish. Anything that takes mugs, spills and knocks needs a proper hard-wearing varnish over the top, and you want to test it on a scrap of the same paper first, because some papers react badly to solvent-based products. Water-based polycrylic is the safe default, since it will not yellow over a white base. For a piece that lives outdoors, look for a varnish with UV protection or the colours fade.
People Worth Following Into This Hobby
Real practitioners we found while researching this setup — people who do the work, show their process, and publish on sites they run themselves. No sponsorships, no affiliations; we just think they're worth your time.
Decoupages thrifted dressers with paper napkins and writes up every way the glue has failed on her, from white clumps to paper she had to scrape off wet.
Her page on fixing decoupage problems answers the two questions this setup's FAQ raises - tackiness that will not go away and streaks in the topcoat - with the specific grits and fixes she uses.
Amy Anderson has written two craft books and tests decoupage techniques on everything from cardboard boxes to glass, publishing the formula and finish comparisons as she goes.
Her napkin tutorial covers the ply-separation step that trips up every beginner, and her formula guide explains why the matte medium in the essentials list behaves differently from the gloss one.
Rebuilds and repurposes salvaged furniture and photographs each step, including the ones that go wrong, for people who have never owned a power tool.
Her napkin-decoupaged bar stools show the technique in this setup applied to a piece that gets sat on daily, which is the honest test of whether the topcoat step was done properly.
Crissy Baumann works through decoupage on wood, glass, terracotta and fabric, documenting the surface prep each material needs before any paper goes near it.
Her wood tutorial is the clearest account of the prep this setup leans on - which grit to sand with, why to wipe dry rather than damp, and how long to leave between coats.
Love what you see here? Save individual picks with on any item, or copy everything to a list of your own in one click — great for coming back to later, or dropping as a not-so-subtle hint.