Stamp Your Own Patterns: Block Printing for Beginners
Ink, Press, Repeat
Press a carved block onto an ink pad, stamp it down, lift — and the same motif appears twice, ten times, a hundred times. That trick is older than the printing press by centuries: the earliest dated printed book in existence, the Diamond Sutra scroll now kept at the British Library, was block-printed in China more than 1,100 years ago, back when Tang-dynasty workshops carved wooden blocks to mass-produce Buddhist scriptures. In India the same idea went into cloth, and workshops in Rajasthan still stamp fabric by hand with carved wooden blocks, motif by motif. Around 770 AD a Japanese empress even commissioned a million block-printed charms and had them sealed inside miniature wooden pagodas. Your version starts smaller: a rubber block, a little gouge, and whatever flat surface your kitchen offers.
Here's what nobody tells you at the start: the carving is the hobby. Inking and stamping take seconds. You'll spend most of an evening nudging a gouge through soft rubber, feeling it peel away in little ribbons, so the block and the blade matter more than anything else you buy. Beginners tend to blow the budget on bloated kits stuffed with mediocre blades and one tiny block, then quit when carving feels like a chore. The five things below work with a plain ink pad — no roller, no ink slab, and almost no cleanup on day one.
Start small on purpose. One block, one cutter with a couple of blades, a black ink pad, and paper will carry you through your first month of patterns — block printing keeps landing on lists of the best starter hobbies for adults partly because the entry gear really is this short.
Every pick below was chosen so that quitting wouldn't sting: the entire essentials list adds up to less than a decent pair of sneakers.
Soft rubber carving blocks for cutting your own stamps


Soft rubber blocks are the modern stamp-maker's material: dense enough to hold a crisp edge, soft enough that a gouge glides through like firm cheese. A 4 x 6 inch block can be cut into several smaller stamps, so one pack covers months of pattern experiments. Look for blocks around 8 mm thick — thin sheets flex mid-print and blur the impression.
Linoleum cutter with interchangeable carving blades


A pen-style cutter that stores five interchangeable blades inside its own handle: narrow V-gouges for outlines and detail, wider U-gouges for clearing the space around a motif. Swapping blades takes seconds, so one tool covers everything a beginner carves. The screw-off storage handle also keeps loose blades from waiting edge-up in a drawer.
Archival pigment ink pad for stamping on paper


A raised felt pad charged with waterproof pigment ink, sized so you can tap a carved block straight onto it. Archival-grade ink dries permanent on paper and won't smear if you paint or write over the print later. For pattern work, one deep black earns its keep long before any color set does.
Tracing paper pad for transferring designs onto blocks


Translucent paper for lifting a drawing off your sketchbook and onto the block: trace the design in soft pencil, lay the sheet graphite-side down on the rubber, and rub the back to transfer it. The flip conveniently mirrors the design, which is exactly what a stamp needs. A 50-sheet pad outlasts more patterns than most people ever carve.
Smooth white cardstock for printing cards and patterns


Heavy, smooth-surfaced card that takes a stamped impression without buckling or bleeding. At 230 gsm it stands up as greeting cards and gift tags straight off the stamp, and the smooth finish keeps fine carved lines intact where toothy drawing paper breaks them up. When choosing card for stamping, smoothness matters more than brightness.
With these five you can carve a motif after dinner and be stamping your own wrapping paper before the kettle's boiled twice. Sketch the design before you touch the block, even roughly — and if you want a cheap warm-up on the drawing side first, a sketching setup for under 20 euros covers pencil-and-paper basics that feed straight into stamp design. One caution from everyone's first week: carve away from your body and keep your free hand behind the blade, because the gouge will skate off the rubber exactly once per session.
When Stamping Turns Into Printmaking
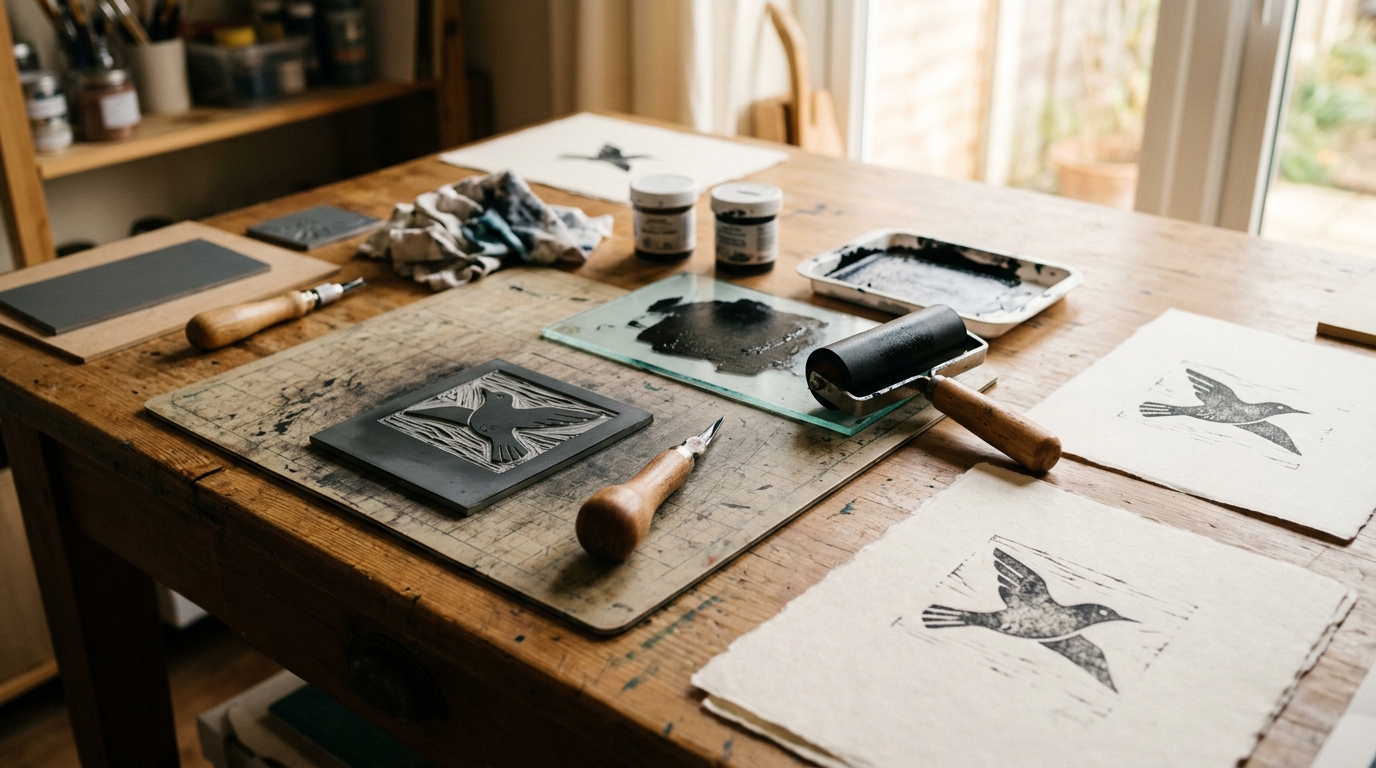
An ink pad is brilliant for stamps up to about palm size. Past that it starts to fail you — prints go pale and patchy in the middle, right where the pad couldn't reach. The classic fix is the roller-and-tube-ink route: squeeze out a line of ink, roll it thin until it sounds tacky, coat the block, press. It's the same workflow at the heart of a beginner linocut setup, and these five pieces move you into it for less than the cost of one framed print. My advice is to add them one at a time, brayer and black ink first, and only after your ink pad has actually let you down.
Soft rubber brayer for rolling ink onto blocks


A hand roller that spreads tube ink into a thin, even film and lays it across the raised surface of a block. Soft rubber conforms slightly to the carving, reaching the middle of large stamps that an ink pad misses. A four-inch roller matches the block sizes most beginners actually carve.
Water-based black block printing ink


Tacky, slow-flowing ink made for relief blocks: it clings to the raised surface instead of flooding the carved lines, and it washes off skin, brayer, and block with plain soap and water. One 150 cc tube outlasts dozens of sessions because each print uses a tissue-thin layer. Water-based is the right first choice — oil-based inks print beautifully but turn cleanup into a solvent chore.
Hand baren for pressing even prints without a press


A flat disc with a handle that you rub in circles across the back of the paper once it's laid over the inked block. It spreads your weight far more evenly than fingertips or a wooden spoon, which is what keeps broad flat areas of a print from coming out cloudy. Light, cheap, and quicker than any improvised substitute.
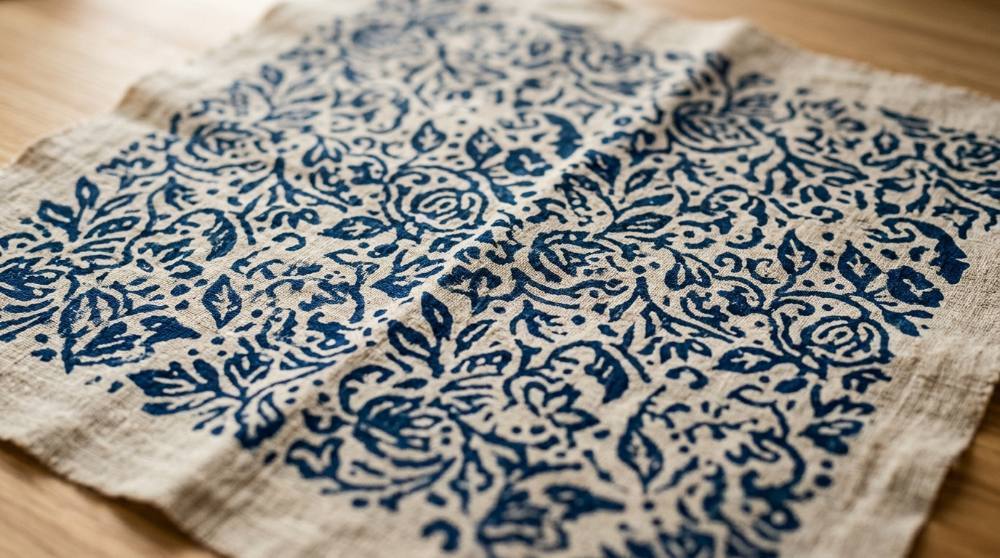
Fabric block printing ink for tote bags and tea towels


Block printing ink formulated to bond with cloth fibers instead of sitting on top of them. This water-miscible type cleans up like ordinary block ink but survives washing once fully cured, with no iron-on heat-setting required. A 2.5 oz tube prints a surprising number of tote bags, since fabric work uses the same thin film as paper.
Self-healing cutting mat for trimming blocks and paper


A layered rubber mat that grips the workbench, shrugs off knife cuts, and closes up after each one so blades stay sharp longer. In block printing it earns its space twice: as a surface for trimming blocks and cardstock, and as a grippy base that keeps a small block from skating while you carve. The printed grid doubles as a spacing guide when you lay out repeating patterns.
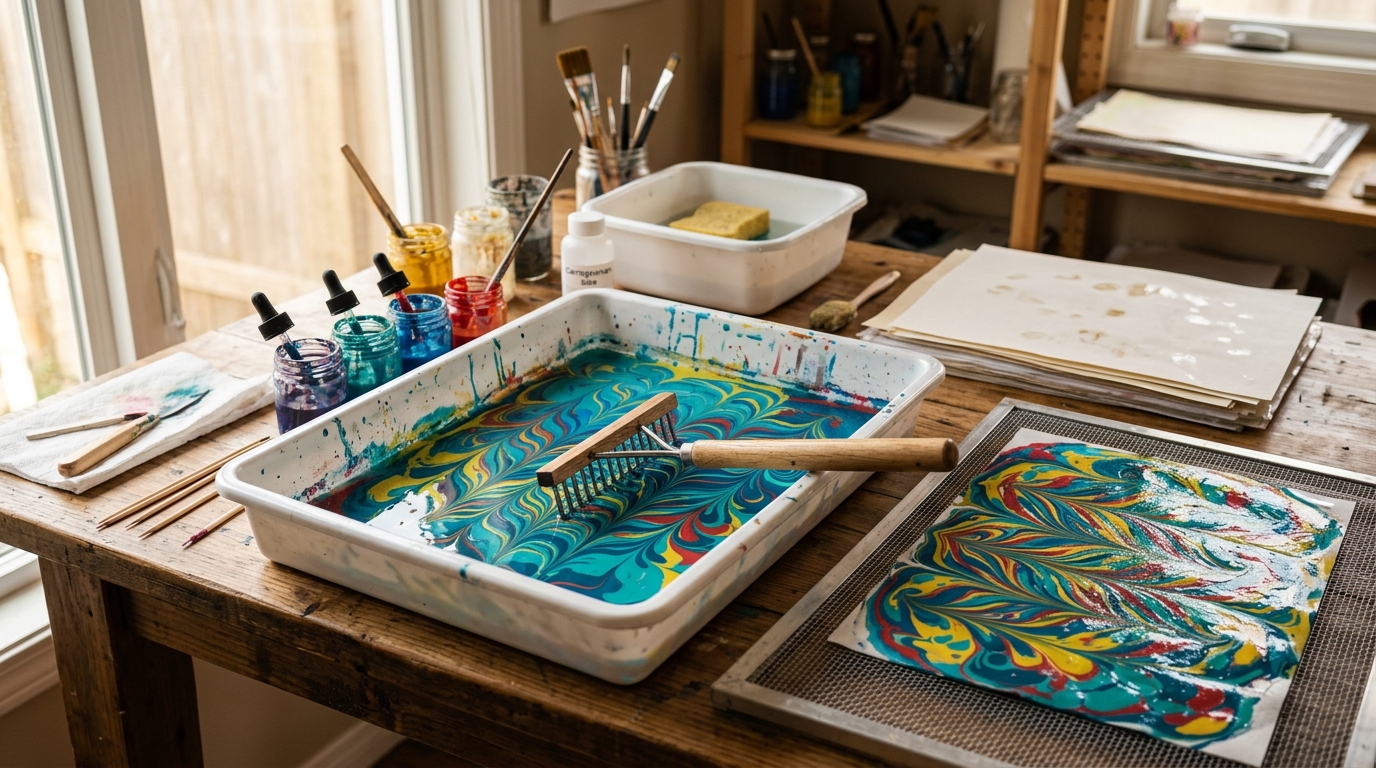
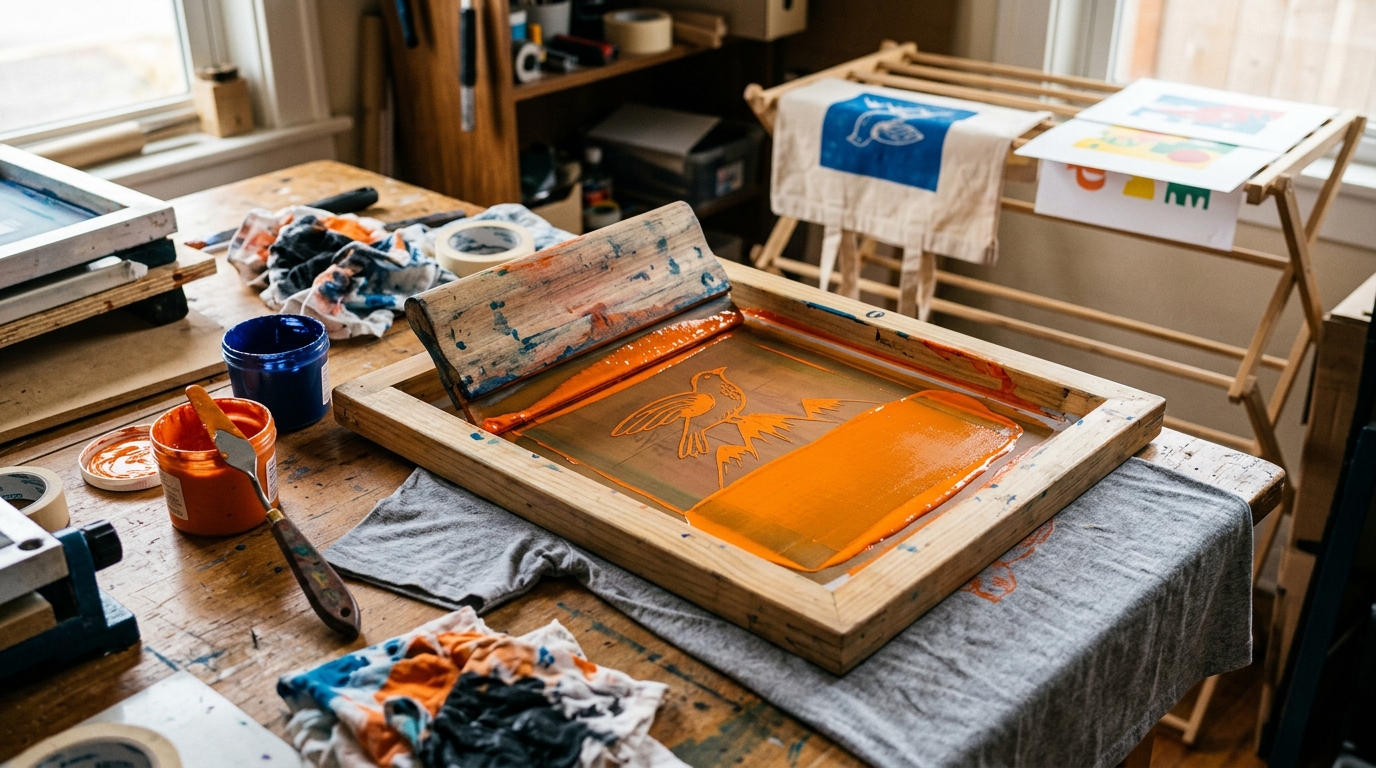
This handful turns stamping into proper small-scale printmaking: bigger blocks, solid coverage, tote bags and tea towels instead of only cards. If printing on textiles becomes the main event, a beginner screen printing setup is the logical next room in the house. Give fabric prints their full cure time before the first wash; impatience there is how most first tea towels lose their pattern. And if it's patterned paper you fall for rather than the carving itself, paper marbling makes one-of-a-kind sheets with no blade in sight.
Why Repeating Patterns Are Harder Than They Look
Why does my row of stamps slowly go crooked?
Beginners place each print by eye, and a degree or two of tilt per stamp compounds into a visibly drifting row by the fifth repeat. The result reads as accidental rather than rhythmic, which is why so many first fabric projects get quietly abandoned. Rule a light pencil grid on the paper first and register one edge of the block against it every single time. On fabric, straight runs of painter's tape make a reusable guide that peels away cleanly.
Why did my prints get paler after the first few stamps?
An ink pad only carries so much ink at its surface, and a large block drinks it faster than the felt re-wets. Because the fade is gradual, beginners blame their pressure and press harder, which just distorts the paper. Re-ink before every single print. For any block bigger than the pad, flip the ritual: lay the block rubber-side up and tap the pad over it in overlapping dabs until the whole surface looks evenly velvety.
Why do stray speckles print in areas I carved away?
If the cleared background sits only a hair below the printing surface, the ink still kisses those high spots and prints noise — printmakers call it chatter. A little can look charmingly handmade; a lot reads as a mistake. Carve the background noticeably deeper around your motif, and simply cut away large empty margins altogether — soft rubber trims cleanly, and material that isn't there can't print.
Why did my fabric print fade in the first wash?
Ordinary water-based ink sits on top of cloth and rinses out, and even proper fabric ink fails if the cloth wasn't ready. New cotton carries factory sizing that blocks absorption, so the print never bonds. Prewash the fabric without softener, print with textile-specific ink, and give it the full cure time on the label before it ever meets the washing machine.
Love what you see here? Save individual picks with on any item, or copy the whole list to your own wishlist in one click — great for coming back to later, or dropping as a not-so-subtle hint.