
Beginner Screen Printing Setup: Frame, Ink, and Squeegee Basics
The Core Kit: Everything You Need to Pull Your First Print
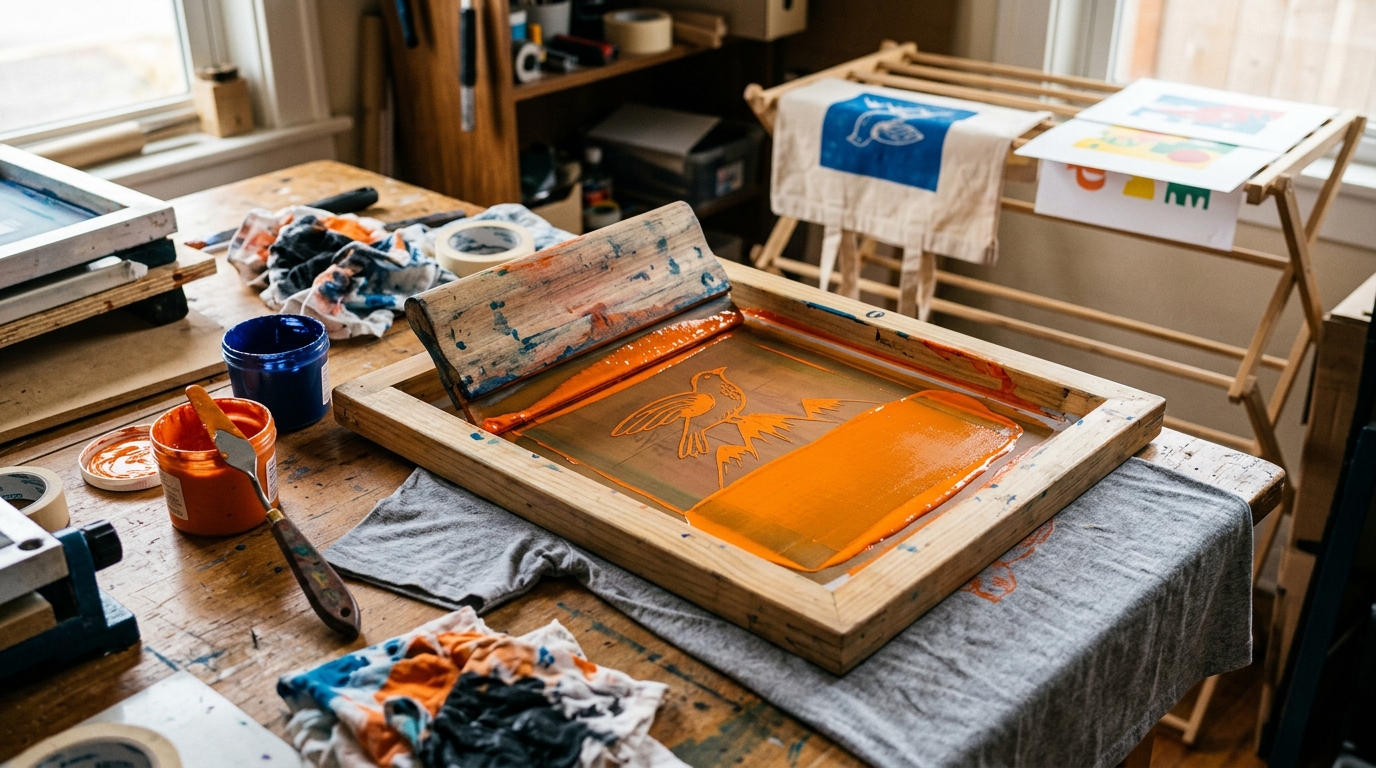
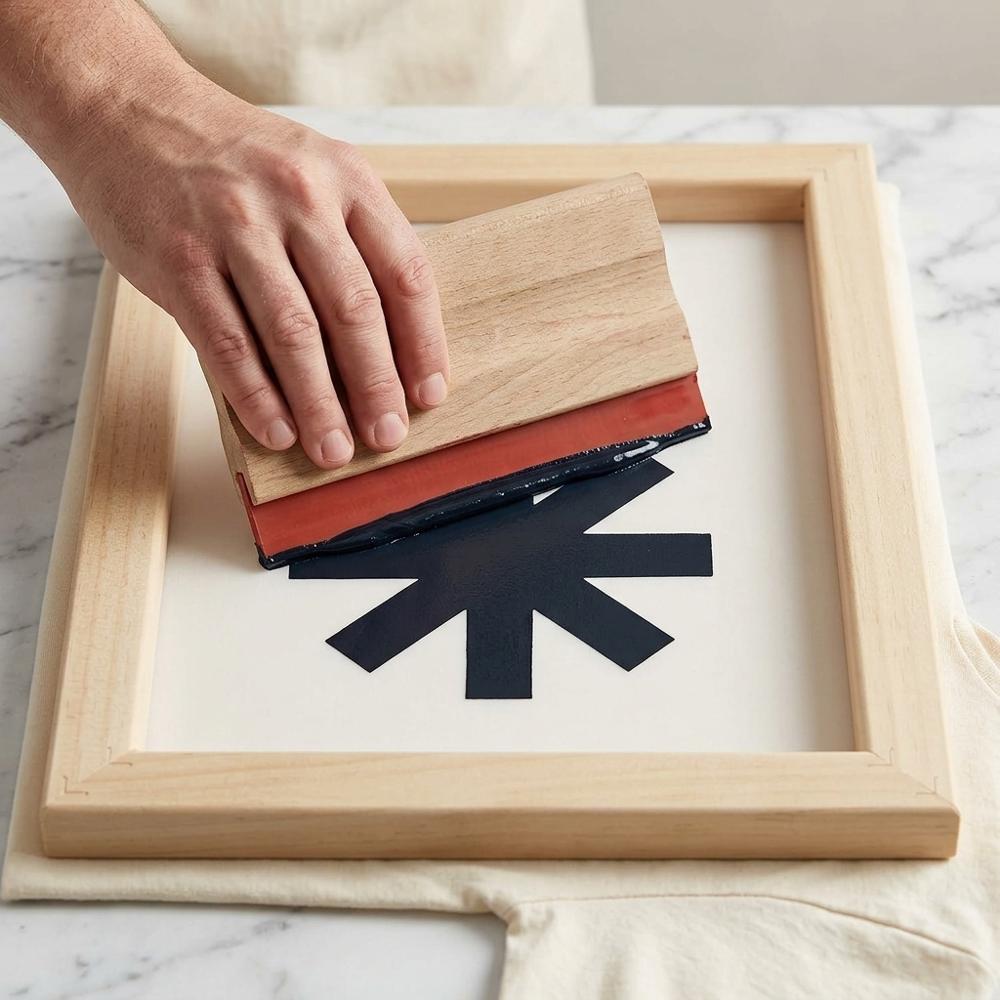
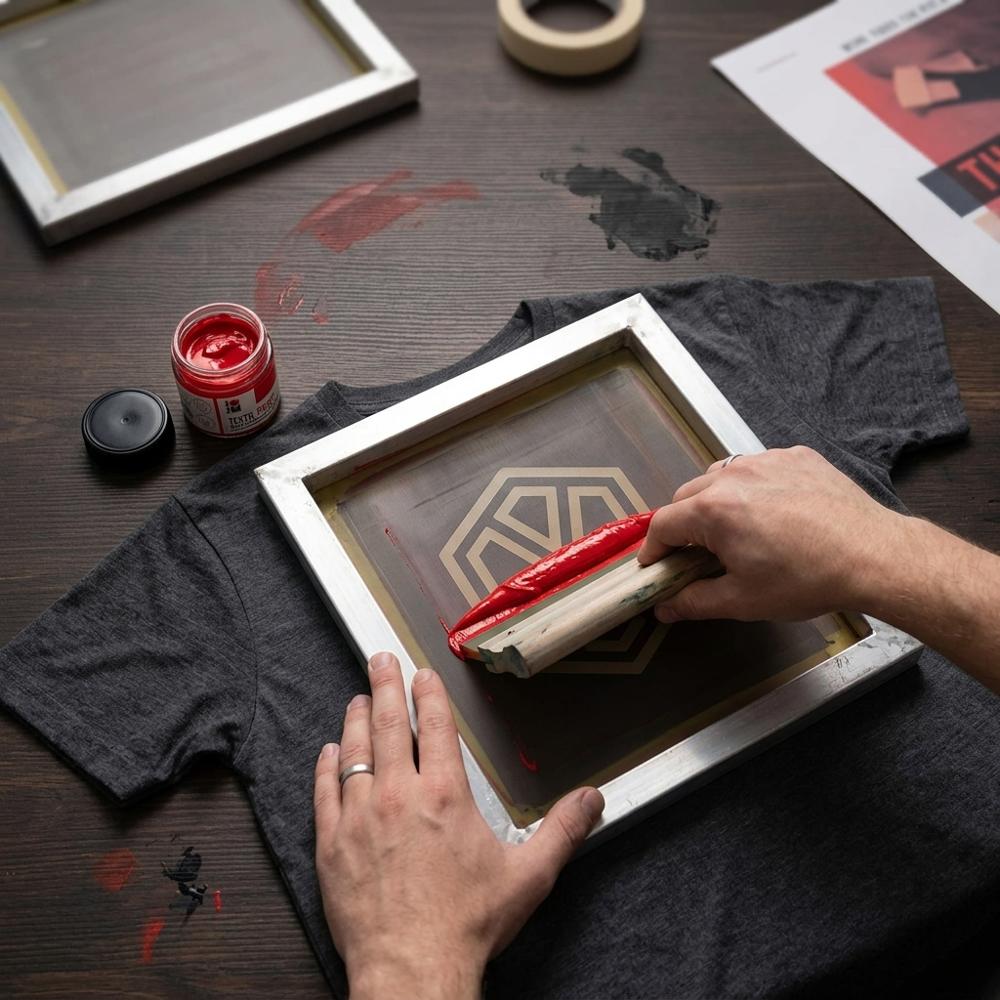
The moment that hooks most people is peeling the screen away and seeing a clean block of solid color where a second ago there was bare fabric. Getting to that moment takes five things working together: a mesh screen, a squeegee, ink, a light-sensitive emulsion to make the stencil, and a film positive carrying your design. Skimp on any one and the chain breaks, whether that is thin ink bleeding, a slack screen smearing, or an under-exposed stencil rinsing away. This first list is about getting those five pieces to a quality level where the process behaves instead of fights you.
My honest advice is to resist the giant all-in-one bundle. For a first project you genuinely only need one screen, one squeegee, a single ink, emulsion, and a few sheets of film, which is enough to print a one-color design across a whole stack of shirts. Extra colors, presses, and gadgets can wait until you actually feel their absence.
Every pick below was chosen for being easy to find, sensibly priced, and forgiving enough to learn on rather than wrestle with. If you are still weighing where your money should go in the first place, it helps to know which art supplies beginners tend to waste money on before you fill a cart.
Pre-stretched 110-mesh screen printing frame for fabric and paper
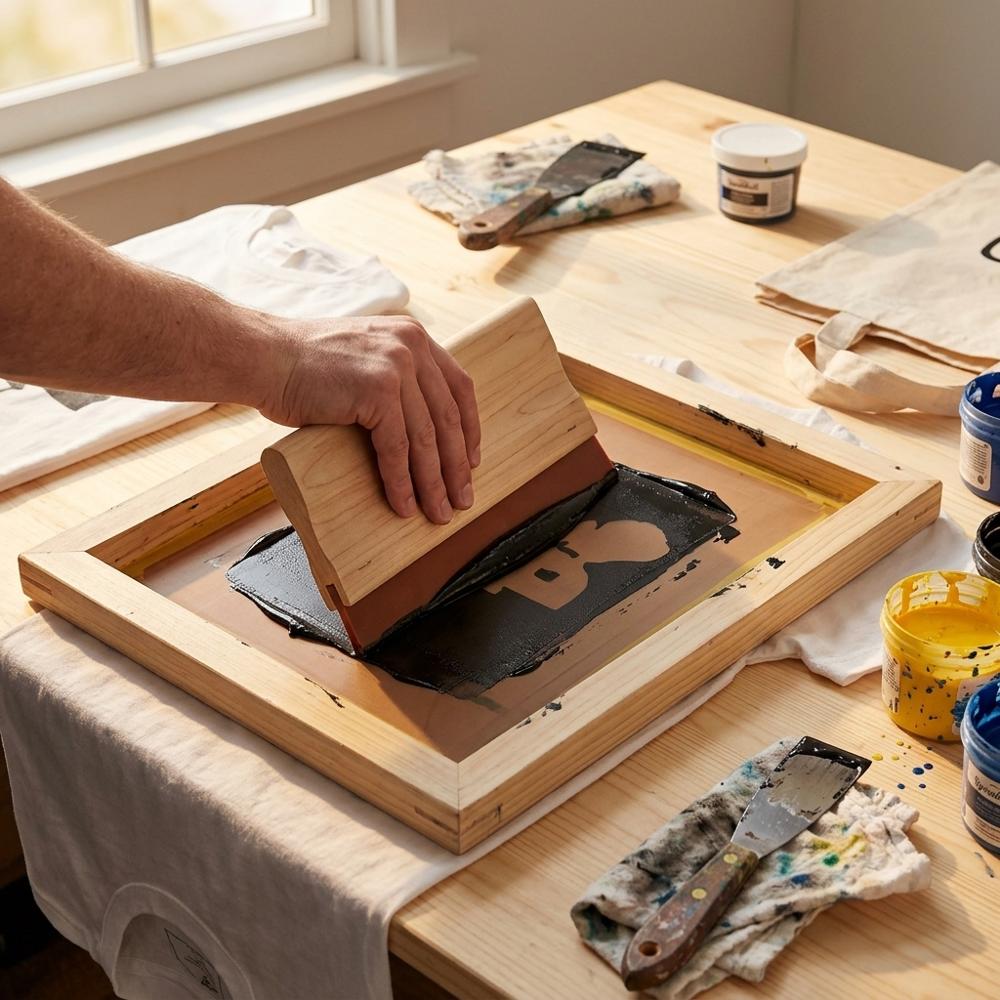
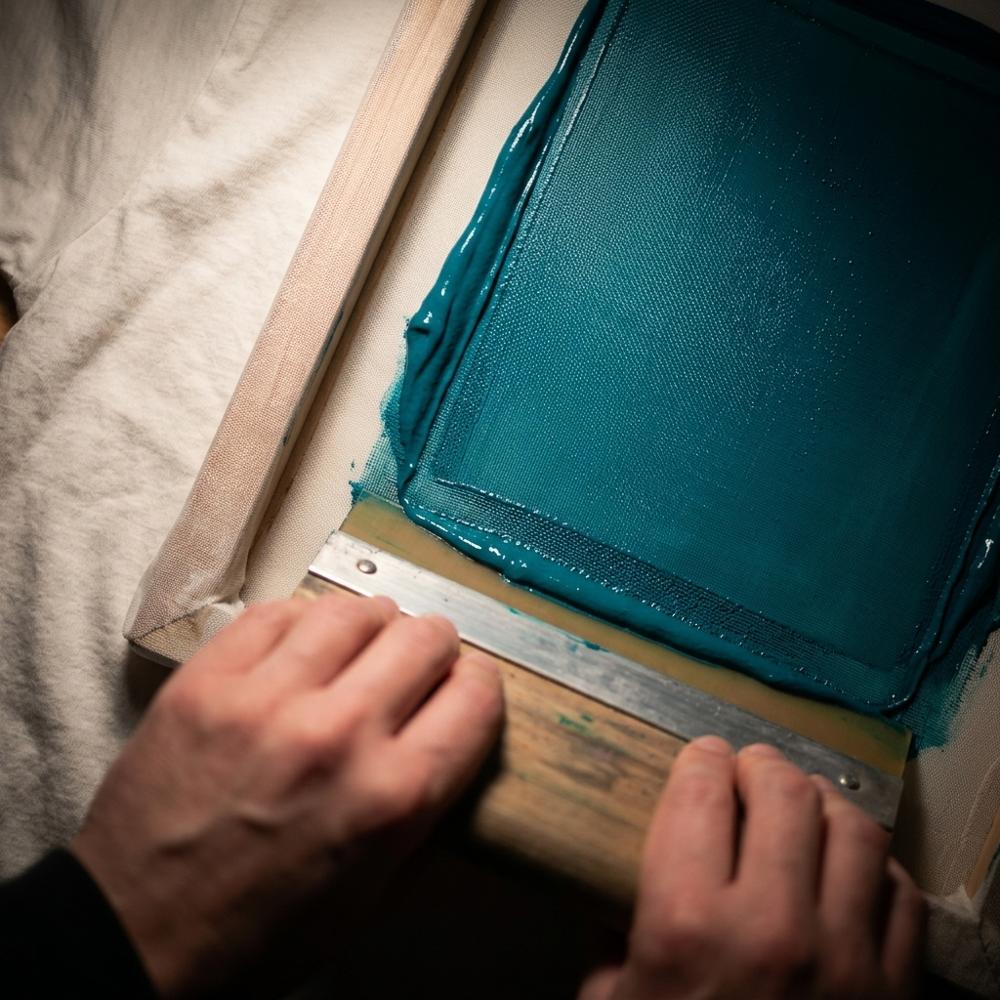
A screen is a wooden or aluminum frame with a tightly stretched polyester mesh that holds your stencil and lets ink pass through onto the surface below. A 110-thread mesh count is the standard all-rounder for beginners, handling bold text and graphics on shirts, totes, and posters without flooding fine areas. Look for mesh that is evenly tensioned and free of slack, since a loose screen smears prints and is almost impossible to register.
Wooden-handled screen printing squeegees in three widths
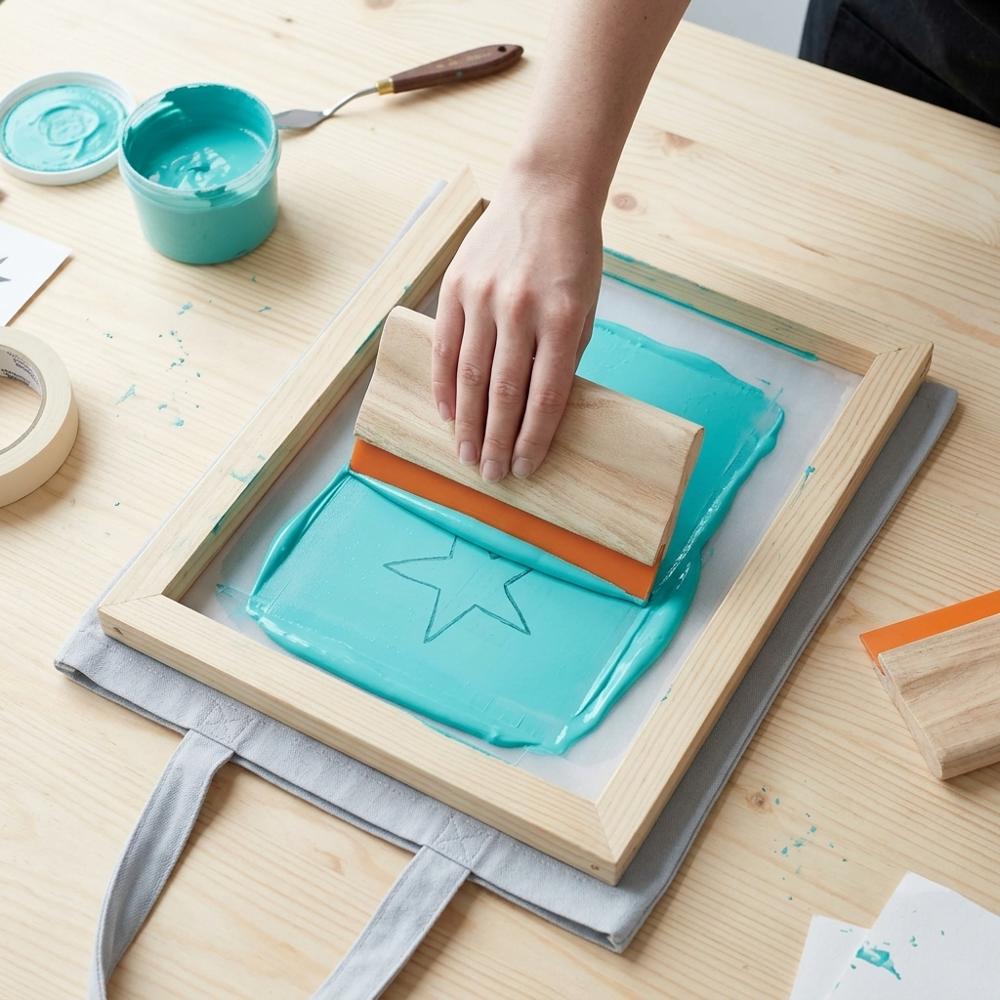
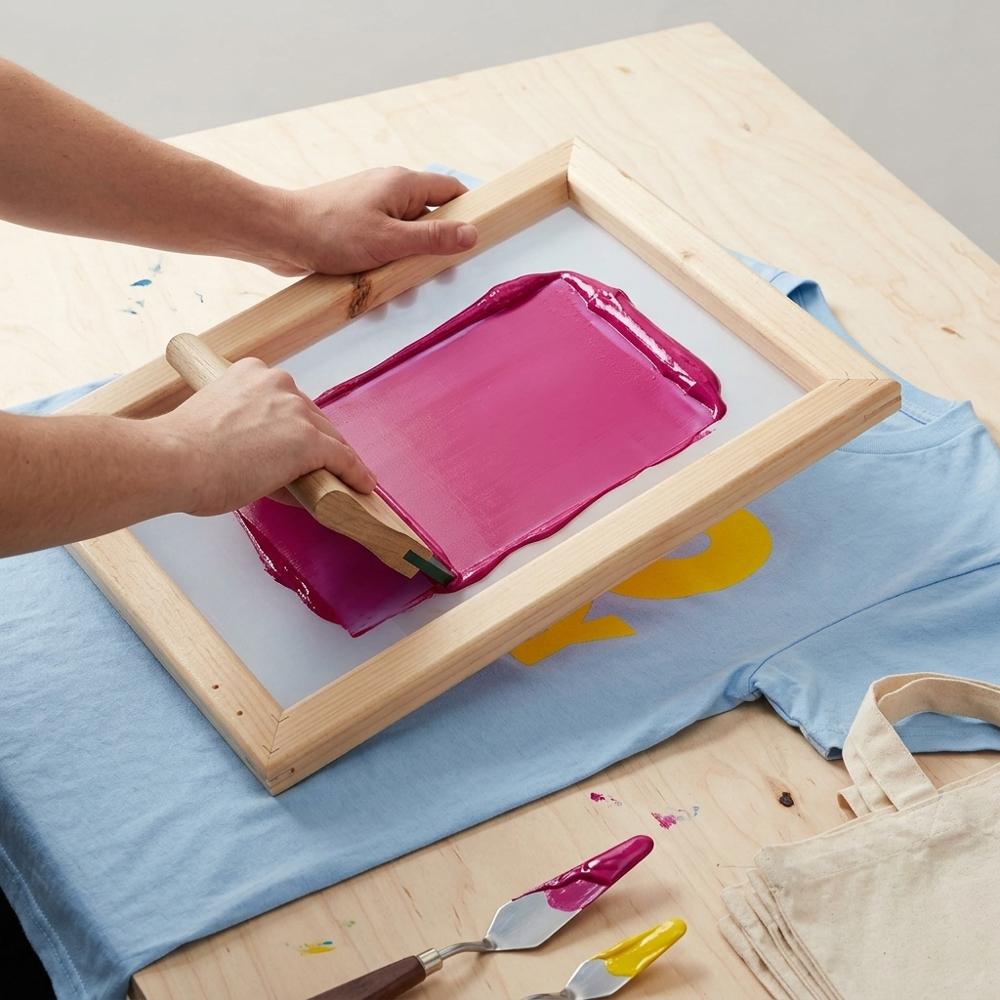
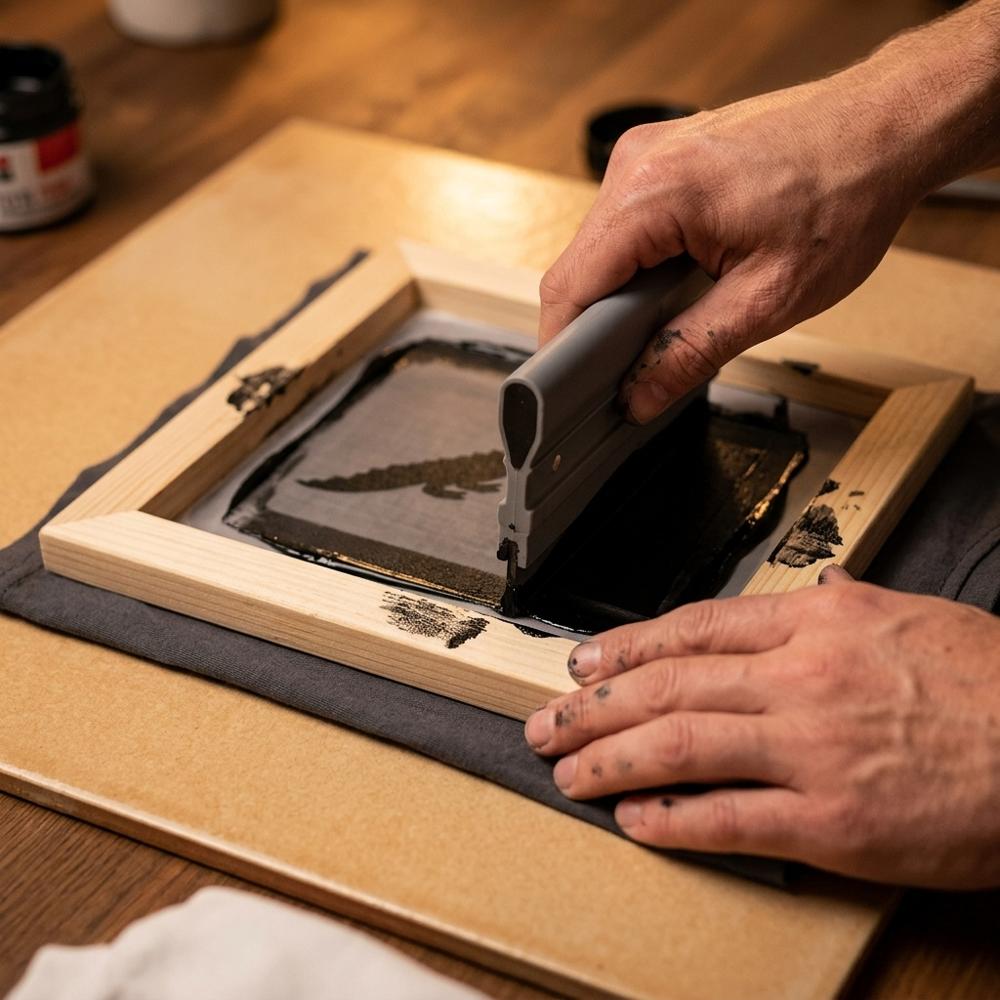
A squeegee is a rubber blade set in a handle that drags ink across the screen and forces it through the open mesh. Having several widths lets you match the blade to the design, using a narrow one for small art and a wide one to cover a shirt front in a single pull. A medium-firm blade around 75 durometer is the forgiving middle ground beginners should start with.
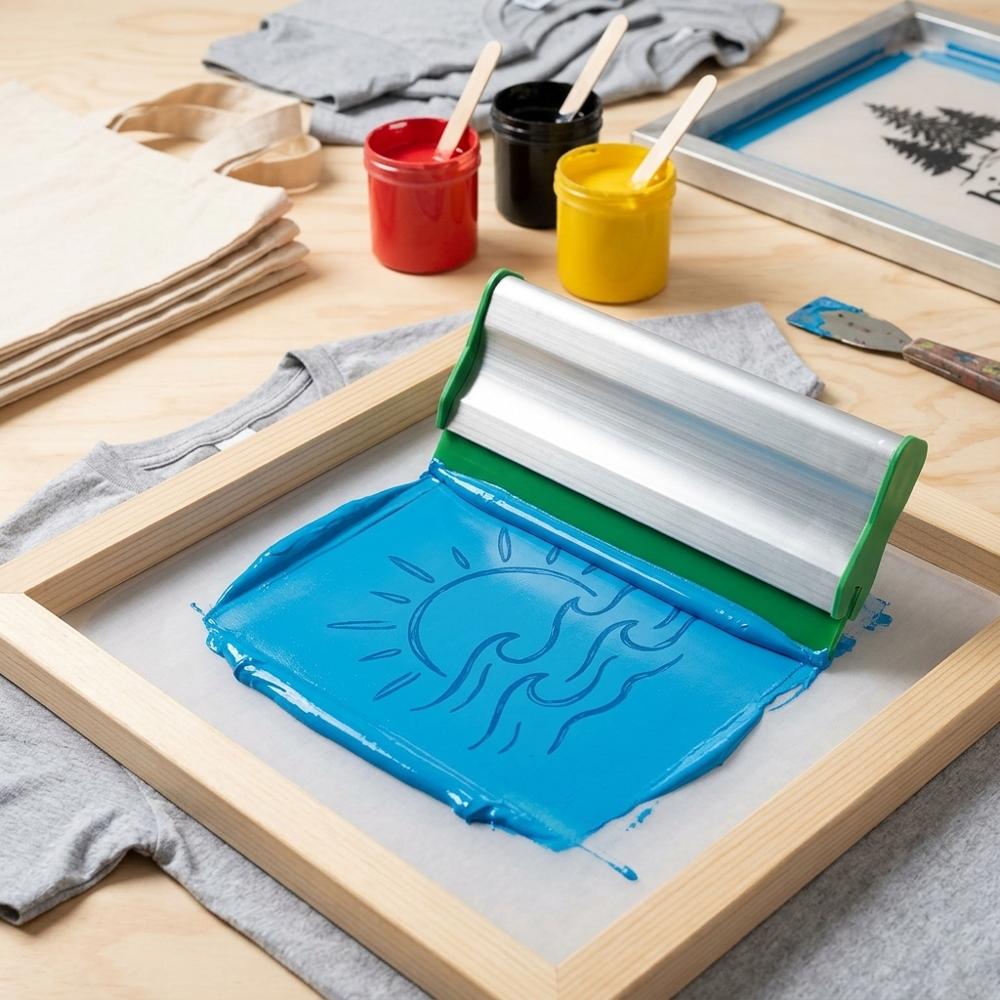
Water-based fabric screen printing ink
Fabric screen printing ink is a thick, water-based pigment formulated to sit on textile fibers and stay flexible once it cures. Water-based inks are the most beginner-friendly because they clean up with plain water and can be heat-set at home rather than needing industrial curing gear. A good textile ink holds a sharp edge instead of bleeding into the weave, giving the bold, flat coverage the craft is known for.
Light-sensitive photo emulsion with diazo sensitizer for making stencils
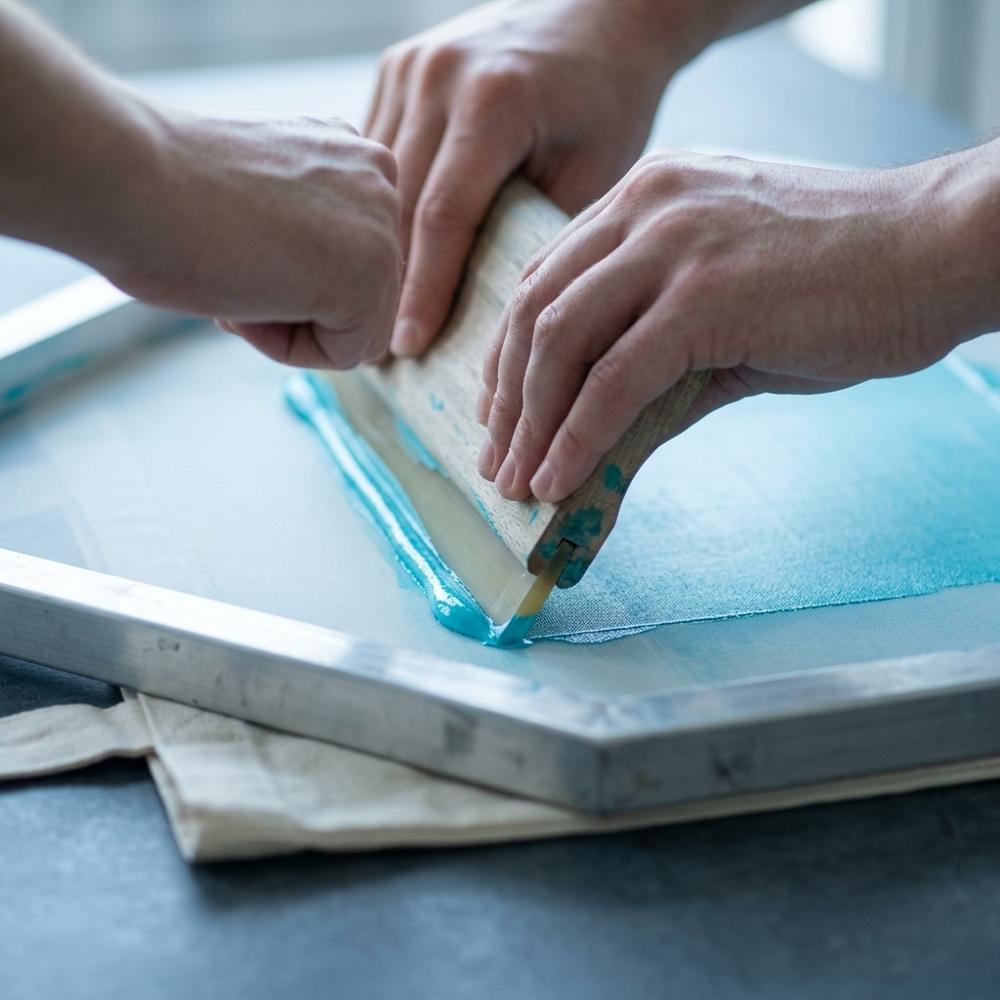
Photo emulsion is a light-reactive liquid you coat onto the screen; where UV light reaches it, it hardens, and the unexposed areas wash out to form your stencil. The diazo sensitizer is stirred in before use and is what makes the coating react to light. This method captures fine detail and lettering far better than hand-cut stencils, which is why it is the standard way to burn a screen.
Waterproof inkjet transparency film for design positives
A film positive is your design printed in solid black onto a clear sheet, which you lay over the emulsion-coated screen to block UV light during exposure. Waterproof inkjet film holds a dense, opaque black so light cannot creep through the image, which is what gives clean edges. Letter-sized sheets run through an ordinary inkjet printer, so you do not need special equipment to make positives.
With these five in hand you can carry a design from screen to shirt and repeat it cleanly a dozen times, which is the real magic of printing versus painting each piece by hand. Expect your first pull or two to come out uneven while you learn how much ink and pressure the mesh wants; that is part of the learning curve, not a sign you bought the wrong gear. If you find you love the physical, hands-on side of pressing an image onto a surface, the carving-based world of a beginner linocut printmaking setup scratches a very similar itch with far less equipment.
Upgrades That Make Coating and Printing Less Fiddly
Once you have a few prints behind you, the rough edges of the process start to show: emulsion that went on in uneven streaks, a design too big for your only screen, or ink sitting too thin because the blade was too stiff for the fabric. None of these tools are required to make a shirt, but each removes a specific frustration that I kept hitting until I fixed it. Think of this section as the gap between making it work and making it pleasant.
A surprising amount of screen printing is really about your room: a dim corner to coat emulsion, a sink you do not mind getting messy, and a flat surface at a comfortable height. Sorting that out matters more than most beginners expect, so it is worth thinking through setting up a beginner art space at home before you commit a corner to it.
Aluminum emulsion scoop coater for an even screen coating
A scoop coater is a trough with a straight, smooth lip that lays a thin, even layer of emulsion across the whole screen in one pass. Coating by hand with a card or squeegee almost always leaves ridges and thin spots that ruin a stencil. The coater should be a couple of inches narrower than your screen so it fits inside the frame.
Soft nitrile squeegee for printing on fabric
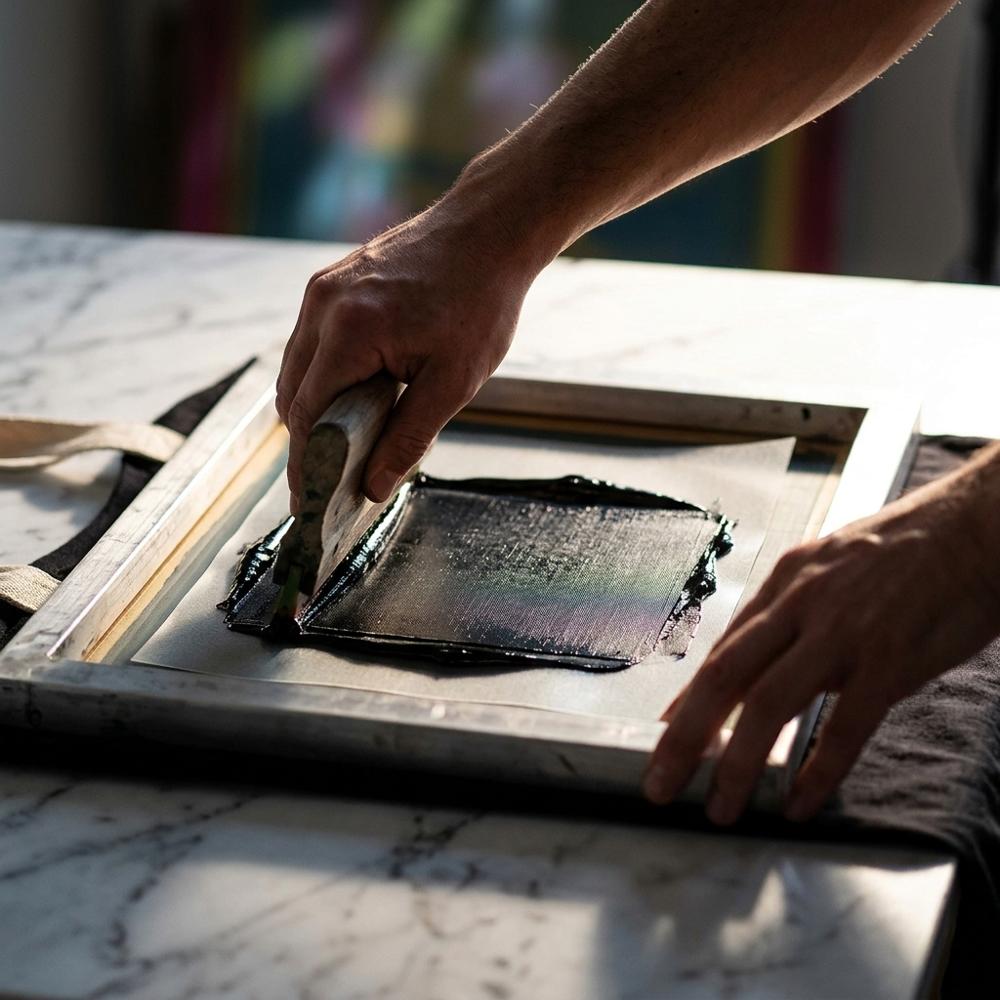
This is a softer, more flexible squeegee blade than the firm wooden-handled type, measured at a lower durometer. A softer blade presses ink down into the weave of a t-shirt better than a hard blade, which suits absorbent fabrics. Many printers keep both a hard and a soft squeegee and pick one based on the surface they are printing.
Small pre-stretched screen printing frame for compact designs
A smaller screen handles compact artwork such as pocket prints, tote bags, labels, and tea-towel designs that would float awkwardly on a large frame. Even tension still matters at this size, since small designs often carry finer detail. Keeping a second, smaller screen also lets you leave one design burned while you work on another.
These additions mostly buy you consistency, which is exactly what you want once you start printing for other people instead of just experimenting. The smaller screen in particular earns its keep on pockets, tote bags, and tea-towel-sized designs that look lost on a large frame. If the carved-stamp approach appeals to you more than burning screens with emulsion, a beginner block printing setup reaches many of the same flat, graphic results entirely by hand.
Going Further: Multiple Colors, Dark Shirts, and Durable Prints
The wall most beginners hit tends to arrive as three problems at once: a design that needs a second color and will not line up, ink that vanishes on a black shirt, and a first wash that fades the print they were proud of. Each item here answers one of those specific frustrations. None belong in a starter cart, but all three are the natural next purchases once a single color on a white tee feels easy.
Hinge clamps for registered, repeatable printing
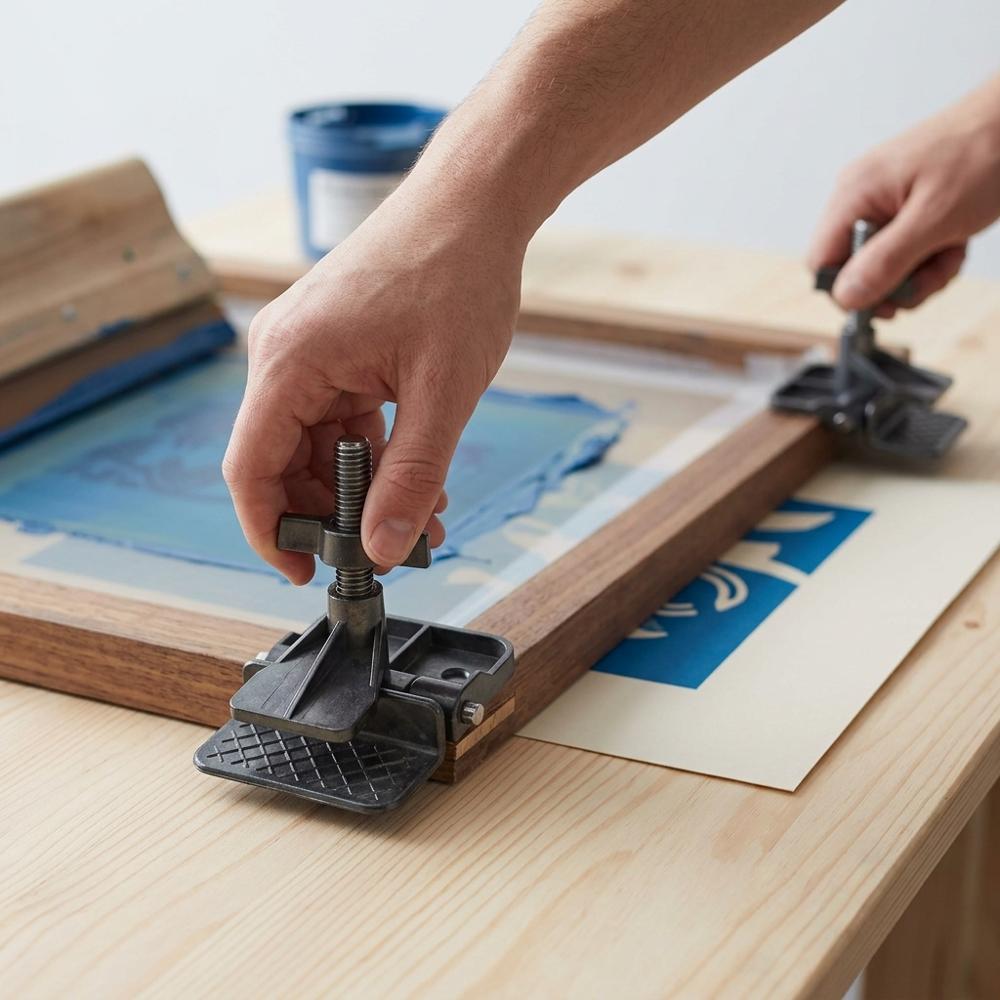
Hinge clamps bolt to a flat board and grip the screen frame, letting you lift it straight up and bring it back down in exactly the same place every time. That repeatability is what makes multi-color printing and consistent placement across a batch possible. They mount to any sturdy board, turning a tabletop into a simple printing station.
Variable-temperature heat gun for curing prints
A heat gun delivers concentrated hot air to set ink after printing, which is what makes a design permanent and washable. Water-based fabric inks need to reach a specific temperature to cure, and a household iron struggles to hold even heat across a whole print. Variable temperature control lets you match the heat the ink calls for without scorching the fabric.
Opaque white fabric ink for printing on dark garments
Standard colors sink into dark fabric because the cloth shows through, while an opaque white carries enough pigment to cover. Printers use white on its own for designs on black or navy, or as a base layer printed first so brighter colors stay vivid on top. It behaves like other water-based textile inks and heat-sets the same way.
Solving registration, opacity, and curing is what turns screen printing from a fun afternoon into something you can confidently wear and give away. Take them one at a time rather than all at once, because adding a second color before you can reliably cure a single one is a common way to get discouraged. If this clicks and you start hunting for your next creative outlet, it is worth browsing the best starter hobbies for adults for ideas that share the same satisfying, make-something-real payoff.
What's Really Going Wrong Between Your Screen and Your Shirt
Why does part of my stencil rinse away when I wash out the screen?
The usual culprit is exposure, not your artwork. Beginners eyeball the exposure time and coat the emulsion in one thick, uneven pass, so the light never fully hardens the deeper layers. Those soft spots wash out along with the parts you meant to remove, leaving ragged edges or open holes. Coat thin, even layers, dry the screen completely in a dark space, and run an exposure test at a few different times until you find the one that holds crisp edges.
Why does my ink stop going through the mesh halfway through a batch?
Water-based ink starts drying in the screen the moment it sits still, and a warm room speeds that up sharply. Once it dries in the mesh it blocks the open areas, so prints come out faint and broken. Keep a thin layer of ink flooded across the image between pulls and work in a steady rhythm instead of taking long breaks. If you do have to pause, wash the screen out before the ink sets rather than trying to force prints through a half-clogged mesh.
Where are these tiny stray dots of ink coming from around my design?
Those are pinholes, microscopic gaps in the emulsion caused by dust, bubbles, or a coat that went on too thin, and they let ink through where you never intended. They are easy to miss until the print shows a freckling of unwanted marks. Hold the coated, dried screen up to a light before printing and dab any pinholes closed with screen filler or block-out tape. Coating in a cleaner, less dusty spot prevents most of them in the first place.
Why did my lettering come out backwards?
This catches almost everyone once: the design has to be mirrored on the film positive so it reads correctly after passing through the screen onto the shirt. Print your transparency the normal way round and the finished text comes out reversed. Flip the image horizontally before printing the positive, and sanity-check any text by holding the film the way it will sit on the screen. It is a thirty-second habit that saves a ruined screen and a wasted shirt.
Love what you see here? Save individual picks with ⋮ on any item, or copy the whole list to your own wishlist in one click — great for coming back to later, or dropping as a not-so-subtle hint.
 A Few More Beginner Setups We Carefully Put Together
A Few More Beginner Setups We Carefully Put Together
Beginner Crochet Setup: Hook, Yarn, and Starter Stitches

Cozy Candle Making Starter Kit
Disclosure: Some product links may be affiliate links. If you make a purchase through one of these links, we may earn a small commission at no extra cost to you.