Shadow Box Art: Trap Tiny Scenes Behind Glass

Shadow Box Art: Trap Tiny Scenes Behind Glass

DariaCurated by Daria
Jump to the 9 picks

The Drawer of Things You Couldn't Throw Out

Assemblage is collage that stands up. You take objects nobody meant as art supplies — a bus ticket, a bent key, a button from a coat you no longer own — and layer them inside a deep frame until they start saying something together. The word came from Jean Dubuffet in the early 1950s, who first used it for collages he made out of butterfly wings. Joseph Cornell, the artist most people picture when they picture a glass-fronted box, built his in the basement of a small house in Flushing, Queens, out of bits he picked up in New York bookshops and thrift stores. One of them later sold at auction for $5.3 million.

What surprises people is how little making is involved. You're not building anything to scale the way you would with a beginner diorama scene, and there's no tiny furniture to carve. What you're doing is closer to casting. You lay the objects out loose on the backing, shuffle them for twenty minutes, and the arrangement either clicks or it doesn't. Most of the skill is noticing when it has.

So start with almost nothing. A deep box, something to stick heavy things down with, something gentler for paper, and a board stiff enough to carry the lot. That is a first piece. Everything else is what you reach for once the first one works and you want the second to be better.

Nothing on this list costs enough to feel like a commitment. Make one box, decide it isn't for you, and you're out less than a decent dinner.

One warning before you raid the drawers. Objects you love individually will fight each other inside a frame, and the fix is nearly always to take something out rather than put something in. If it turns out you'd rather work flat, with scissors and paper and no depth at all, starting with collage instead costs even less to try.

The Glue Is the Decision, Not the Box

Beginners agonize over which frame to buy and then grab whatever adhesive is already in the drawer. That's backwards. One shadow box is much like another; what separates a piece still hanging straight in five years from one quietly shedding its contents is whether each object got an adhesive suited to it. People who do this a lot don't own one glue. They own two — a thick white craft glue for buttons, beads and fabric, and an industrial-strength clear one for anything metal or heavy. Open the second tube near a window the first time and you'll understand why.

Disclosure: This section may contain affiliate links to Amazon. We may earn a small commission from qualifying purchases at no extra cost to you.
deep shadow box frame with real glass for layering found objects

Pick 01 of 09

deep shadow box frame with real glass for layering found objects

A shadow box is a picture frame with a recess behind the glazing, deep enough that objects can sit proud of the backing instead of being pressed flat against it. The useful measurement is the clear space inside, not the outside of the moulding, and a hinged or removable front saves you dismantling the whole thing to change one piece. Look for real glass or rigid acrylic and a back panel you can actually get at.

Why we picked this exact one: The Muzilife 11x14 shadow box gives 2.16 inches of frame depth, which is roughly the range framers work in once you subtract the glass and the backing. It is real glass rather than acrylic, with a magnetic door, so you can open it, change your mind and close it again. At this price the moulding is engineered wood rather than solid timber, so it marks if you drag it across a workbench.

See it on Amazon
industrial-strength clear adhesive for heavy and metal found objects

Pick 02 of 09

industrial-strength clear adhesive for heavy and metal found objects

A solvent-based gel adhesive that bonds the materials ordinary craft glue slides straight off: metal, glass, ceramic, tin and hard plastics. It stays slightly flexible once cured rather than drying to a brittle crust, which matters when a frame gets knocked or moved. It gives off strong fumes while wet, so it wants an open window and the cap put back on promptly.

Why we picked this exact one: The E6000 230010 tube is the one that turns up on working assemblage artists' own supply lists, Michael deMeng's class materials among them. It is rated for glass, wood, metal, ceramic and leather, and the label notes it is photo safe, which is not true of every industrial adhesive. The trade-off is the smell, and a half-used tube skins over if you leave the cap loose.

See it on Amazon
thick white craft glue for paper, fabric and lightweight trinkets

Pick 03 of 09

thick white craft glue for paper, fabric and lightweight trinkets

A thick PVA craft glue that grabs on contact instead of letting pieces slide while it dries. It suits the light end of a composition: paper, card, fabric, buttons and anything porous. It dries clear and does not yellow the way cheap school glue can, and it washes off your hands with water.

Why we picked this exact one: Aleene's Original Tacky Glue earns the slot on its viscosity: it is thick enough to hold a button in place on a tilted board while you go and find the next one. It dries clear and resists yellowing over time, which is the failure most of us have seen on an old school project. It is not archival, so anything irreplaceable belongs on the neutral-pH adhesive further down this page.

See it on Amazon
acid-free foam board for a stiffened backing and cut-to-size spacer strips

Pick 04 of 09

acid-free foam board for a stiffened backing and cut-to-size spacer strips

Foam board is a polystyrene core faced with paper on both sides, rigid enough to carry weight but light enough that it adds almost nothing to a hanging frame. Acid-free stock will not leach into paper laid against it. Beyond backing, it is the standard material for spacer strips, the little walls that hold glazing clear of whatever sits underneath.

Why we picked this exact one: The Mat Board Center 10-pack is cut to 11x14 inches, which drops straight into the frame above with no trimming, and it comes in the 1/8-inch thickness framers specify for spacer strips rather than the fatter 3/16-inch poster stock. Ten sheets is far more than one project needs, which is exactly the point once you start cutting strips. The paper face scuffs easily, so keep the offcuts flat instead of loose in a drawer.

See it on Amazon
double-sided foam squares for lifting elements off the backing board

Pick 05 of 09

double-sided foam squares for lifting elements off the backing board

Pre-cut squares of dense foam with adhesive on both faces, used to raise a flat item a few millimetres clear of whatever is behind it. Mixed sizes let you lift a large card on four pads and a small tag on one. They peel off the carrier sheet cleanly, which matters when you are placing a dozen of them in a row.

Why we picked this exact one: The 3L Scrapbook Adhesives pack holds 217 squares in two sizes, so you are not cutting foam tape to length for every small piece. The maker lists paper, plastic, metal, wood and glass among the surfaces it holds. These are the white version, which shows if a lifted element is narrower than the pad under it, so set them in slightly from the edge.

See it on Amazon

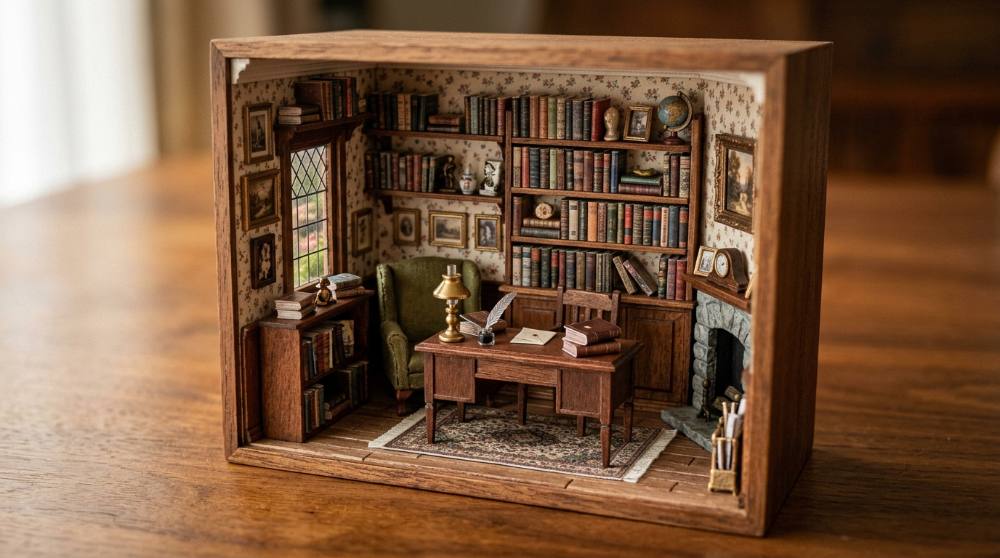
With these five things on the table you can finish a box in an evening, and the finishing is the part nobody warns you about. The glass goes on and everything suddenly looks flatter than it did. That's depth doing its job. Lift one element half an inch and the whole composition reads differently, which is the same trick a first dollhouse room box runs on at a much smaller scale, so don't commit anything to glue until you've looked at it with the glazing actually in place.

When the Paper Turns Out to Be the Point

Most people's first box is mostly objects. The second is where the ephemera creeps in — a letter, a ticket, a photograph that exists exactly once. And that's the moment ordinary craft glue becomes a problem, because the thing you most want to keep is the thing you've just stuck permanently to a board. Framers have one flat rule about this: whatever else you do, no adhesive touches the object itself. Everything below is about obeying that rule without making the work slower.

neutral-pH archival adhesive for letters, photographs and old paper

Pick 06 of 09

neutral-pH archival adhesive for letters, photographs and old paper

A conservation-grade PVA with a neutral pH, made for bookbinding and framing rather than general craft. It dries clear, holds on porous surfaces, and can be softened again with water, so a mistake is not necessarily permanent. Keep it off anything glossy, and store it somewhere it will not freeze.

Why we picked this exact one: Lineco's Neutral pH Adhesive is the archival standby in bookbinding and framing, and the one worth switching to the first time you frame something you cannot replace. Being remoistenable with water means a hinge can be released later instead of torn. It is thinner and slower than tacky glue, so it is the wrong tool for a heavy button and the right one for a ticket stub.

See it on Amazon
clear archival mounting corners that hold paper without adhesive touching it

Pick 07 of 09

clear archival mounting corners that hold paper without adhesive touching it

Small transparent pockets with adhesive only on the back, so a photograph or card slides in at the corners and nothing sticky ever reaches it. The item can be lifted out later with no trace. Clear stock disappears against dark and light backings alike, which matters in a box with a linen or painted interior.

Why we picked this exact one: The Lineco Infinity corners are the clear version rather than the black or ivory, which is the one to buy before you know what colour your backing will be. The adhesive is a non-yellowing acrylic and sits only on the corner itself, never on your paper. Five hundred is an absurd quantity for one box, and the cost per corner is still higher than the strip of tape you should not be using.

See it on Amazon
self-locking reverse tweezers for placing small parts deep inside a box

Pick 08 of 09

self-locking reverse tweezers for placing small parts deep inside a box

Reverse or cross-lock tweezers are sprung the opposite way round: they clamp shut when you let go and open when you squeeze. That means they hold a small object for you while glue takes, instead of needing constant pressure from your fingers. Curved tips reach into a corner without your hand blocking the view.

Why we picked this exact one: The Honoson set gives you six reverse tweezers of about five inches, with the self-closing action that lets you set a bead and leave it while it takes. Having several means one can stay clamped on a drying piece while you carry on with the next. They are light stainless steel with plastic grips, fine for beads and paper, and they will flex if you try to lift anything heavy with them.

See it on Amazon
large deep shadow box in solid pine for ambitious multi-layer compositions

Pick 09 of 09 · Worth the upgrade

large deep shadow box in solid pine for ambitious multi-layer compositions

A bigger, considerably deeper display case with a hinged glazed door and a latch, built from solid pine rather than engineered board. The extra internal depth allows several distinct planes of objects instead of one layer lifted slightly off the back. A door that opens and shuts means the composition can keep changing after it is first hung.

Why we picked this exact one: The Muzilife 16x20 pine shadow box offers 3.07 inches of internal depth against the 2.16-inch frame depth of the starter box above, which is the difference between one raised layer and three. Solid pine and a latched door justify the jump, and the door is the real argument, because it means a piece can be reworked years later. Wait until you have finished two or three small boxes. If you are still guessing at composition, the extra space mostly gives you more room to overfill.

See it on Amazon

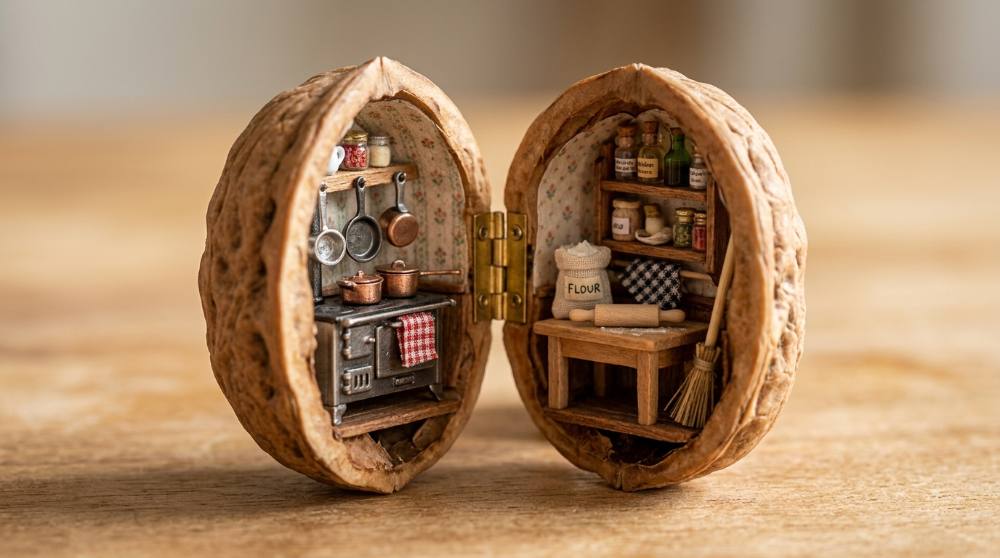
None of this is urgent. Buy it the week you put something irreplaceable behind glass, not before. The tweezers are the quiet surprise of the group — after one attempt at setting a bead the size of a lentil into the back corner of a deep box with your fingertips, you'll stop filing them under optional, which is roughly how anyone who has tried building a scene inside a walnut shell ended up owning a pair.

Why It Looked Better Before You Glued It

How much depth do I actually need behind the glass?

Almost everyone measures their tallest object, buys a frame that deep, and then discovers the glazing is resting on it. Professional framers work to at least an inch and a half of frame depth and write off roughly three-eighths of an inch of that to the glass and the backing before anything goes in. The reason to leave clearance isn't tidiness: light contact becomes real pressure as the box warms and cools over a year, and the pressure has nowhere to go. Measure from the backing to the highest point, then give it room to spare.

Can I just build on the backing board the frame came with?

You can, and it's fine for paper. The stock panel in an inexpensive shadow box is thin card or a linen-covered sheet with pins, and it bows as soon as you load it with metal. Framers reinforce a weak back rather than trusting it, because a sagging panel takes the hanging hardware with it eventually. Cut a sheet of foam board to fit, lay it over the stock backing, and build on that instead.

Can I use a branch or a twig I picked up outside?

Only if it was already dead when you found it. Green wood keeps shrinking for months as the moisture leaves it, and assemblage artists who work with found timber are blunt about the result: the wood moves, and whatever you glued it to cracks. A piece can look perfect for a season and then split along a joint you can't reach. Take fallen, dry wood, and leave it somewhere warm for a few weeks before it goes anywhere near a frame.

Why do small pieces drift out of position weeks later?

Because adhesive alone is doing a job gravity never agreed to, especially on a smooth object with barely any contact area. Practitioners who have lost a piece this way stop relying on glue for the awkward ones and mount them mechanically instead: pierce a hole either side of the object with an awl, bend fine wire into a U over it, pass the ends through and twist them flat on the back of the board. It takes two minutes and it doesn't come undone. It also means you can take the object back out one day, which glue never allows.

Love what you see here? Save individual picks with on any item, or copy everything to a list of your own in one click — great for coming back to later, or dropping as a not-so-subtle hint.

Disclosure: This section may contain affiliate links to Amazon. We may earn a small commission from qualifying purchases at no extra cost to you.