Chainmaille Jewelry: Weave Metal Rings Into Wearable Art

Chainmaille Jewelry: Weave Metal Rings Into Wearable Art

DariaCurated by Daria
Jump to the 7 picks

You're About to Make Fabric Out of Metal

Chainmaille is cloth you build one ring at a time. You take small pre-cut rings, twist each one open with pliers, thread it through its neighbours in a fixed order and close it again - repeat a few hundred times and you have a band of metal that drapes and pours over your wrist. Most people meet it at a renaissance fair or in a film, but the living craft happens at kitchen tables, and the patterns, called weaves, now run well into the hundreds, most of them invented for jewelry rather than armour. Here's the part nobody expects: the word chainmail is a latecomer. For most of its history the stuff was just called mail, and the oldest surviving pieces come out of Celtic graves from the third century BC.

The shopping list is shorter than for almost any other jewelry craft. No torch, no soldering, and none of the shaping you'd be doing in beginner wire wrapping, where the wire itself becomes the design - your rings arrive cut and perfectly round, and the whole job is opening and closing them in the right sequence. Which means the handful of things you do buy have to be right. There's nothing else to blame when a weave won't sit.

My advice is to under-buy on purpose. One bag of bright aluminum rings, two smooth-jawed flat nose pliers and a clasp will get you a finished bracelet, and everything past that can wait until you know which weave you actually enjoy.

Everything below is cheap enough that changing your mind costs you a takeaway, not a weekend.

That's the whole premise, and it's why chainmaille is such a forgiving place to start making jewelry. The three things on the next list are all that stand between you and something wearable. One of them is less obvious than the other two.

The Three Things That Have to Be on the Table

Here's the number that quietly decides everything: aspect ratio, or AR, the ring's inner diameter divided by its wire thickness. Every weave only holds inside a narrow band of AR values. European 4-in-1 is forgiving, working anywhere from about 2.83 up to 4.0. Byzantine is fussy - roughly 3.2 to 3.5, and outside that the knot just sags. Buy rings without checking and they'll close beautifully while the pattern refuses to behave, which is the most demoralising thing that happens to beginners. Good suppliers print the AR on the bag. I'd treat a listing that doesn't as a small warning sign.

Disclosure: This section may contain affiliate links to Amazon. We may earn a small commission from qualifying purchases at no extra cost to you.
pre-cut bright aluminum jump rings sized for beginner chainmaille weaves

Pick 01 of 07

pre-cut bright aluminum jump rings sized for beginner chainmaille weaves

Jump rings are the entire raw material of chainmaille: small metal rings, cut open, that you link into a repeating pattern. The two numbers that matter are the inner diameter and the wire gauge, and dividing one by the other gives the aspect ratio that decides which weaves a bag will actually build. Beginners get steered to bright aluminum because it's light, cheap, holds a shine, and is soft enough to close without a fight.

Why we picked this exact one: Chainmail Joe's bright aluminum rings in 18 gauge, 3/16-inch inner diameter are the size most beginner weaves are written around. The listing prints the aspect ratio - 4.0 - which most sellers don't bother to do; that's the top of European 4-in-1's workable range, and also a standard ratio for Byzantine woven with three connector rings. They're saw-cut, so the ends meet flush out of the bag. Half a pound is far more than one bracelet needs, which is the point - you'll ruin a few learning.

See it on Amazon
smooth-jaw flat nose pliers for opening and closing jump rings

Pick 02 of 07

smooth-jaw flat nose pliers for opening and closing jump rings

Chainmaille is a two-handed job: one plier holds the ring steady while the other twists the far side past it. Flat jaws are what you want, and they have to be smooth, because any groove or tooth prints itself into soft aluminum on the first squeeze. A tip around a quarter-inch wide grips well without crowding the weave you're working into.

Why we picked this exact one: The Tazanma 5-inch flat nose pliers come two to a pack, which is exactly the configuration this craft needs and saves you buying the same tool twice. The jaws are smooth-faced with a quarter-inch tip, and the spring return opens them for you a few thousand times an evening. They're carbon steel with rubber grips rather than a precision bench tool, so the finish will dull - at this price that's a fair trade for finding out whether the craft sticks.

See it on Amazon
lobster claw clasps with connector rings for finishing a woven band

Pick 03 of 07

lobster claw clasps with connector rings for finishing a woven band

A clasp is what turns a woven strip into something wearable. Lobster claws are the usual pick because they open with one thumb and hold under the weight of a metal band. They fasten through a connector ring at each end of the weave, so clasps are normally sold with matching rings in the bag.

Why we picked this exact one: The AUGSUN clasp set pairs 12 x 7 mm lobster claws with 6 mm open jump rings, a sensible match for an 18-gauge aluminum weave: big enough to thread, small enough not to look bolted on. Two hundred clasps is absurd for one person, but buying four individually costs nearly as much. They're zinc alloy rather than a precious metal, so if you ever weave in sterling you'll want to upgrade the clasp to match.

See it on Amazon

Three purchases, somewhere around forty dollars, and you can finish something tonight. The clasp is the piece people forget - they weave a lovely band and then realise it has no way to fasten, and it's the one bit of hardware this craft shares with beginner beaded jewelry and its stringing findings. Put a couple of clasps aside before you start weaving, not after.

What You'll Want Around Weave Three

Nothing here changes what you can make. It changes how long it takes and how your hands feel afterwards. The first time you tip four thousand rings onto a bare table and watch half of them head for the floor, you'll understand why maillers are so attached to a scrap of fuzzy fabric. There's a rhythm to this once it clicks - scoop, open, thread, close - and these are the things that protect it. Anyone who has worked through beginner kumihimo braiding on a foam disk already knows the feeling of a repeating pattern going quiet in your hands.

soft beading mat that stops loose jump rings rolling off the table

Pick 04 of 07

soft beading mat that stops loose jump rings rolling off the table

A beading mat is a square of dense, slightly fuzzy fabric you work on top of. It stops small round things rolling, and the nap holds each ring at a slight angle so you can pick it up. Most come as a set of a few sizes and roll up with the work still inside.

Why we picked this exact one: The Beadsmith Beading Mats Set covers the job for under ten dollars, from a brand that has made bench supplies for jewelers for decades. The surface is dense enough that rings sit proud of the nap instead of sinking into it, which matters more than the dimensions do. You get several mats, so one can live permanently under the work in progress. They do collect lint, and the pale ones show every bit of it.

See it on Amazon
finger-worn jump ring opener for pre-opening rings in batches

Pick 05 of 07

finger-worn jump ring opener for pre-opening rings in batches

This is a broad ring you wear on a finger, with slots cut into its face. You seat a jump ring in a slot, grip the other side with pliers, then twist your hand against the pliers to open it. The slots come in several widths so one tool handles more than one wire gauge.

Why we picked this exact one: The Beadsmith Jump Ring Tool has four slot widths, so it keeps earning its place if you move from 18-gauge aluminum to thinner wire. It's brass with a silver-plated finish and is worn rather than held, which is why it beats the stamped versions on comfort. Be clear about what it's for: it's excellent at opening and awkward at closing, because a dense weave often leaves no room to get the tool in, and then the pliers come back out.

See it on Amazon
colored anodized aluminum jump rings in a tighter ratio for knotted weaves

Pick 06 of 07

colored anodized aluminum jump rings in a tighter ratio for knotted weaves

Anodizing dyes the surface of aluminum rather than coating it, so the color is part of the metal and the ring stays light. A smaller inner diameter at the same wire gauge gives a tighter aspect ratio, which is what the knotted weaves need. Color doubles as a learning aid: weaving a pattern in two shades makes the structure obvious while you're still working it out.

Why we picked this exact one: Chainmail Joe's anodized rings in 18 gauge, 5/32-inch inner diameter land at an aspect ratio of 3.5, the top of Byzantine's workable window and a size you can't improvise from a looser bag. The color range runs well past the orange pictured. Two cautions before you order: the seller warns that shade varies between batches, so buy what you need in one go, and anodized color can flake at the point opposite a ring's opening if you work it roughly.

See it on Amazon
precision flat nose pliers with a lighter spring for long weaving sessions

Pick 07 of 07 · Worth the upgrade

precision flat nose pliers with a lighter spring for long weaving sessions

At the top of the range, flat nose pliers are hardened tool steel with jaws ground flat and parallel, so the grip is even across the whole face. The handle matters as much as the jaw: a softer return spring and a contoured grip change how a hand feels after three hours. These are bench tools built for repetitive work, not for occasional repairs.

Why we picked this exact one: The Lindstrom RX 7490 is the flat nose plier chainmaille teachers name when you ask what they actually reach for, and the reduced-tension spring is why - it's built for people who squeeze a tool all day. The step up is worth it once you know you'll keep weaving: a few thousand rings in, if your hand is aching, this is the fix. Anyone still deciding whether the craft is for them should wait, because the budget pair makes exactly the same bracelet.

See it on Amazon

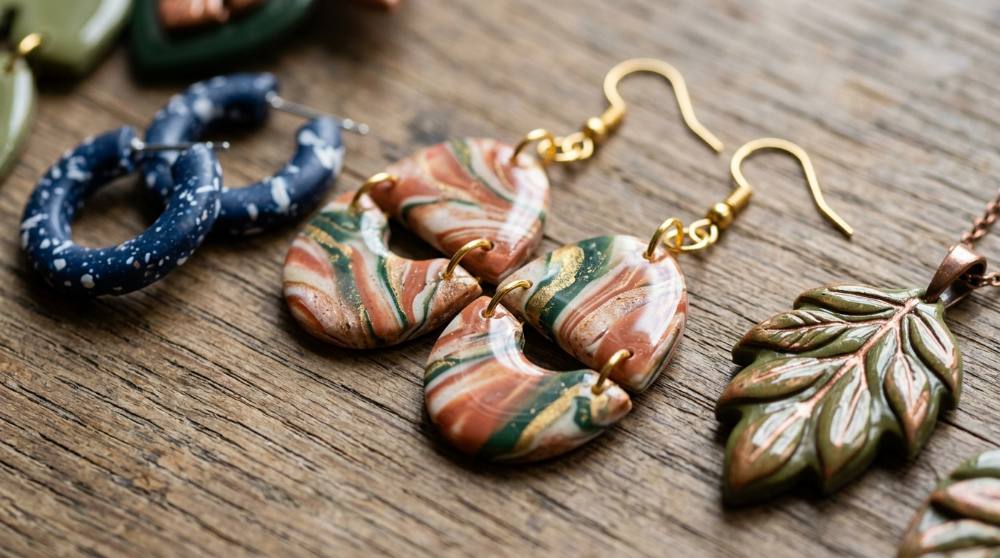
Add these one at a time, in the order you actually get annoyed. Color is usually the first craving: once you've made a silver bracelet you'll want a red one. Anodized aluminum is the cheapest route there, though the dye can flake at the stress point opposite a ring's opening, and black is the worst offender. If color is really the part you're chasing, beginner polymer clay earrings get you there faster and for less.

The Part Where Your Rings Refuse to Cooperate

Why won't my rings close flush any more?

Because they were pulled open instead of twisted. Spreading the two cut ends apart stretches a ring into an oval, and an oval can't find its way back to a circle - the ends slide past each other sideways and leave a gap that catches on a sleeve. Grip one side of the cut in each pair of pliers and move one hand toward you while the other goes away, so the ring opens like a tiny spiral staircase. Reverse exactly that motion to close it. You'll feel the ends meet before you see it.

I bought one bag of rings. Why does one weave work and another falls apart?

Aspect ratio again, and it catches almost everyone who buys a single size and expects it to do everything. A bag at AR 4.0 will happily build European 4-in-1, but Byzantine wants something nearer 3.2 to 3.5 and sags at 4.0. The fix experienced maillers use isn't another bag: Byzantine is also commonly woven at AR 4.0 by putting three connector rings between units instead of two. Same rings, different recipe.

The silver rings are leaving black marks on my fingers. Is that normal?

No, and it means you bought plain aluminum rather than bright aluminum. Plain aluminum rubs off black within minutes of handling, which transfers to your hands and then to whatever you're wearing. The two look nearly identical in a listing photo, so the word to hunt for in the description is bright - or buy anodized, which doesn't do it either. There's no treatment that rescues a bag you've already opened.

Should I just cut my own rings and save the money?

Not yet, and the saving is smaller than it looks. Maillers who cut their own wind wire onto a mandrel and cut the coil with a jeweler's saw, bolt cutters or a rotary tool, then tumble the rings and still file the cut ends by hand. That last step is the one beginners skip, and the burr left behind is exactly what scratches skin and snags fabric. Buy saw-cut rings until the volume you're using makes the equipment worth it.

Love what you see here? Save individual picks with on any item, or copy everything to a list of your own in one click — great for coming back to later, or dropping as a not-so-subtle hint.

Disclosure: This section may contain affiliate links to Amazon. We may earn a small commission from qualifying purchases at no extra cost to you.