Van Dyke Brown Printing Setup for Beginners

Van Dyke Brown Printing Setup for Beginners

DariaCurated by Daria
Jump to the 10 picks

Cyanotype Has a Moody Older Sibling

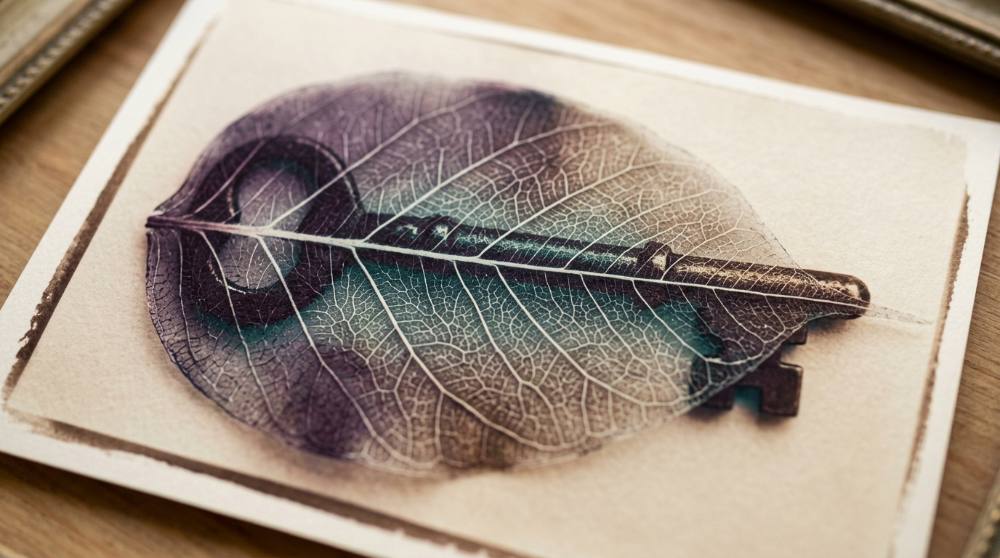
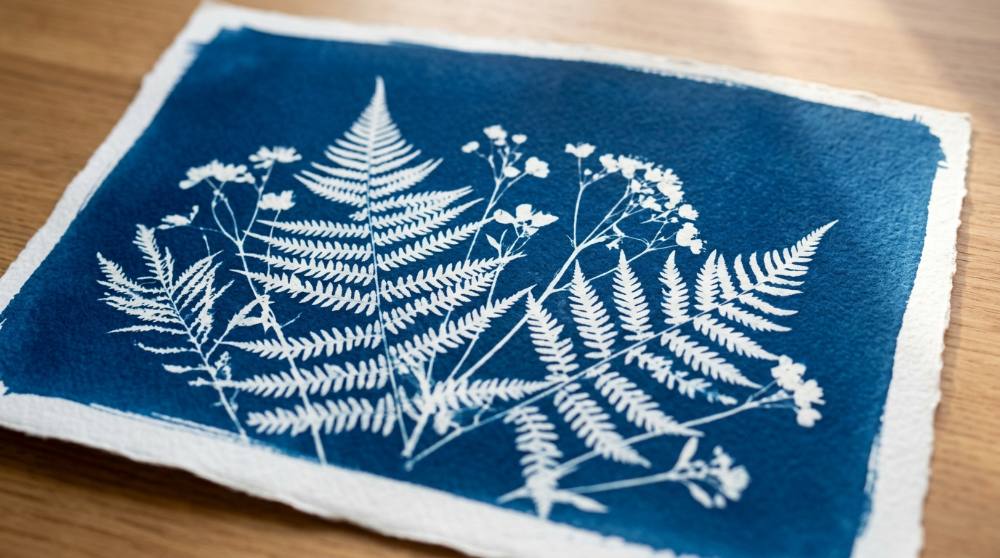
Van Dyke brown belongs to the same family of sunlight printing that gave us cyanotype's famous blue, except the finished image is built from real silver and comes out a deep, velvety sepia. You brush a straw-colored solution onto paper in a dim room, press a negative against it under glass, and let the sun draw the picture while you watch it darken. The process descends from the argentotype that astronomer Sir John Herschel worked out in 1842, yet its name honors no photographer at all: it's borrowed from Anthony van Dyck, the Flemish painter whose brown paint the prints happen to match. Printers still call it the poor man's platinum.

This page assumes you've already sunned a print or two. Van Dyke rewards people who arrive from a beginner cyanotype setup: coating paper, guessing an exposure, rinsing in a tray, all of it transfers straight across. What changes is the chemistry shelf. There are three solutions instead of one, a fixing bath the blue process never needed, and a bottle of silver nitrate that demands actual respect. If you've never coated a sheet in your life, go make blue prints first; this page will still be here.

The upgrade path is short on purpose: three chemicals, a block of cotton paper, and a jar of fixer are genuinely the whole ask, because your brush, glass, and trays carry over from the blue process.

Prices below were picked with the second-process reality in mind: the silver is the splurge, so everything around it stays deliberately cheap.

One honest warning before the list. The silver makes this a fussier partner than cyanotype, and steps you could shrug off with blue prints, like wash times and paper choice, start to matter here. Get them right and the reward is a warmth of tone the blue process can't reach.

Three Bottles, a Fix, and Honest Paper

The heart of the process is a sensitiser you mix yourself from three cheap solutions: ferric ammonium citrate, tartaric acid, and silver nitrate, each dissolved in distilled water. Combine the first two, then add the silver slowly while stirring, and store the lot in a brown bottle somewhere dark. Give it a couple of days to rest before the first print. Freshly mixed sensitiser prints noticeably worse, and a rested bottle keeps for months. Coating is the same dance you know: one thin, even pass in dim light, then dry the sheet flat in the dark. If the paper curls, you've used too much.

Disclosure: This section may contain affiliate links to Amazon and eBay. We may earn a small commission from qualifying purchases at no extra cost to you. Product listings from eBay are provided for discovery purposes and link directly to eBay.
Iron Supplement Powder for Health

Pick 01 of 10

Iron Supplement Powder for Health

A light-sensitive iron salt sold as a green powder, and the base of most historic iron printing processes. Dissolved in distilled water it becomes the first of the three Van Dyke solutions. Look for the photo-grade green form in a resealable jar; it keeps well away from light and damp.

Why we picked this exact one: The Jacquard ferric ammonium citrate jar is the same 8-ounce photo-grade green powder sold to cyanotype printers, from the brand that's kept sun-printing chemistry in art stores for decades. It holds 4.6 stars across 230 reviews. One jar is a long-term supply, since a batch of sensitiser uses under ten grams, though the powder clumps if the lid sits loose in a humid room.

See it on Amazon
Natural Food Grade Acid Powder

Pick 02 of 10

Natural Food Grade Acid Powder

A pure organic acid best known from winemaking, used here in tiny quantities as the second component of the sensitiser. Any clean, food-grade tartaric acid powder works. A batch calls for about a gram and a half, so a small tub lasts years.

Why we picked this exact one: The LD Carlson tartaric acid tub comes from winemaking shelves rather than a photo catalog, and that's the appeal: it's pure, food-grade, and costs about five dollars. Reviewers rate it 4.7 stars. The two-ounce size sounds stingy until you do the math on a gram and a half per batch; this tub outlasts the rest of your chemistry.

See it on Amazon
Pure Silver Nitrate Crystals

Pick 03 of 10

Pure Silver Nitrate Crystals

High-purity silver nitrate crystals, dissolved in distilled water to make the third and most important solution. This is a serious lab chemical: buy a sealed reagent-grade container from a seller you trust, store it dry and dark, and handle it with gloves. A few grams makes a full batch of sensitiser.

Why we picked this exact one: The UPI Metals 5-gram vial of ACS-grade silver nitrate crystals, refined from 99.99% silver bars, comes from a specialist metals dealer with a 100% positive feedback record. Five grams covers a full batch of the silver solution with a little to spare. The price tracks the silver market, so expect it to drift, and check the listing's stock before you plan a printing weekend.

See it on eBay
Pool Bromine Neutralizer Powder

Pick 04 of 10

Pool Bromine Neutralizer Powder

Sodium thiosulfate, the classic photographic fixer known as hypo. Mixed into a weak bath it dissolves the unexposed silver so the finished print stops reacting to light. Granular pool-grade and photo-grade are the same compound; weak and fresh beats strong and old.

Why we picked this exact one: The AquaDoc sodium thiosulfate tub is labeled for pool care, and buying it that way is a trick straight from film-photography forums, since pool dechlorinator and photographic hypo are the same compound. It carries 4.6 stars from 232 buyers. A one-pound tub mixes weak fixing baths for months of printing; just accept that the packaging will look odd on a photography shelf.

See it on Amazon
Premium Coldpress Watercolor Paper Block

Pick 05 of 10

Premium Coldpress Watercolor Paper Block

A block of 100% cotton, 140-pound cold-press watercolor paper. Cotton rag with minimal buffering suits iron-silver coating far better than ordinary cellulose sheets, and the glued block edge keeps sheets flat while you coat. Cut or tear sheets down for smaller prints.

Why we picked this exact one: The Stonehenge Aqua cold-press block from Legion is a paper that comes up by name when Van Dyke printers troubleshoot each other's blotchy prints. Buyers rate the line 4.6 stars across more than a thousand reviews. The 9-by-12 block gives you fifteen sheets; count on sacrificing the first one to a coating test, and some printers still pre-treat it with a starch sizing for perfectly even browns.

See it on Amazon

A single small batch coats dozens of prints, and the silver is the only refill that costs real money, so don't shop for more yet. Sun exposures run a few minutes in bright light, and there's a lovely trick for judging them: the uncovered borders shift to reddish brown while the highlights under your negative should still look yellow. If you're wondering where this process sits beside its cousins, the cyanotype versus Van Dyke versus salt print comparison settles it side by side.

Gear That Buys You Repeatability

Nothing in this section is strictly required. The glass and clips that exposed your first cyanotypes will expose brown prints too. But Van Dyke exposures run longer and punish sloppy contact harder, so these upgrades earn their keep faster than they did with blue prints. My order: gloves first (honestly the one thing here I wouldn't skip), then the frame, then the lamp once autumn starts cancelling your printing days. The transparency film quietly changes what the hobby is. Suddenly any photo on your phone can become a small brown print with real silver in it.

Classic Multi-Photo Display Frame

Pick 06 of 10

Classic Multi-Photo Display Frame

A wooden contact printing frame with a spring-loaded, hinged split back. It presses negative and coated paper hard against glass for edge-to-edge sharpness, and the split lets you check progress mid-exposure without losing registration. Sized so a full 8x10 negative sits inside the glass area.

Why we picked this exact one: The Photographers' Formulary 8x10 contact print frame, stocked by the film-specialist shop Blue Moon Camera, is built in the Formulary's own workshop from ash with a felt-lined split back. The glass runs an inch larger than the negative, so an 8x10 sheet gets pressed flat right to its edges. At $98.95 it's the priciest thing on this page; a sheet of picture-frame glass and four binder clips genuinely works until you're certain the hobby has stuck.

Open Item
UV LED Light for Screen Printing

Pick 07 of 10

UV LED Light for Screen Printing

A UV LED flood panel in the 395-nanometer range, the wavelength this chemistry responds to. It replaces the sun for indoor exposures: same print, same time, any weather. Look for even coverage across your print size and a housing that tolerates long runs.

Why we picked this exact one: The Caydo 96-LED panel is a 395-nanometer UV source sold to screen printers, and its own listing names cyanotype among its uses. It rates 4.3 stars from 264 reviewers. The grounded plug and heat-shielded housing feel more serious than the price suggests, but coverage is sized for roughly letter-size prints; anything bigger still belongs out in the sun.

See it on Amazon
Inkjet Transparency Film Sheets

Pick 08 of 10

Inkjet Transparency Film Sheets

Clear 5-mil film that runs through an ordinary inkjet printer. Print a reversed, curve-adjusted black-and-white image onto it and you have a contact negative in any size your printer manages. The coated side takes the ink; the other side stays glossy.

Why we picked this exact one: The Uinkit 5-mil transparency pack gives you fifty letter-size inkjet sheets for the price of a dozen sheets of the specialist films. Two thousand buyers have it at 4.6 stars. Its blacks aren't as dense as a dedicated digital-negative film holds, which means building a correction curve matters more, but with fifty sheets you can burn ten on tests without wincing.

See it on Amazon
Professional Artist Paint Brush Set

Pick 09 of 10

Professional Artist Paint Brush Set

Wide, soft goat-hair wash brushes bound to plain wooden handles in the traditional stitched style. Dampened first, they lay sensitiser in thin, even passes without dumping it into the paper. Useful in several widths for different print sizes.

Why we picked this exact one: The XDT #5249 hake set gives you three widths of goat-hair brush on plain wooden handles for about twelve dollars. It holds 4.4 stars across 300-plus reviews. Goat hair sheds when new, so rinse the brushes and flick them dry before their first pass, or you'll be picking hairs out of wet sensitiser.

See it on Amazon
Heavy Duty Protective Gloves

Pick 10 of 10

Heavy Duty Protective Gloves

Disposable nitrile gloves in a heavy 6-mil thickness. Nitrile resists the chemistry involved here better than latex, and the heavier wall survives a whole coating-and-processing session. A snug fit keeps brush control close to bare-handed.

Why we picked this exact one: The Inspire heavy-duty nitrile gloves run 6 mil thick, twice the wall of a cheap exam glove, with a 4.7-star record across sixteen thousand reviews. The black color hides chemical staining nicely. It also hides splashes from you, so change pairs more often than the gloves look like they need.

See it on Amazon

Add the rest as your printing habit reveals what it needs. The cheapest insurance here is the dedicated brush: a sensitiser this touchy deserves bristles that have never sat in another process's chemistry, and at hake prices there's no reason to share.

Read This Before You Open the Silver

Silver nitrate is the one item on this page that will punish carelessness. On skin it leaves no burn you'll feel right away; instead the spot quietly turns brown, then black, and the stain wears off only as the skin itself does, over days. At working strength it's corrosive, and a splash in the eye is an emergency. Wear the nitrile gloves from the list above every time the bottle is open, and glasses if you have them.

The sneaky part is that spills are invisible at first. A stray drop on the bench or a doorknob shows up tomorrow as a black fingerprint you can't remove, so wipe the work area down while you still remember where you worked. Keep the crystals and the mixed solution in the dark, label every bottle, and keep all of it away from kids and pets. The other chemicals are mild by comparison, but the same habits cost nothing.

None of this should scare you off. Treated like the kitchen chemistry it is, with gloves on and bottles labelled, the whole process is calm, quiet work. Respect the silver and the rest is play.

When Brown Prints Go Wrong, They Go Wrong Three Ways

Why did my print fade or go patchy a few days after I made it?

Almost always this is chemistry left behind in the paper, and beginners fall into it because the print looked finished when wet. Leftover iron or fixer keeps working after you've framed the print, eating the silver image from inside. The fix is boring and absolute: use unbuffered cotton paper, wash generously before and after a weak fixing bath, and let a hypo-clearing bath of sodium sulfite shorten the job. A print that's truly clean stays brown for decades.

Why are my highlights muddy instead of clean paper-white?

Muddy highlights are fog, and fog means light got where it shouldn't. Coating in a bright room, drying the sheet in daylight, or simply overexposing all leave the whites dirty, and beginners usually blame the chemistry instead. Coat and dry in genuinely dim conditions, and pull the frame while highlights still look yellow; they'll deepen in the fix. If whites still won't clear, your coat is going on too thick.

What are these yellow stains that showed up after washing?

Yellow blotches are fixer residue, and cotton rag holds onto it stubbornly. A quick rinse feels sufficient because the print looks clean, but the stain develops later as the residue breaks down. Give the final wash a full half hour in gently running water, and add a sodium sulfite clearing bath before it; a spoonful per litre is enough. Papers this thick simply drink more than glossy darkroom paper ever did.

Why does the print look wrong straight out of the wash?

Because you're not looking at the finished print yet. Van Dyke shows only about half its final depth during exposure, darkens dramatically in the fixer, then shifts again as it dries down overnight. Beginners chase the wet image, re-exposing or re-fixing a print that was actually fine. Judge exposures only against dried results, and write the time on the back of every sheet so tomorrow's print can learn from today's.

The first print that dries down right, with chocolate shadows and clean cream highlights, tends to convert people for good. Mix small, take notes, and the mystery is gone within a weekend.

Love what you see here? Save individual picks with on any item, or copy everything to a list of your own in one click — great for coming back to later, or dropping as a not-so-subtle hint.

Disclosure: This section may contain affiliate links to Amazon and eBay. We may earn a small commission from qualifying purchases at no extra cost to you. Product listings from eBay are provided for discovery purposes and link directly to eBay.