Photograms and Lumen Prints: Photos Made With No Camera

Photograms and Lumen Prints: Photos Made With No Camera

DariaCurated by Daria
Jump to the 3 picks

Photo Paper That Blushes in the Sun

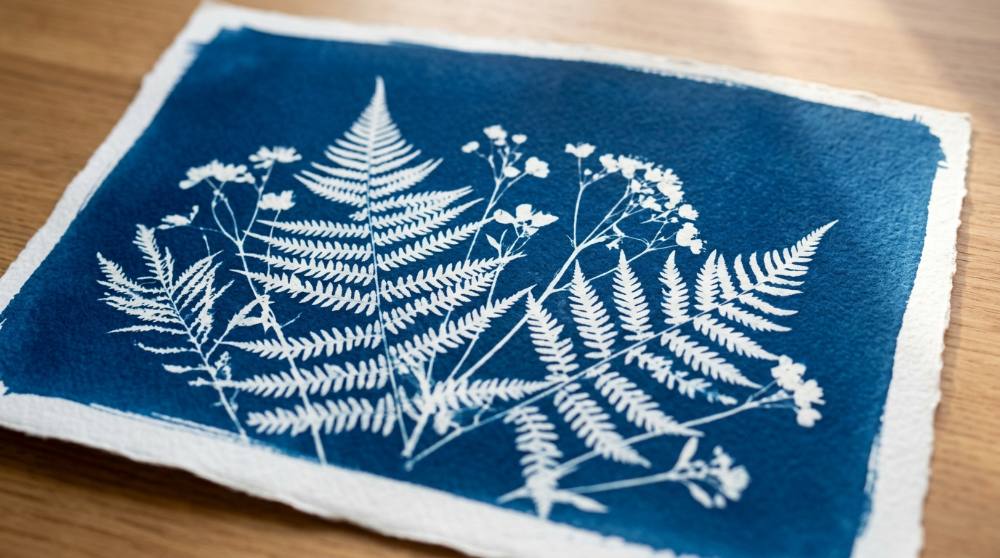
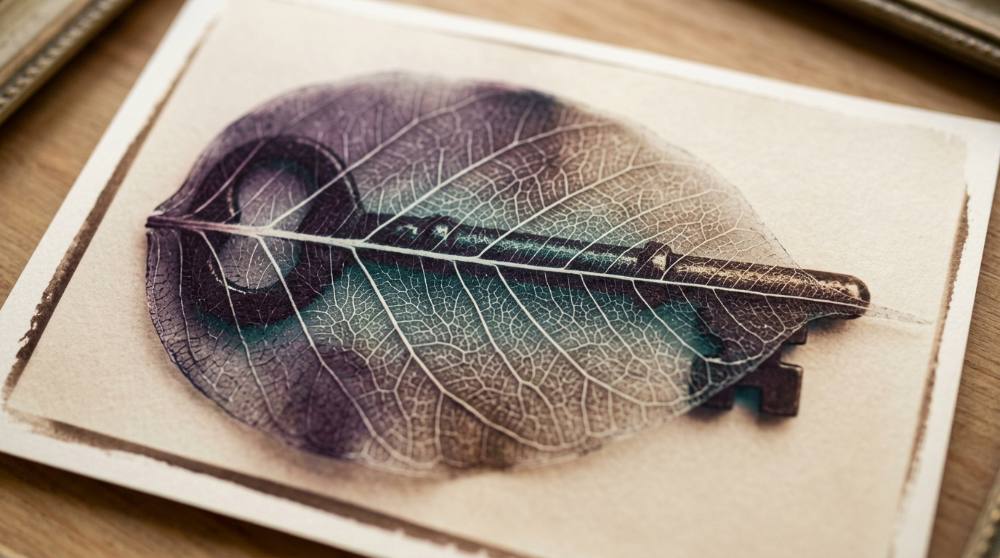
Lay a fern on a sheet of black-and-white photo paper, put a piece of glass over it and leave it in the sun. The paper starts turning blue, then mauve. People do this on garden tables and sunny windowsills, with no camera or developer involved. It's as old as photography: in the 1830s William Henry Fox Talbot pressed leaves onto paper he'd brushed with silver salts, and Man Ray later called his own camera-less pictures rayographs. The strange bit is the colour, since paper that's sold for grey prints comes out pink or peach in daylight.

If you've tried cyanotype printing at home, the routine will feel familiar. Arrange, press under glass, wait. The difference is that nothing gets mixed or brushed on, because the light-sensitive coating comes ready-made on the paper. A classic photogram uses that same paper with a brief burst of lamplight and a developer tray in a dark room, which gives crisp black and white. A lumen print skips the darkroom and just sits in the sun, anywhere from twenty minutes at a bright noon to a few hours on a hazy day.

Our rule here: buy almost nothing. Paper, a glass frame and a few leaves from outside will get you a real print this afternoon. Fixer's the only extra worth having, and only if you'd like to keep a print on the wall.

Everything below is priced so that fogging your first few sheets won't feel like a disaster.

Honestly, the waiting is the fun part. You can't hurry the sun, and you'll still catch yourself wandering outside to peer at the frame, the glass warm under your fingers. For a gentler, plant-based take on the same instinct, there's a guide to anthotypes and lumen prints without chemicals worth reading alongside this one.

A Box of Paper and Something Clear to Press It Flat

The paper is where beginners slip up first. Inkjet photo paper and darkroom photo paper look alike on a shelf, but only the darkroom kind reacts to sunlight. Unlike cyanotype, where you coat your own sheets, you're buying the chemistry already baked in, so treat the bag with respect. Open it in a dim room, slide out one sheet and close the bag again right away. Ordinary room light fogs it too. And don't expect your prints to match anyone else's: different papers give genuinely different colours, which is half the fun.

Disclosure: This section may contain affiliate links to Amazon. We may earn a small commission from qualifying purchases at no extra cost to you.
Black-and-white darkroom photo paper for lumen prints and photograms

Pick 01 of 03

Black-and-white darkroom photo paper for lumen prints and photograms

Resin-coated black-and-white enlarging paper carries a silver gelatin coating that reacts to light, so it's the surface the whole image forms on. In strong sun it darkens and shifts colour on its own, while anything lying on top leaves a pale silhouette. A 5x7 sheet is big enough for a leaf or a sprig of flowers without wasting paper on your first tries.

Why we picked this exact one: We picked Ilford Multigrade IV RC Deluxe in the 5x7 pearl finish. Ilford Multigrade turns up again and again when lumen printers say what's in their frames, and it's known for soft pink and peach tones. It holds a 4.7-star rating. It isn't cheap per sheet, though, so once you know what you like, a box of expired paper is a fair substitute.

See it on Amazon
Glass clip frame for pressing leaves flat against photo paper in the sun

Pick 02 of 03

Glass clip frame for pressing leaves flat against photo paper in the sun

A frameless clip frame is just a sheet of glass, a stiff backing board and a few metal clips. For sun printing it doubles as a cheap contact frame, with your leaves sandwiched between the paper and the glass. Pick a size that matches your paper so the sheet doesn't slide around when you carry it outside.

Why we picked this exact one: The Ambiance Gallery Clip Frame 6-pack in 5x7 matches the paper size exactly. Its face is 2mm ground-edge glass over an MDF backing, held by aluminium clips that come off without tools. Six frames means six arrangements can sit in the sun at once. Being a display frame, it has no hinged back, so you can't lift a corner to check progress without disturbing the layout.

See it on Amazon
Black-and-white photographic fixer for making lumen prints permanent

Pick 03 of 03

Black-and-white photographic fixer for making lumen prints permanent

Fixer removes the silver that light hasn't changed yet, so the sheet stops reacting and can be kept out in the open. This kind arrives as a powder that you stir into water to working strength. Any standard black-and-white paper fixer will do the job for lumen prints.

Why we picked this exact one: We went with Kodak Professional Fixer, a powder packet that mixes up a full US gallon. Kodak is a long-standing darkroom chemistry name, and this packet holds a 4.7-star rating. One honest drawback: because it's a powder, you'll need a spare bottle and a few minutes of stirring before your first print.

See it on Amazon

That's the whole kit. It's enough for twenty-five prints, and you'll learn more from the first five than from any tutorial. Later on, keep an eye out for boxes of expired darkroom paper, since people print happily on sheets decades past their date. If the silver side of sun printing really grabs you, Van Dyke brown printing is a natural next step: you coat the paper yourself and the sun draws a deep sepia picture.

Why Your Lovely Pink Print Turned Brown in the Tray

I dropped my print in fixer and the colours drained away. Did I ruin it?

Nope. That's just what fixer does to a lumen print. Almost everyone gets caught by it once, because the colours look so settled when the sheet comes in from the sun. In the tray the pinks slide toward brown or gold and the whole image gets noticeably fainter. Scan or photograph the print before it goes anywhere near fixer, so the version you loved is saved whatever happens next.

Can I skip the fixer and just hang the print on my wall?

You can. It just won't stay the way you hung it. Unfixed paper is still light-sensitive, so it keeps darkening every time daylight reaches it. Some people frame one on purpose just to watch it change. If you want the original to last, scan it and keep it somewhere completely dark: prints stored away from light for years can still look the way they did on day one.

Is a photogram the same thing as a lumen print?

They're cousins. The names get swapped all the time, though. Both are camera-less shadow pictures made by laying objects on photo paper. A classic photogram gets a short exposure and then goes into developer, which turns the exposed areas black and leaves crisp white shapes. A lumen print gets a long spell of sun and no developer at all. So never put a sun-printed sheet into developer out of habit: it goes black almost instantly.

Can I lay one of my film negatives on the paper and print a real photo?

With black-and-white negatives, yes, and you get a soft, tinted version of a picture you already took. Colour negatives are the trap. People who've tried them, even with four-hour exposures, report that it simply doesn't work. Stick to black-and-white film for this, and save the colour negatives for the scanner.

Why did my print barely change after a whole day outside?

Check the glass first. Glass taken from an ordinary picture frame sometimes has a UV-protective coating, and that coating blocks exactly the light the paper needs. The paper matters too, since some brands and surfaces print strongly while others stay pale. If a full day doesn't give you much, swap to plain uncoated glass before you try a different paper.

Love what you see here? Save individual picks with on any item, or copy everything to a list of your own in one click — great for coming back to later, or dropping as a not-so-subtle hint.

Disclosure: This section may contain affiliate links to Amazon. We may earn a small commission from qualifying purchases at no extra cost to you.