Beginner Film Photography Setup: Camera, Film, and Lab Basics
The Camera and the First Rolls of Film
The thing nobody warns you about is how slow film makes you. With twenty-four or thirty-six frames and no screen to check, you start composing before you press the shutter instead of after, and that single habit does more for your eye than any setting. If you are still deciding whether this is the craft for you, it sits among several worthwhile ways of picking a first hobby, though film tends to make the decision for you once the first roll comes back.
My approach is to keep the opening kit almost embarrassingly small: one camera, one roll of color, one roll of black and white, and a single AAA battery if your camera has a flash. Resist the pull of a vintage SLR with three lenses before you have run a frame through anything.
I went through the cameras and film stocks beginners are pointed toward most often and kept only the ones that load easily, stay widely in stock, and stay gentle on a first budget.
Reusable half-frame 35mm film camera for everyday shooting
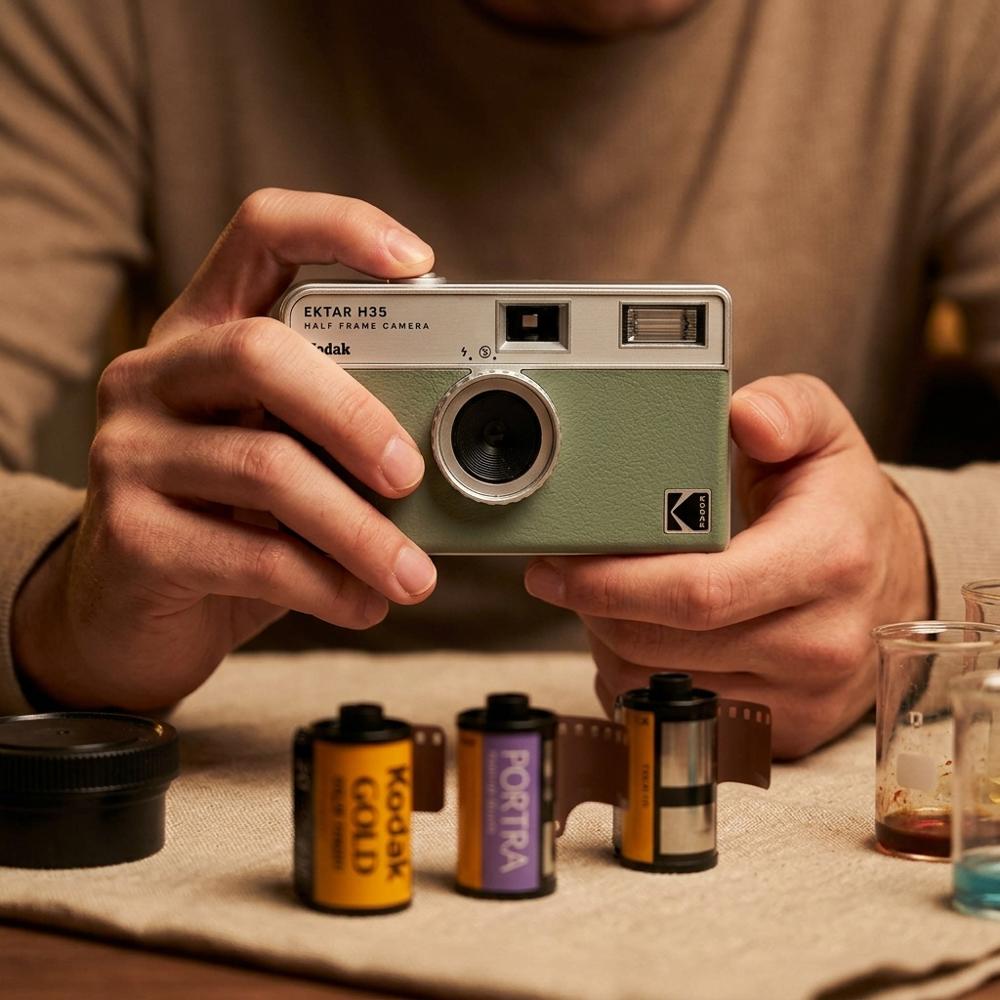
A reusable 35mm camera is a body you load standard film into and shoot again and again, unlike a single-use disposable. Focus-free, point-and-shoot models keep things simple: there is no aperture or shutter dial to set, just a wind wheel, a shutter button, and a small flash. A half-frame design splits each 35mm frame in two, so a 36-exposure roll yields about 72 photos, which stretches the cost of film while you learn.
ISO 400 color negative 35mm film, three-roll pack
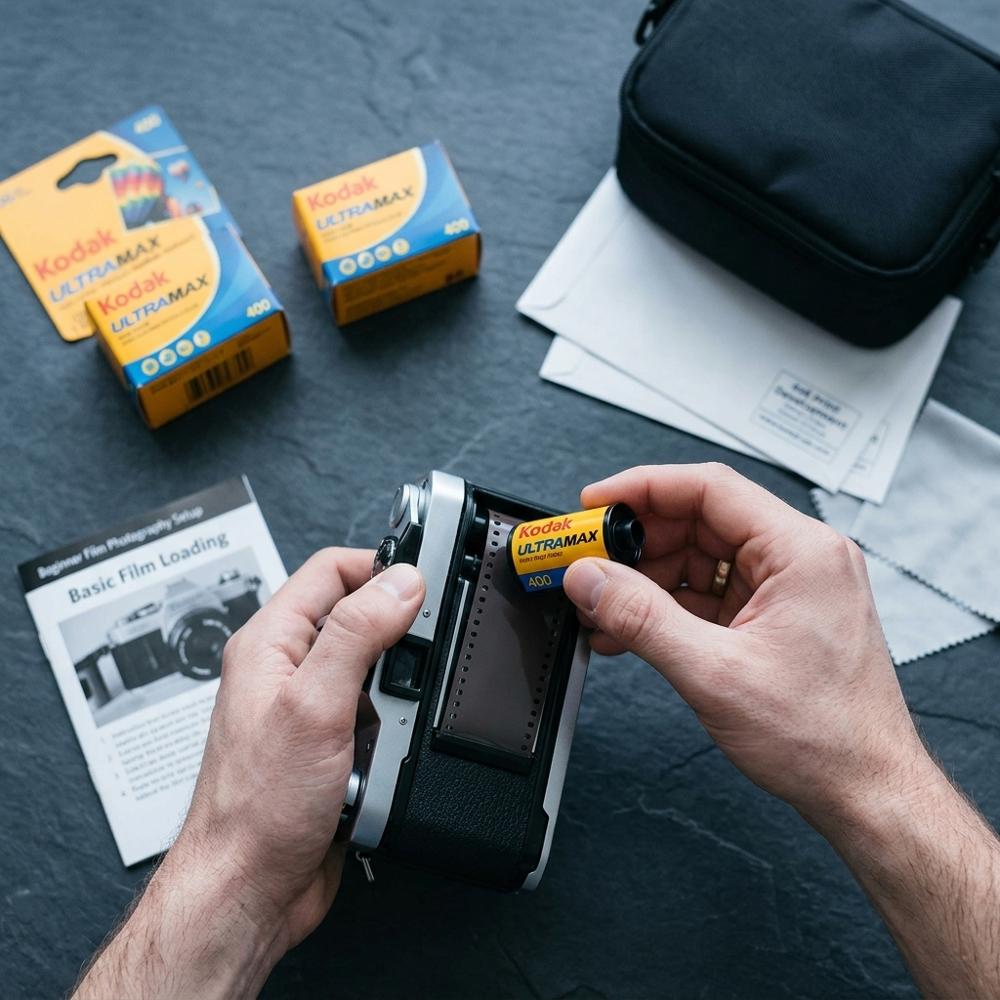
Color negative film rated at ISO 400 is the most forgiving stock for a beginner because its wide exposure latitude tolerates the guesswork of a focus-free camera in changing light. Each 36-exposure roll handles daylight, overcast skies, and indoor flash without fuss, producing the warm, slightly grainy color that defines the everyday film look. Buying a three-pack lowers the per-roll cost and means you are not stranded waiting on shipping after the first roll.
ISO 400 black and white 35mm film, three-roll pack
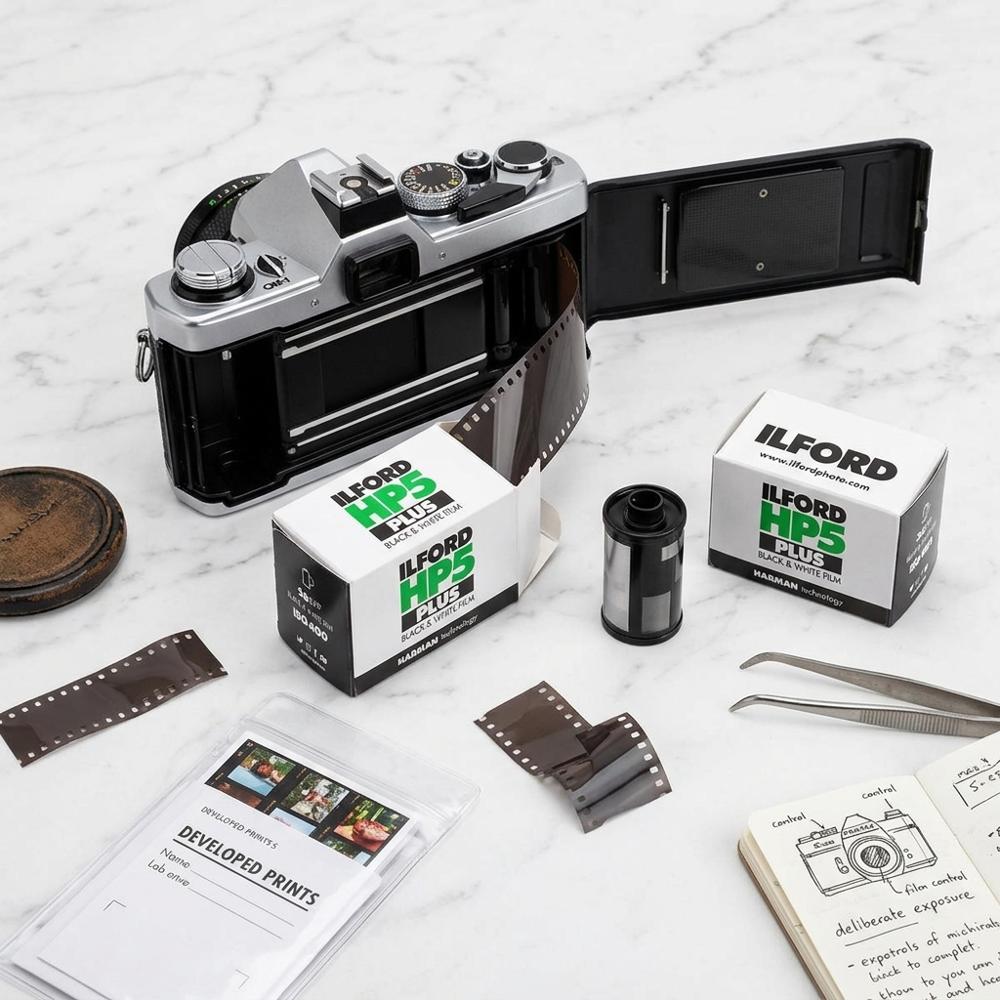
Black and white film at ISO 400 gives a beginner a second way of seeing, trading color for contrast, texture, and grain that flatter ordinary scenes. This classic emulsion is hard to ruin: it tolerates a stop or two of over- or under-exposure and is the stock most home developers cut their teeth on. A three-roll pack lets you shoot enough to start noticing how light and shadow read in monochrome.
With a loaded camera and a couple of spare rolls, you have everything you physically need to start shooting today; the rest of this guide is about protecting that gear and seeing your results. One honest caveat: a focus-free camera will not rescue a badly lit scene, so if you find yourself craving control over aperture and shutter, a beginner DSLR photography setup is the digital route that hands you those dials without the running cost of film and developing.
What Earns a Place in Your Bag After the First Roll
After a roll or two the small frustrations surface: the camera knocking around loose, the strap you wish you had on a long walk, the exposed rolls you cannot tell from the fresh ones. None of this gear improves a photograph directly, which is exactly why beginners either skip it or overspend on it. If you are still weighing whether a dedicated camera earns its place beside the phone already in your pocket, the trade-offs laid out in comparing a phone with a dedicated camera are worth reading before you invest further.
Adjustable woven neck and shoulder strap for compact cameras
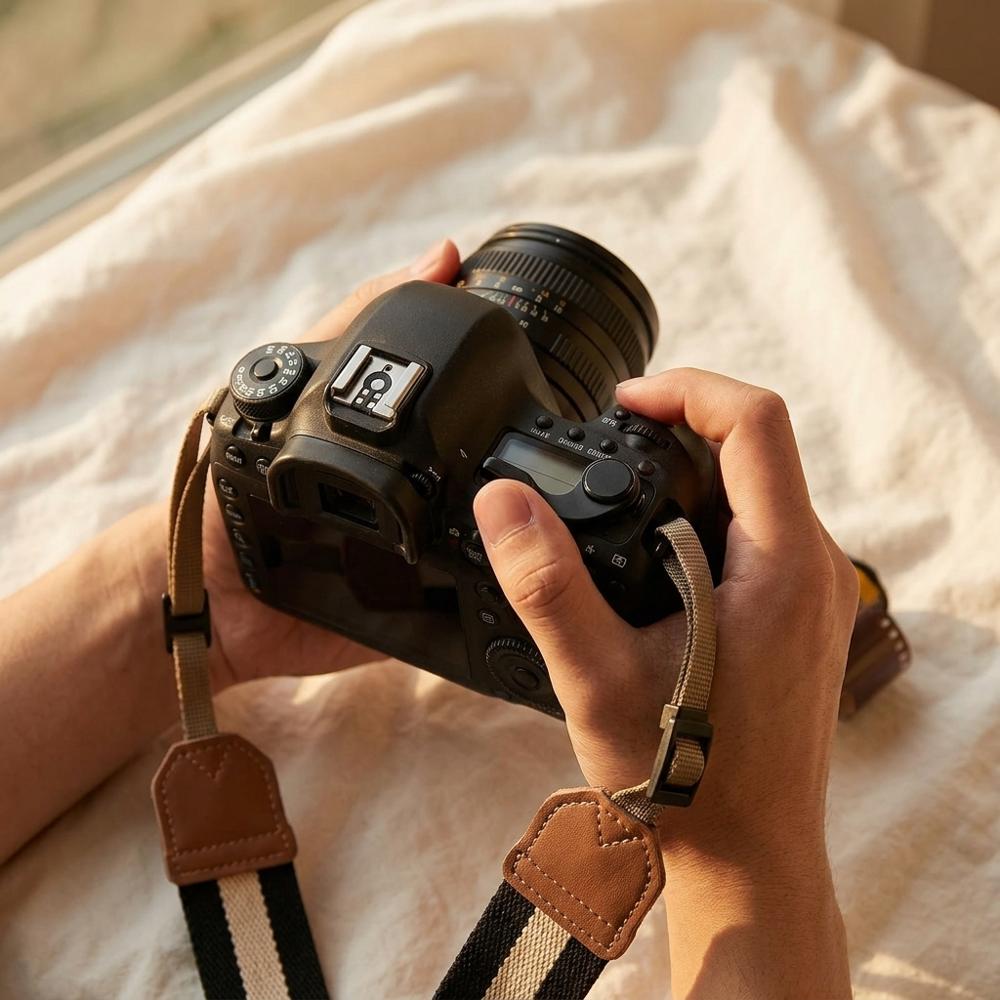
A camera strap takes the weight off your hand and keeps the body close between shots. Woven cotton or canvas straps sit softer on the neck than the thin nylon cords bundled with cheap cameras and are less likely to slide off a shoulder. Look for adjustable length and secure attachment loops that fit the small lugs on a compact film body.
Small padded camera pouch with shoulder strap
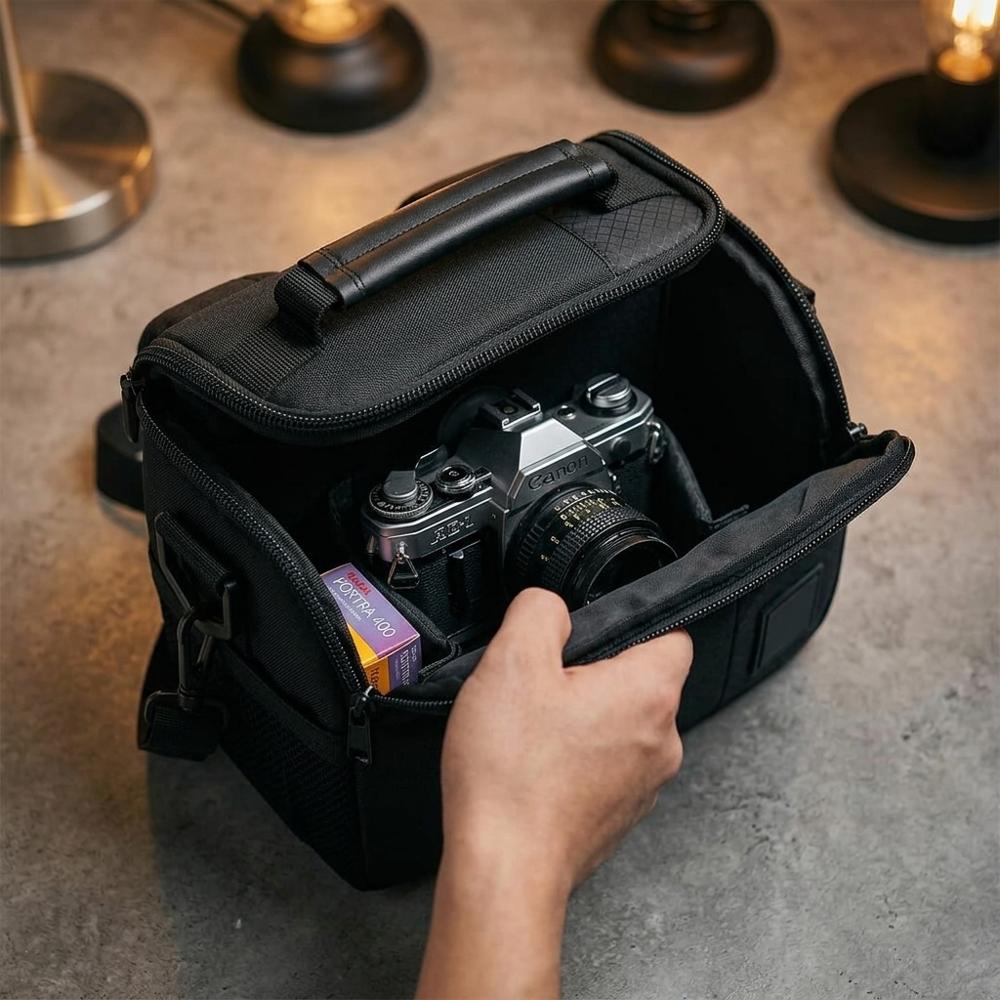
A padded pouch shields the camera from the keys, coins, and corners that share an everyday bag. For a compact film camera you want a snug case rather than a cavernous one, so the body does not bounce around inside. A model with a belt loop or detachable shoulder strap lets you carry it on its own for a light day out.
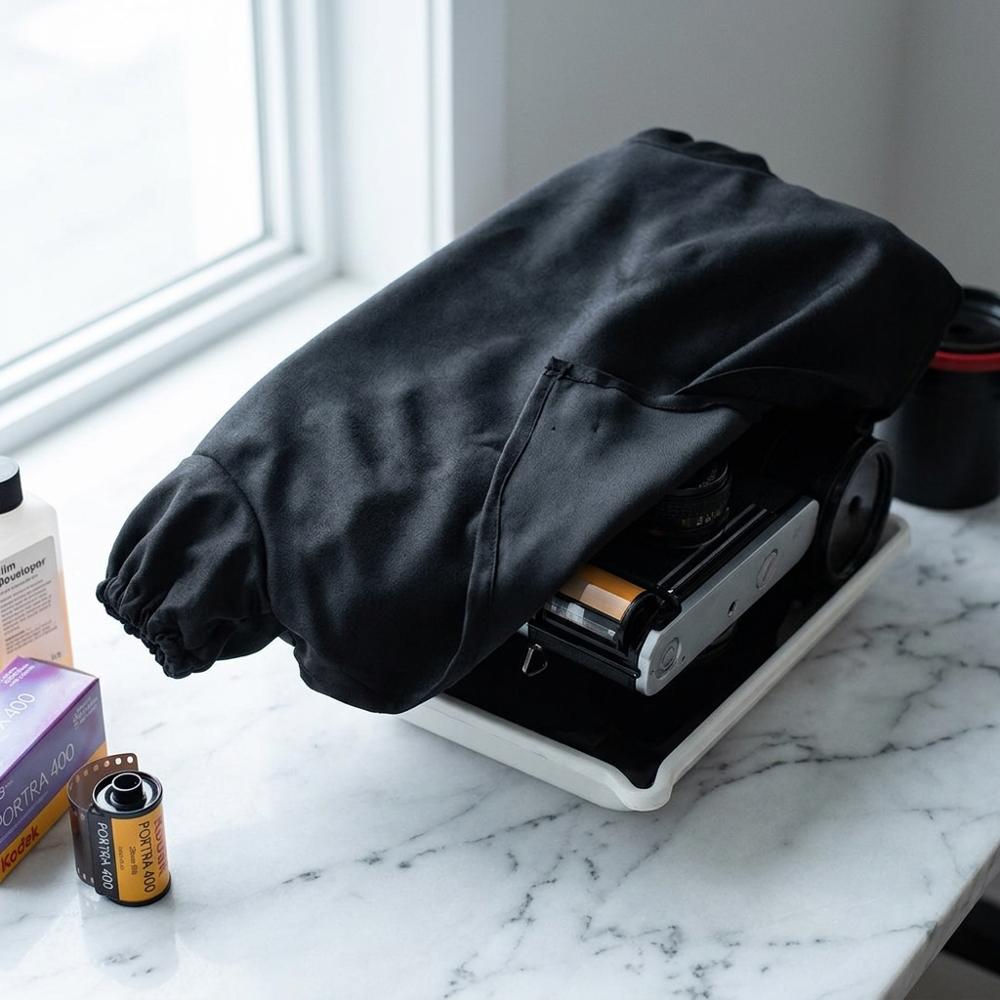
Steel storage case for exposed and unexposed film rolls
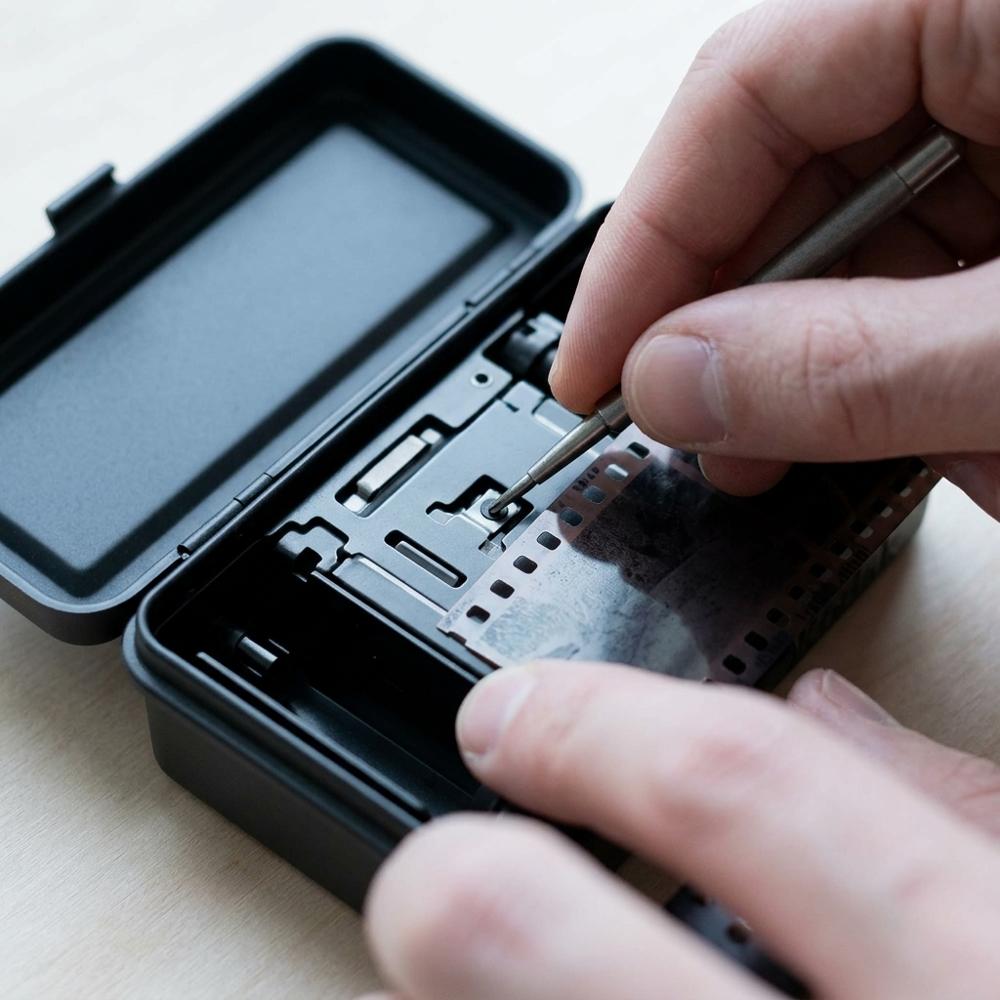
A film case is a small lidded tin or box that keeps rolls organized and protected from heat and crushing. Its real value is separating exposed rolls from fresh ones; a mix-up means running a finished roll through the camera again and double-exposing it. A metal shell also moderates temperature swings, which matters because heat degrades film over time.
These three items make the hobby more pleasant to live with rather than more capable, and that distinction matters when money is tight. The same lesson runs through every craft, where knowing which supplies last versus which to buy cheap saves more than any single bargain ever does. Spend here only after a frayed cord or a scratched body has actually annoyed you, and the upgrade will feel earned instead of speculative.
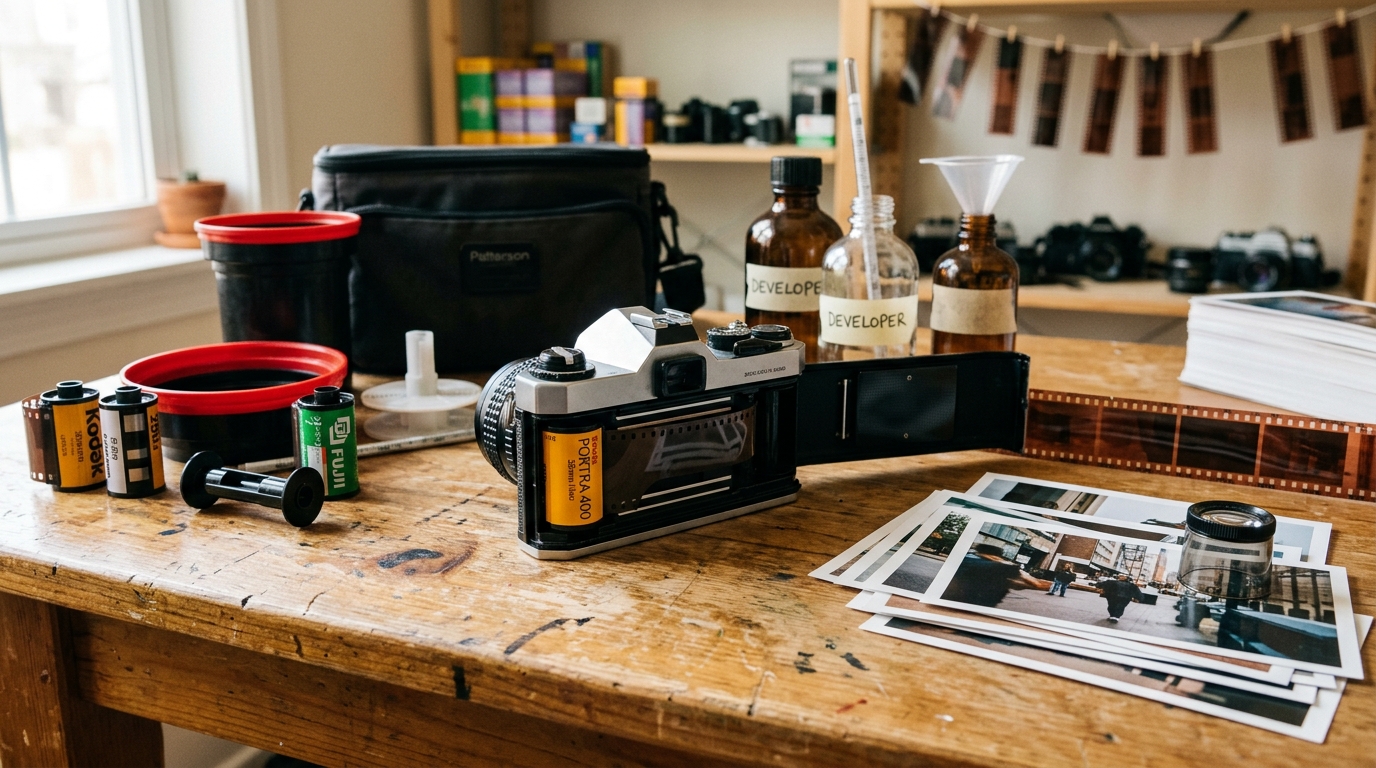
Turning Negatives Into Pictures You Can Share
This is the stage that surprises people. A shot roll is just a sealed cartridge until it is developed, and once it is developed you still hold orange-tinted negatives you cannot post anywhere. A lab charges roughly ten to fifteen dollars a roll and takes a couple of weeks, so plenty of beginners eventually want to handle part of this themselves: loading and developing in the dark, then scanning the results. The gear below covers the two ends of that process and the storage that protects what you make.
Light-tight changing bag for loading film without a darkroom
A changing bag is a double-layered, zippered fabric pouch with elastic armholes that wraps your hands in total darkness, so you can load film onto a developing reel anywhere. It removes the need for a dedicated lightproof room, which is the single biggest barrier to developing at home. Look for thick, anti-static fabric and a size large enough to hold your hands, a tank, and a reel comfortably.
Standalone film and slide scanner for digitizing negatives
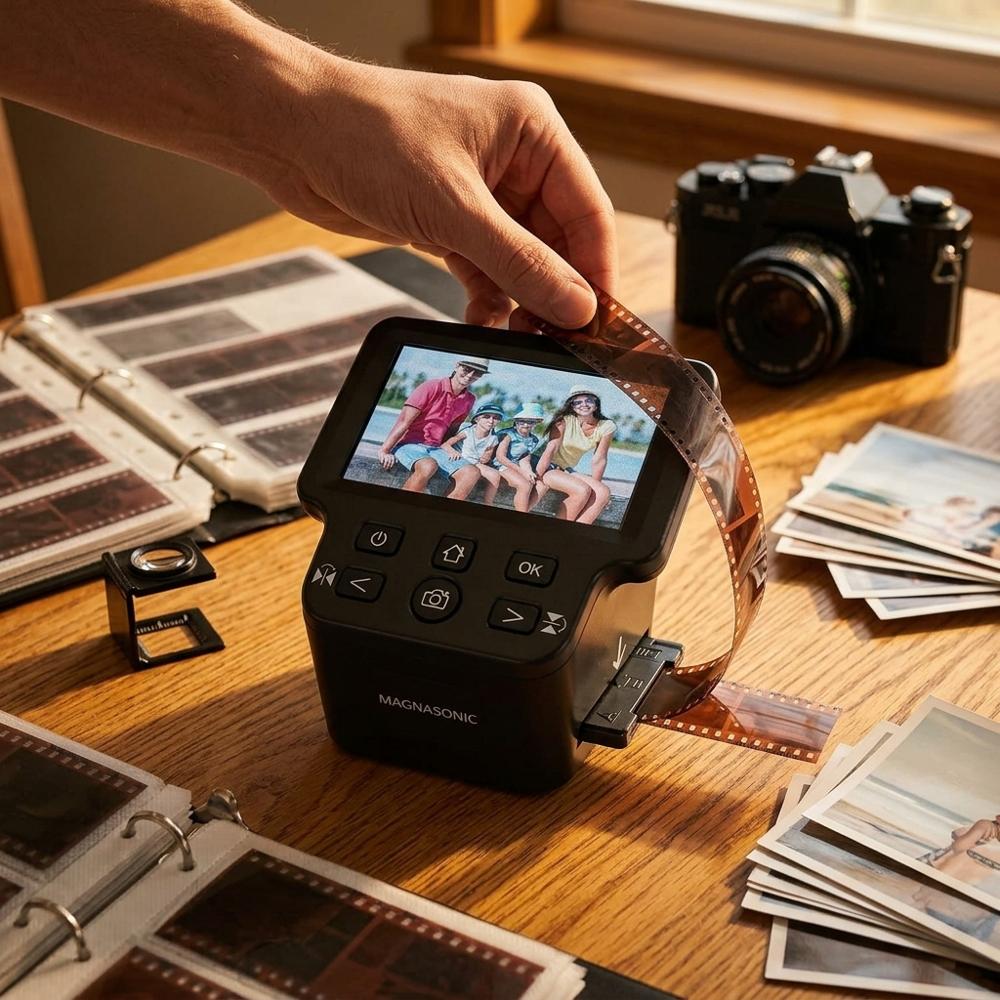
A film scanner converts developed negatives and slides into digital files without a computer, using a backlight, a sensor, and a built-in screen to preview each frame. Standalone units are slower and lower in resolution than a flatbed paired with software, but they are far simpler for a beginner and need no editing skills. Confirm that it accepts 35mm strips and saves straight to a memory card or its own storage.
Acid-free archival sleeves for storing 35mm negatives
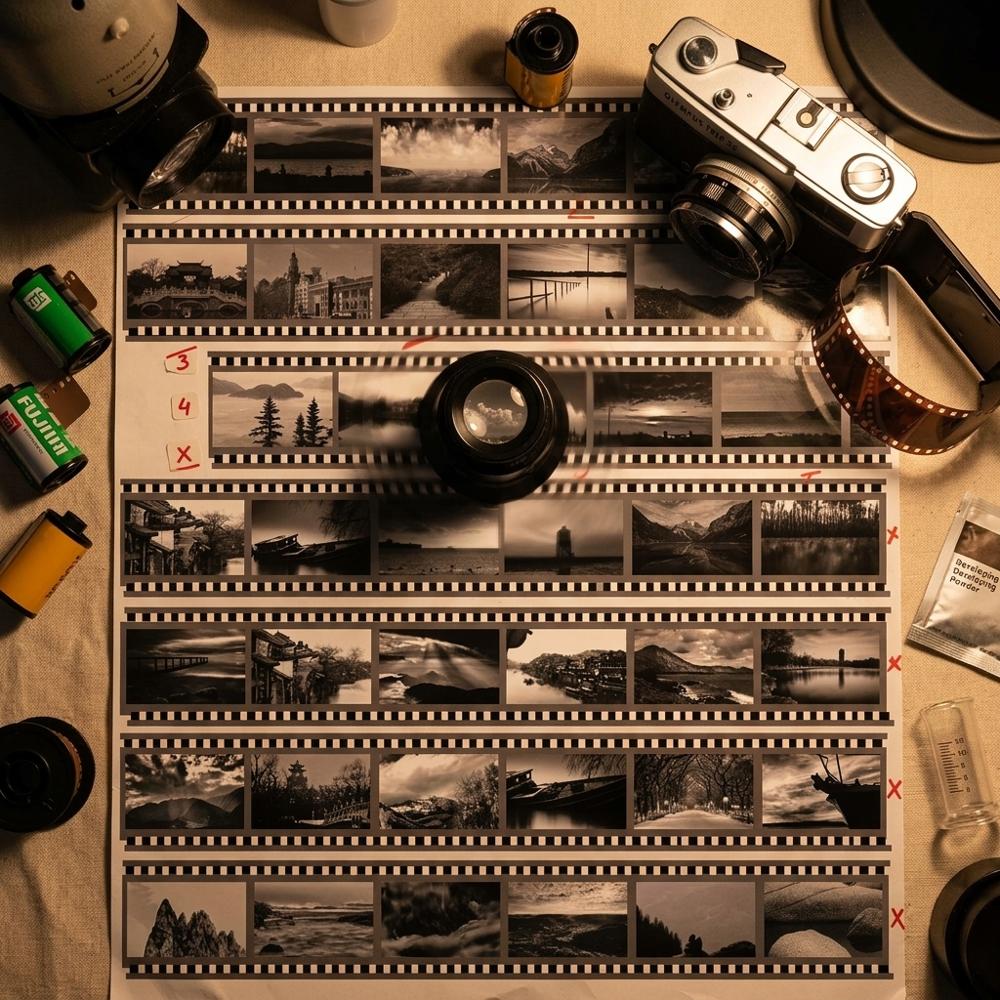
Archival sleeves are clear, acid-free pages that hold cut strips of negatives in labeled rows inside a binder. Negatives are the original: if a scan disappoints you can rescan a well-kept strip years later, but a scratched or fingerprinted one is gone for good. Acid-free material matters because ordinary plastic off-gasses and slowly degrades the emulsion.
You do not have to develop your own film to love the hobby, and plenty of people happily mail every roll to a lab, but owning the means to handle and digitize negatives turns a two-week wait into an afternoon. If film turns out not to be your thing, it sits comfortably among the starter hobbies worth trying as an adult, and the patience it teaches transfers to most of them. Begin by scanning lab-developed rolls, then add home developing once the rhythm feels familiar.
Why Your First Home-Developed Roll Rarely Looks Like the Examples Online
Why did half my frames come out blank or overlapping each other?
This almost always traces back to loading, not developing. New developers wind film onto the reel too quickly or with slightly damp hands, so it buckles and frames either stick together or never advance onto the spiral. The consequence is a roll with lost or merged images you can never recover. Practise loading a sacrificial roll in daylight with your eyes shut until the motion is automatic, and make sure both hands and the reel are bone dry before you start.
Why are there milky drips and spots all over my dried negatives?
Those are mineral deposits left behind as the film dries, and hard tap water is usually the culprit. Because they sit on top of the emulsion, they scan as permanent blotches even when the image underneath is perfect. Give the film a final rinse in distilled water with a single drop of wetting agent, then hang it to dry in a steamed-up bathroom away from dust, and they mostly vanish.
Why do my scans look flat and gray next to other people’s film shots?
Beginners assume the scanner makes the picture, but a raw scan is deliberately low in contrast to preserve detail, so it looks lifeless straight off the device. Left untouched, every roll seems disappointing and people wrongly blame the film or the camera. A couple of minutes setting the black and white points in any free photo app pulls out the contrast and color the negative already holds.
Why did my color film look fine but my black and white came out too dark?
The two are not interchangeable in the tank, and a common slip is developing black and white for a generic time rather than the time listed for that exact film and developer pairing. Over-developing pushes the negatives dense and dark, which then scan muddy and grainy. Look up the precise time for your film-and-developer combination on a development chart and hold the chemistry at the stated temperature, and density lands where it should.
Why did a whole roll come back as a clear strip with nothing on it?
A blank strip with no frame markings almost always means the film never caught on the camera’s take-up spool, so it sat unexposed while you thought you were shooting. It is maddening precisely because the camera felt normal as you fired away. After loading, watch that the rewind knob turns as you wind on; if it stays still, open up, reseat the leader, and close the back before you trust it again.
FORK_CTA_HINT
 RELATED_SETUPS_HEADING
RELATED_SETUPS_HEADING


AFFILIATE_DISCLOSURE_TITLE: AFFILIATE_DISCLAIMER