Draw With Fire: Woodburning for Complete Beginners

Draw With Fire: Woodburning for Complete Beginners

DariaCurated by Daria
Jump to the 13 picks

Smells Like a Campfire, Looks Like a Drawing

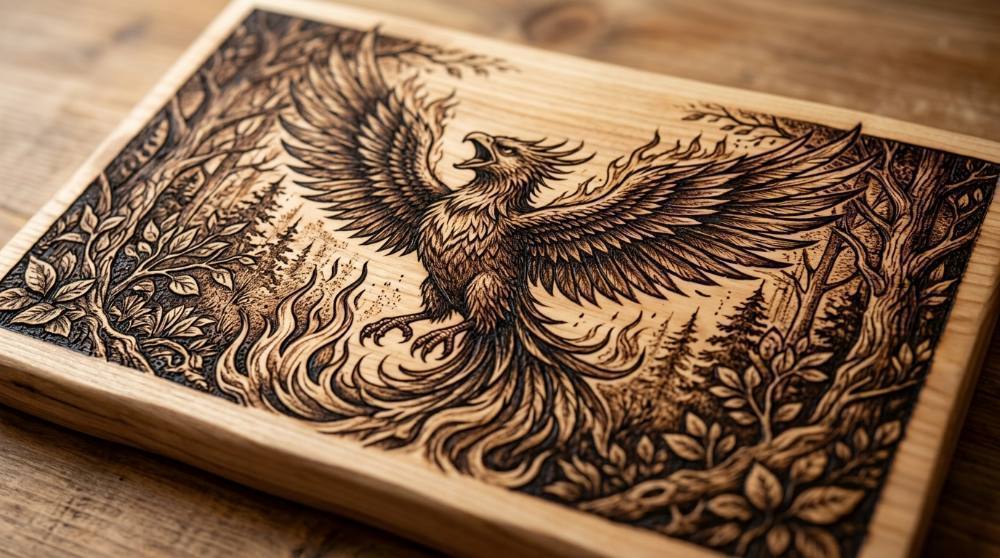
Pyrography is drawing with a heated metal tip pressed into bare wood until the line scorches brown. The name means writing with fire. People were doing it long before anyone plugged anything in — Han-dynasty China had a version called fire needle embroidery, and for most of its life in English it went by the blunter name pokerwork, because the tool really was a poker heated in the hearth. The Victorians built the first machines and coined the fancier word. It's still a living folk craft in Romania, Poland and Argentina, and if you're patient enough you can do it with nothing but a magnifying glass and a sunny afternoon.

The first thing that surprises people is how little pressure it takes. Beginners lean on the pen like it's a ballpoint and wonder why the line comes out gouged and wobbly. The heat does the work, not your hand. The second surprise is the smell, somewhere between toast and a bonfire, and it stays in the room for hours afterwards. If you're weighing up which craft supplies deserve real money and which don't, our notes on which art supplies are worth paying for apply here almost word for word.

Our philosophy: buy the smallest pile of gear that can still produce a finished piece. A burner with a few nibs, some basswood, transfer paper and a mask will get you there. Everything else is a later problem.

Nothing below costs enough to sting if you burn one board, decide it isn't for you, and shove the lot in a drawer.

variable-temperature wood burning station with wire nibsvariable-temperature wood burning station with wire nibs

Pick 01 of 13

variable-temperature wood burning station with wire nibs

A wood burning station splits the tool in two: a control box with a temperature dial, and a slim pen wired to it. Wire nibs push into the pen and heat almost instantly, which keeps the line consistent as the cool wood pulls heat back out of the tip. Look for a genuine dial rather than a single fixed heat, and check that replacement nibs are cheap.

Why we picked this exact one: The YIHUA 939-II is the cheapest unit here that gives you a real temperature dial and wire nibs instead of screw-in brass tips. It holds a 4.5-star average across more than 1,500 ratings, which is a lot of agreement for a forty-dollar tool. The twenty included nibs are the usual mixed bag — you'll settle on three or four and leave the rest in the box.

See it on Amazon
solid basswood plaques for practising burnssolid basswood plaques for practising burns

Pick 02 of 13

solid basswood plaques for practising burns

Basswood is the standard beginner surface because it's pale, close-grained and soft enough to burn at a low setting. Plaques cut from solid board give you a flat face with the grain running lengthwise, which takes a line far more predictably than a cross-cut round does. Buy more than you think you need, because the first few are practice whether you plan it that way or not.

Why we picked this exact one: These Cregugua plaques are solid basswood stock at 0.42 inches thick, not the thin laminated sheets that dominate the basswood listings. Six boards for under twenty dollars is enough surface to get properly bad at this before you get good. They arrive sanded but not finish-sanded, so you'll still want to take them up a few grits yourself.

See it on Amazon
wax-free graphite paper for transferring designs onto woodwax-free graphite paper for transferring designs onto wood

Pick 03 of 13

wax-free graphite paper for transferring designs onto wood

Graphite transfer paper sits face-down between your drawing and the wood, so tracing the lines leaves a light graphite copy underneath. Wax-free sheets matter because the transferred line has to lift cleanly once the burn is finished. One sheet survives many tracings before it stops giving a readable line.

Why we picked this exact one: MyArtscape's wax-free A4 graphite paper is the version that erases properly, which matters more than the small price gap suggests. Carbon paper is cheaper and does the same job right up until you try to lift the leftover lines off a finished piece. Twenty sheets last a long time, since each one traces many designs before it fades.

See it on Amazon
graded sandpaper assortment for prepping wood before burninggraded sandpaper assortment for prepping wood before burning

Pick 04 of 13

graded sandpaper assortment for prepping wood before burning

Prepping a board means working through progressively finer grits until the surface feels smooth under a fingertip, always sanding along the grain rather than across it. Quarter-sheets are the practical size for hand-sanding small plaques without a block. The same paper handles light mistake removal after a burn.

Why we picked this exact one: BOSHCRAFT's 50-piece quarter-sheet assortment runs from 80 up to 400 grit, covering both surface prep and mistake removal in one box. The 400-grit sheets are the ones that matter here, and there are eight of them. Aluminium oxide wears out faster on bare wood than pricier abrasives, but at this quantity that's a fair trade.

See it on Amazon
reusable half-face respirator for burn smoke and sanding dustreusable half-face respirator for burn smoke and sanding dust

Pick 05 of 13

reusable half-face respirator for burn smoke and sanding dust

A half-face respirator seals against the face and filters through replaceable cartridges rather than a paper layer. It does double duty for this hobby: fine dust while sanding, smoke while burning. Fit matters more than the filter rating, so check it seals along the jaw and across the bridge of the nose.

Why we picked this exact one: The AirGearPro M-500 is the mid-priced half-mask that gets consistently praised for sealing on smaller faces, a common complaint with this style. Nearly 3,700 ratings at 4.7 stars is unusually strong for safety gear in this bracket. The exhale valve will fog your glasses, which is the standard trade-off for a half mask.

See it on Amazon

With these five on the table you can go from a blank board to a finished burn in a single evening. Do the boring part first: sand along the grain, work up to 400 grit, then wipe off the dust. Skip it and the surface fights back. Nobody warns you how constant the smoke is either — a cracked window isn't ventilation, and it's worth sorting that out before you commit a corner of your home to it, the same way you'd plan a workable art space at home.

The Bits You'll Want by Week Three

None of this is required. Every item here exists because of something that annoyed you during your first burn. Pyrography earns its place among the hobbies that are genuinely easy to pick up as an adult partly because the whole kit fits in a shoebox — though the shoebox does slowly fill. The upgrade most people wish they'd made sooner isn't a better pen. It's getting the smoke away from their own face.

benchtop fume extractor fan with carbon filterbenchtop fume extractor fan with carbon filter

Pick 06 of 13

benchtop fume extractor fan with carbon filter

A benchtop extractor is a fan with an activated carbon filter that sits beside your work and pulls smoke sideways before it reaches your face. The filter pads are consumable and darken visibly as they load up. Position beats power here: a few inches from the burn is worth more than a stronger fan across the desk.

Why we picked this exact one: The KOTTO smoke absorber comes up by name in woodburning discussions more than any other extractor at this price. Around forty dollars is the cheapest route to not breathing your own work. It's a soldering tool rather than a pyrography one, so the arm is short and you'll end up shifting the whole unit rather than aiming it.

See it on Amazon
artist eraser set for lifting leftover transfer linesartist eraser set for lifting leftover transfer lines

Pick 07 of 13

artist eraser set for lifting leftover transfer lines

An artist eraser set covers the jobs graphite creates: kneaded for lifting without abrading, vinyl for stubborn lines, gum for delicate surfaces. On bare wood the gentler options matter, because a hard eraser burnishes the fibres and leaves a shiny patch. None of them touches a burn, only the pencil around it.

Why we picked this exact one: The Mr. Pen nine-pack covers kneaded, vinyl and gum erasers for under six dollars, which saves buying three types separately. Kneaded is the one you'll reach for most on wood, since it lifts graphite without scrubbing at the grain. They're soft and pick up dirt quickly, so keep them in the tin.

See it on Amazon
precision craft knife for scraping out burn mistakesprecision craft knife for scraping out burn mistakes

Pick 08 of 13

precision craft knife for scraping out burn mistakes

A detail knife with a fine blade lets you scrape a shallow layer of scorched wood away instead of sanding a whole area flat. Held almost parallel to the surface it shaves rather than cuts. The same blade tidies a burnt edge that spread wider than you meant it to.

Why we picked this exact one: The Beaditive detail knife uses a 30-degree blade, the shallow angle that makes scraping practical rather than just cutting. Over two thousand ratings at 4.7 stars for a ten-dollar knife suggests the handle isn't the usual loose-chuck disappointment. Blades dull quickly on wood fibre, so order spares alongside it.

See it on Amazon
water-based clear sealer in an ultra-flat finishwater-based clear sealer in an ultra-flat finish

Pick 09 of 13

water-based clear sealer in an ultra-flat finish

A water-based protective finish seals the wood without the amber tint that oil-based products add as they cure. An ultra-flat sheen keeps the surface from catching light, which matters when the artwork is entirely tonal. It goes on thin with a brush or cloth and wants several light coats rather than one heavy one.

Why we picked this exact one: Minwax Polycrylic in Ultra Flat is the sheen to pick, because gloss and satin both add a shine that flattens the tonal range you spent hours building. Being water-based, it won't yellow the pale areas over time the way oil-based polyurethane does. A quart is far more than one person will get through, which is the main argument against it.

See it on Amazon

Buy these as the frustration arrives, not all at once. The eraser and the blade you'll want on your very first piece. The extractor and the finish can wait until you've made something worth keeping. Test any sealer on a scrap first. Some of them deepen the wood a shade or two, and your carefully preserved pale highlights go with it.

Once Brown on Wood Stops Being Enough

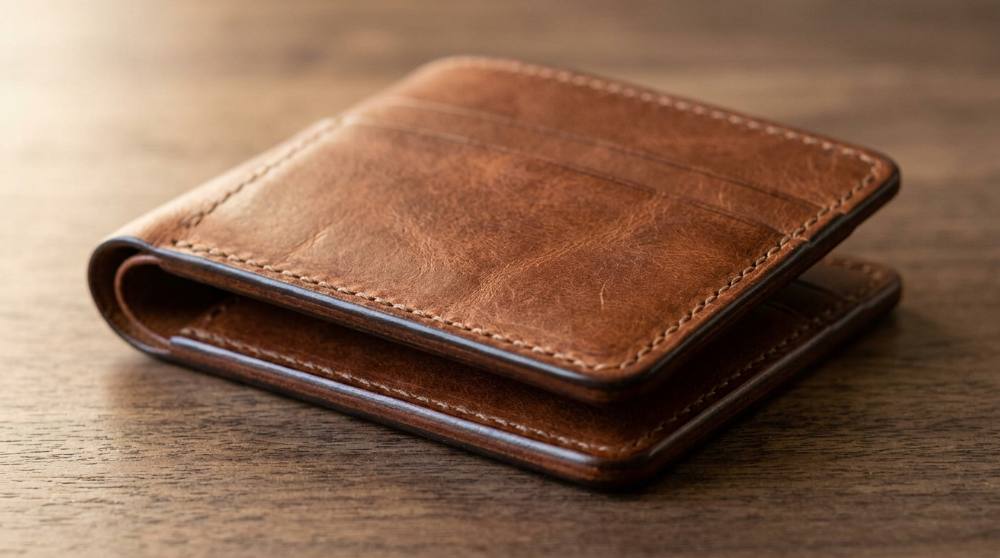
Give it a month and you'll start wondering what else takes a burn. Quite a lot, it turns out. Vegetable-tanned leather is the classic next surface, and it's the only leather you should put a hot tip anywhere near — chrome tanning leaves chemicals in the hide that turn nasty the moment they're heated. If you take to it, there's a whole craft waiting in hand-stitching your first leather wallet. Colour is the other direction people wander off in, usually after finishing a piece they're proud of and deciding the sky ought to be blue.

watercolour pencils for tinting finished burnswatercolour pencils for tinting finished burns

Pick 10 of 13

watercolour pencils for tinting finished burns

Watercolour pencils lay colour down dry, then dissolve into a wash when a damp brush passes over them. That control matters on wood, because bare grain wicks liquid colour further than you intend. Used dry they behave like ordinary coloured pencils, which lets you build a tint gradually instead of committing to a flood of pigment.

Why we picked this exact one: The Faber-Castell 24-colour set is the budget entry from a pencil maker whose reputation rests on cores that don't crumble when sharpened. Under ten dollars is remarkable for this name, which usually sits well above that. It's the entry-level line rather than the artist range, so expect gentler colour once water touches it.

See it on Amazon
vegetable-tanned leather panels for burning designsvegetable-tanned leather panels for burning designs

Pick 11 of 13

vegetable-tanned leather panels for burning designs

Vegetable-tanned leather is tanned with plant tannins rather than chrome salts, which is what makes it safe to heat. It takes a burn differently from wood: the line darkens fast and shading runs smoother, with no grain fighting the tip. Thickness is quoted in ounces or millimetres, and heavier stock stays flat while you work.

Why we picked this exact one: This JinRuiKJ veg-tan tooling leather arrives precut into 8-by-12-inch panels at roughly 2mm, which saves cutting down a full side. Twelve dollars is little enough to treat as practice material rather than something to be precious about. Colour varies between batches, normal for veg-tan but worth knowing if you want a matched set.

See it on Amazon
bark-edged wood rounds for ornaments and coastersbark-edged wood rounds for ornaments and coasters

Pick 12 of 13

bark-edged wood rounds for ornaments and coasters

Wood rounds are cut across the trunk, so the bark stays on as a natural border and the face shows the growth rings. Kiln-dried stock matters, because moisture left in the wood steams and spits under a hot tip. They're the standard surface for ornaments, small hanging signs and coasters.

Why we picked this exact one: These LESUMI rounds are kiln-dried and pre-sanded, which removes the two jobs that make cheap wood slices miserable. Twenty pieces at seventeen dollars makes them cheap enough to write off the failures. They range from 3.5 to 4 inches, so they aren't interchangeable if you're after a matched set.

See it on Amazon
illustrated technique manual for woodburningillustrated technique manual for woodburning

Pick 13 of 13

illustrated technique manual for woodburning

A technique manual covers what video tutorials tend to skip: how to hold the pen for different marks, how to build tone in layers, and how to plan a piece so the darkest areas come last. The practice exercises matter more than the project patterns. Look for one that teaches texture and shading rather than just supplying outlines to trace.

Why we picked this exact one: Sue Walters' Pyrography Workbook from Fox Chapel is the title people name when a beginner asks what to read, and it turns up as a cited reference in general write-ups of the craft. It holds 4.7 stars across more than 2,000 ratings, rare durability for a craft book first published back in 2005. The photography is dated and the projects lean heavily on wildlife, so it's the technique chapters that earn the price.

See it on Amazon

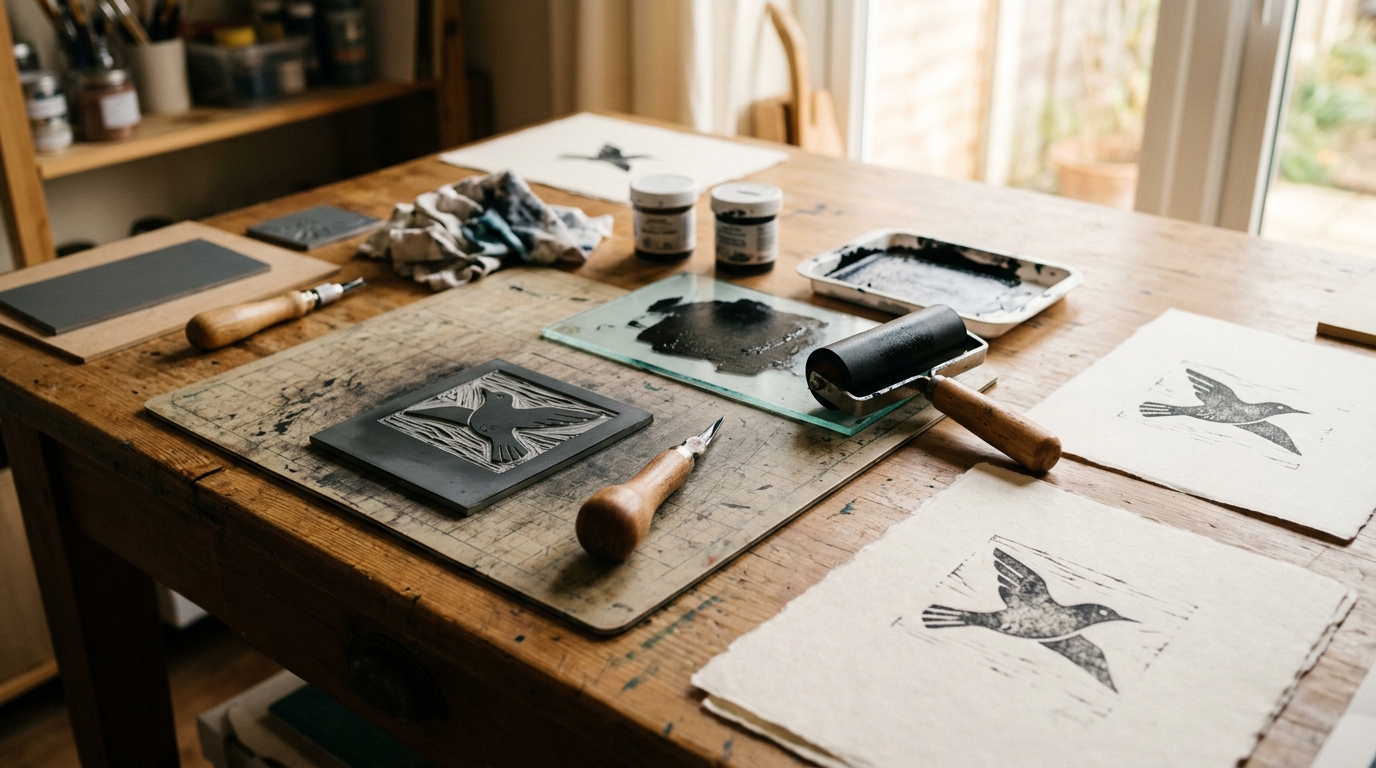
None of this is urgent. Pick whichever one matches the thing you already want to make, and ignore the rest until it becomes relevant. If the appeal for you is the permanence — that a mark, once made, is simply there — you'll probably enjoy carving your first linocut block for much the same reason.

Why Your Third Burn Will Look Worse Than Your First

Why do my lines look fine on the practice board and terrible on the good one?

Almost everyone saves the nicest board for when they've improved, then switches to it without re-testing anything. Different species and different grain need different heat, so a dial setting you patiently tuned on soft basswood will scorch too dark or drag and stutter on a denser board. The line quality collapses and it feels like a sudden loss of skill. Burn a short test strip on every new board before you start, on an offcut or on the back where nobody looks.

Why does my pen stop burning properly halfway through a piece?

Carbon builds up on the tip as you work, and that layer insulates the metal from the wood. The line goes pale, and the instinctive response is to push harder, which is how nibs get bent and snapped. Heat is not the thing that kills tips; pressure is. Stop, let it cool, clean the deposit off the tip, and go back to letting the tool do the burning.

Why does everyone tell me not to use pine?

Pine looks like the obvious cheap practice wood and it's in every hardware shop, so beginners reach for it first. The problem is those alternating pale and dark bands: they're wood laid down in different seasons at genuinely different densities, so the tip races through the soft stripe and stalls at the hard one. A single straight stroke comes out as a row of dashes, and the sap smokes on top of that. Basswood, poplar or aspen all behave themselves instead.

Why do bark-edged wood slices burn so much worse than boards?

A round cut across the trunk is end grain, meaning the wood fibres point straight up at your tip like the ends of a bundle of straws. Heat travels down them instead of spreading sideways, so lines blotch, spread unpredictably and go darker than you asked for. It isn't the tool and it isn't you. Work slower and accept a softer line on rounds, and keep the fine detail work for boards cut along the length.

Is it really a problem to burn a board I found in the garage?

Scrap wood is free and the danger isn't visible, which is exactly why people risk it. Pressure-treated timber vaporises its preservatives when heated, stained or painted or varnished wood does the same with its finish, and plywood has a glue layer waiting under a very thin top veneer. What you get is a lungful of something genuinely toxic, not just an unpleasant smell. Burn untreated wood only, and look up any unfamiliar exotic species before it goes anywhere near a hot tip.

Love what you see here? Save individual picks with on any item, or copy everything to a list of your own in one click — great for coming back to later, or dropping as a not-so-subtle hint.

Disclosure: Some product links may be affiliate links. If you make a purchase through one of these links, we may earn a small commission at no extra cost to you.