Make Things That Last: Leather Crafting for Beginners

Make Things That Last: Leather Crafting for Beginners

Daria AparinaCurated by Daria Aparina

The Smell of Real Leather Is Half the Reason to Start

Leather crafting is the old trade of cutting and hand-sewing firm cowhide into things you'll actually use: wallets, belts, watch straps, knife sheaths. Most of it happens at kitchen tables, not workshops. The material itself is ancient — vegetable tanning, which cures hides with tree-bark tannins, dates back more than 5,000 years to tanneries in ancient Egypt. And the stitching hides a surprise: the two-needle saddle stitch comes straight from saddle makers, and because every hole carries two independent threads, a worn-through stitch won't unravel the seam. That's why the priciest workshops in the world still sew by hand when machines exist.

Your first hour of leathercraft is mostly cutting, and cutting is where cheap setups fall apart. Leather is dense stuff that dulls blades far faster than paper or fabric ever will. The three things below deal with exactly that. If you're still deciding whether this craft is your craft, our guide on how to choose your first hobby is a fair place to pressure-test the urge.

My starting philosophy: buy almost nothing. One square of veg-tan, a sharp knife, a mat, chisels, and thread will carry you through your first several projects, and the rest can wait until your hands ask for it.

Every pick below sits in the cheap-enough-to-shrug-off range, so if leathercraft doesn't take, you're out roughly the cost of a store-bought wallet.

Vegetable-tanned leather square for first wallets and cardholders

Vegetable-tanned leather square for first wallets and cardholdersVegetable-tanned leather square for first wallets and cardholders

A pre-cut square of full-grain, vegetable-tanned cowhide in the 1.8-2.0mm range, which is the middleweight most patterns for cardholders and small wallets assume. Veg-tan is firm, holds a crisp cut edge, and takes stitching and burnishing well. When buying, check the thickness in millimeters or ounces against your pattern rather than trusting photos.

Why is this important?

Nothing else in the kit matters without leather to practice on, and the tanning method decides what is possible: this firm, workable style of hide is the one beginner techniques are taught on.

Why this choice?

The JinRuiKJ A Grade 8"x12" precut square hits the useful middle: A-grade full grain at $11.99, sized so one sheet yields a cardholder plus mistakes, with a 4.4-star record across 227 reviews.

Snap-off craft knife for cutting leather panels

Snap-off craft knife for cutting leather panelsSnap-off craft knife for cutting leather panels

A slim snap-off utility knife whose blade extends and locks in segments. When the edge dulls you break off the tip and get a fresh, factory-sharp edge in seconds instead of sharpening. For leather, the slim handle matters: it lets the blade stay low and controlled when tracing curves around a pattern.

Why is this important?

Every project starts as cut panels, and leather punishes dull edges: clean cuts come from a sharp, replaceable blade more than from any amount of skill at this stage.

Why this choice?

The OLFA Ltd-05 Limited SK earns its 4.7 stars across 304 reviews on blade quality; OLFA invented the snap-off blade, and at around $8 this knife costs less than many replacement-blade packs.

Self-healing cutting mat that protects blade and tabletop

Self-healing cutting mat that protects blade and tabletopSelf-healing cutting mat that protects blade and tabletop

A dense, layered PVC mat that closes back up after each cut, printed with grid lines and usable on both sides. It keeps blade tips from blunting on the table underneath and gives you square reference lines to cut against. A 12x18 inch surface comfortably fits wallet-scale patterns.

Why is this important?

Cutting leather on a bare table ruins both the table and the blade edge, and the printed grid quietly does your right-angle measuring for you.

Why this choice?

The anezus 12x18 double-sided mat is the safest buy in this whole setup: over 20,000 reviews at 4.7 stars for $8.99.

With leather, knife, and mat on the table, you can cut a cardholder's worth of panels in an evening — and the first clean swish of a fresh blade through two millimeters of hide is weirdly satisfying. Don't stock up on multiple hides yet; one square teaches you plenty, and beginners who bulk-buy usually end up with leather that doesn't match the projects they later want. There's a longer argument about when cheap supplies are fine and when they quietly sabotage you in our guide to art supplies that last versus cheap ones.

Punch First, Sew Second: How Leather Stitching Actually Works

Here's what nobody tells you before your first seam: you don't push a needle through leather. You punch a neat row of diamond-shaped holes first, then chase two blunt needles through them from opposite sides. That's the saddle stitch. The classic beginner mistake here is buying sharp needles — harness needles are blunt on purpose, so they follow the punched holes instead of splitting the thread already sitting in them. There's a small pop you can feel when the chisel clears the back of the leather, and you'll start listening for it. Expect your first row of holes to drift off the line a little. Everyone's does.

Diamond stitching chisel set for punching even stitch holes

Diamond stitching chisel set for punching even stitch holesDiamond stitching chisel set for punching even stitch holes

A set of diamond-point chisels in matching 4mm spacing, with 1, 2, 4, and 6-prong heads. Driven through the leather with a mallet, they cut the slanted holes that give hand stitching its signature angled look. The 2-prong head handles curves; the wider heads keep long runs evenly spaced.

Why is this important?

Leather is too dense to sew directly, so every stitch line begins as a row of punched holes. The spacing and angle of these chisels decide how professional the finished stitching looks.

Why this choice?

The citian mirror-polished 4mm set (4.6 stars, 118 reviews, $19.99) has polished inner teeth, so the chisel pulls back out of the leather without the tug-of-war cheaper sets are known for.

Waxed polyester thread and needles for hand-sewing leather

Waxed polyester thread and needles for hand-sewing leatherWaxed polyester thread and needles for hand-sewing leather

Flat waxed polyester thread bundled with hand-sewing needles, in a length that outlasts many first projects. The wax coating grips as you pull each stitch tight, so the seam stays snug instead of loosening behind you. Flat braided thread also beds down neatly into punched holes.

Why is this important?

Saddle stitching needs thread that holds tension on its own between stitches, which plain sewing thread will not do, plus blunt-tipped needles that follow the holes instead of piercing the thread.

Why this choice?

The DIUDUS 218-yard kit costs $6.99, carries 4.7 stars from 369 reviewers, and includes the needles, so the whole sewing side of the craft arrives in one small package.

Nylon-head mallet for driving stitching chisels

Nylon-head mallet for driving stitching chiselsNylon-head mallet for driving stitching chisels

A mallet with a nylon head and wood handle, around the weight that drives stitching chisels through 2mm of leather in one or two strikes. The plastic face is softer than the tool steel it hits, which spares the chisel heads. It doubles for setting snaps and rivets later on.

Why is this important?

Chisels have to be struck with something softer than steel, because a regular hammer mushrooms and ruins their heads within a few projects.

Why this choice?

The QWORK 8-inch nylon mallet is $9.97 with a 4.7-star average over 381 reviews, and its straight nylon head is the shape most leathercraft tutorials assume you are holding.

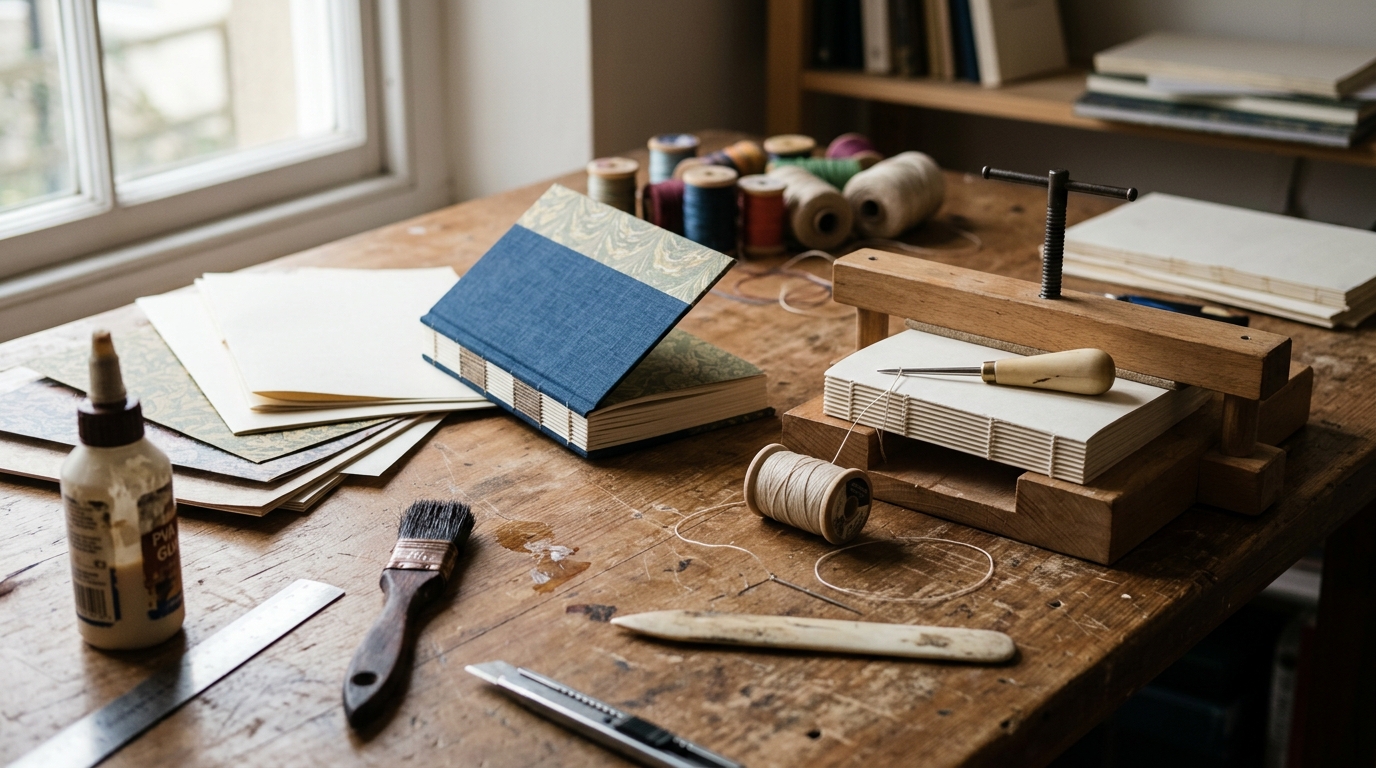
These three tools produce the thing people notice first about handmade leather: a tidy row of slanted stitches. Punch over a scrap of leather rather than bare wood and your chisel tips will stay sharp for years. If the slow rhythm of hand-sewing turns out to be the part you love, hand bookbinding scratches the same itch with paper instead of hide, right down to the waxed thread.

The Details That Separate Homemade From Handmade

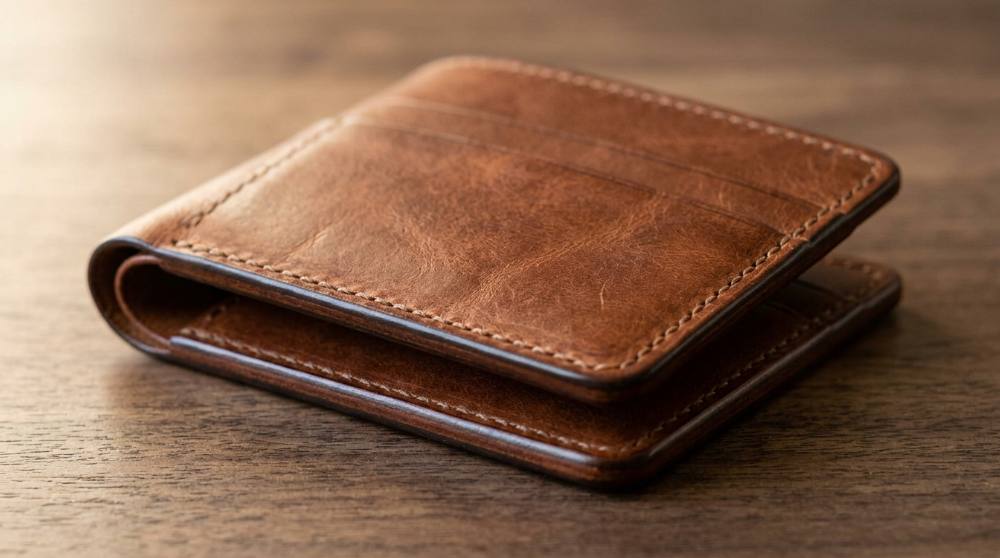
Pick up a factory wallet and run your thumb along the edge: smooth, slightly rounded, faintly glossy. That finish is the biggest visual difference between a first project and a fiftieth, and none of the tools in this section is strictly required to make something functional. They're here because edge work is cheap to add and changes how a piece reads. I'd skip leather dyes, stamping sets, and hardware kits at this stage — edges pay off on every project, novelty tools don't. It's the kind of gradual upgrade path that puts leathercraft on so many lists of the best starter hobbies for adults.

Water-based leather cement for holding pieces before stitching

Water-based leather cement for holding pieces before stitchingWater-based leather cement for holding pieces before stitching

A water-based, non-toxic glue made for leather that dries flexible and holds pieces in position before sewing. A thin coat on both surfaces, a minute to tack, and the panels handle like a single piece while you punch and stitch. It wipes off tools and fingers with water while still wet.

Why is this important?

Wallet layers shift while you punch and sew unless they are tacked together first, and stitching through misaligned panels is one of the most common reasons first projects come out skewed.

Why this choice?

Fiebing's Leathercraft Cement is the default answer when leatherworkers are asked about glue: a century-old leather-goods brand, 4.4 stars across roughly 6,000 reviews, and about $9 for a bottle that lasts through a year of small projects.

Edge beveler for rounding sharp leather corners

Edge beveler for rounding sharp leather cornersEdge beveler for rounding sharp leather corners

A small push-blade that shaves a narrow strip off each cut corner of the leather, turning a sharp 90-degree edge into a rounded one. Bevel both faces of an edge before burnishing and it slicks into a smooth dome instead of a flat ridge. Narrow sizes suit the thinner leather used for small goods.

Why is this important?

Square-cut edges look unfinished and fray with handling; beveling is the two-minute step that starts turning a cut panel into something that reads as a finished object.

Why this choice?

The DIUDUS 0.7mm #4 beveler (4.6 stars, 317 reviews) ships sharp for $16.99, and its narrow bite is matched to the lighter-weight leather beginners actually use for wallets.

Grooved wood slicker for polishing leather edges

Grooved wood slicker for polishing leather edgesGrooved wood slicker for polishing leather edges

A grooved hardwood spindle you rub briskly along a dampened leather edge until friction smooths the fibers into a glossy line. Different groove widths fit different leather thicknesses. Handheld versions work fine at beginner speed; motorized ones can wait indefinitely.

Why is this important?

Burnishing is the finishing move of leathercraft: friction plus a little moisture turns a fuzzy cut edge into the smooth, dark line people associate with expensive goods.

Why this choice?

The Aliotech round-head ebony burnisher does the same job as slickers several times its price: dense ebony wood, multiple groove sizes, 4.7 stars from 223 reviews, all for $6.69.

Burnishing gum for slicking edges and the flesh side

Burnishing gum for slicking edges and the flesh sideBurnishing gum for slicking edges and the flesh side

A creamy burnishing paste applied to leather edges and the rough flesh side before slicking. It lubricates the burnishing pass, binds stray fibers, and dries clear without stiffening the leather. A fingertip's worth covers a whole wallet's edges, so a small jar lasts a very long time.

Why is this important?

Water alone can burnish veg-tan, but a burnishing gum gets a glassier finish in fewer passes and also tames the suede-like back of the leather, which beginners otherwise leave fuzzy.

Why this choice?

Seiwa Tokonole is the standard in this category by a wide margin: a Japanese staple with 4.8 stars across more than 11,000 reviews, at $11.73 for the 120g jar most hobbyists buy.

Stitching pony to hold work while saddle stitching

Stitching pony to hold work while saddle stitchingStitching pony to hold work while saddle stitching

A wooden clamp that grips your project between padded jaws, leaving both hands free for the two needles of a saddle stitch. Tabletop versions sit under your thigh or on the bench and angle the work toward you. Sewing without one means pinching the leather between your knees.

Why is this important?

The saddle stitch needs one needle in each hand, so something else has to hold the leather. A clamp roughly doubles stitching speed and noticeably straightens stitch lines.

Why this choice?

The Mandala Crafts stitching pony is the budget entry reviewers keep recommending first: $14.99, 4.3 stars over 264 reviews, and small enough to live in a drawer between projects.

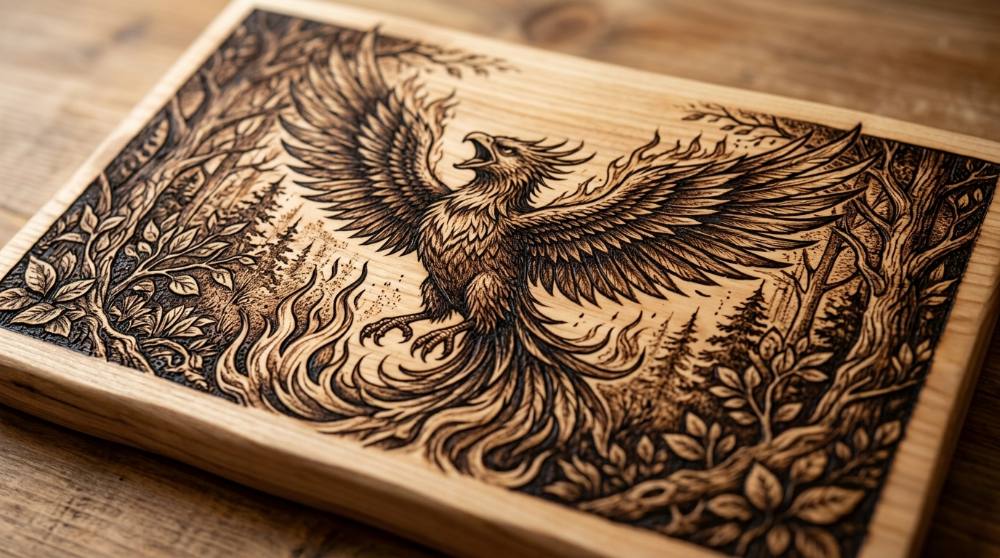
A beveled, burnished edge on veg-tan feels like polished stone, and it takes maybe five minutes per project once you've done it twice. Start the burnisher slow, since rushed friction scorches the edge instead of slicking it. And if you like the idea of decorating what you build, pyrography, or wood burning, is a neighboring craft with the same make-it-yourself spirit.

Why Does the Back of My Stitching Look Like That? And Other First-Wallet Mysteries

Why do my stitches look neat in front and crooked on the back?

Almost always it's the punching, not the sewing. If the chisel leans even a few degrees off vertical, the holes exit the back wandering off the line, and no amount of careful stitching fixes crooked holes. Beginners focus on the front because that's the side they can see while punching. Check that the chisel stands dead upright before each strike, and punch a full practice row on scrap before touching a real project.

I bought "genuine leather" and the edges just fray into fuzz. What happened?

You almost certainly got chrome-tanned leather, which is soft, floppy, and won't take a burnish no matter how long you rub it. Most fashion leather is chrome-tanned, and listings rarely warn you. Only vegetable-tanned leather firms up and polishes into that glassy edge, and it's also the kind that stamps and wet-molds properly. Search specifically for "vegetable tanned" or "veg-tan" and treat the word "genuine" as decoration, not information.

Why does my knife drift off the cutting line halfway through?

Two causes stack up: a tiring blade and too much pressure. Leather dulls an edge quickly, a dull edge needs force, and force is what sends cuts wandering and fingers into danger. Snap off to a fresh edge more often than feels reasonable, then cut in two or three light passes instead of one deep one. The first pass only scores the line, and the leather barely resists after that.

How long should I cut my thread? I keep running out mid-seam.

Running out mid-seam means burying and restarting thread, which is fiddly and shows if you look closely. The saddle stitch eats far more thread than fabric sewing because both needles travel the full length of the seam. Cut roughly four times the length of the seam you're about to sew. It looks wasteful stretched out on the table, and it's still the right amount.

Love what you see here? Save individual picks with on any item, or copy the whole list to your own wishlist in one click — great for coming back to later, or dropping as a not-so-subtle hint.

Disclosure: Some product links may be affiliate links. If you make a purchase through one of these links, we may earn a small commission at no extra cost to you.