Pinhole Photography: Make a Camera With No Lens at All

Pinhole Photography: Make a Camera With No Lens at All

DariaCurated by Daria
Jump to the 9 picks

Your Next Camera Is Probably in the Recycling Bin

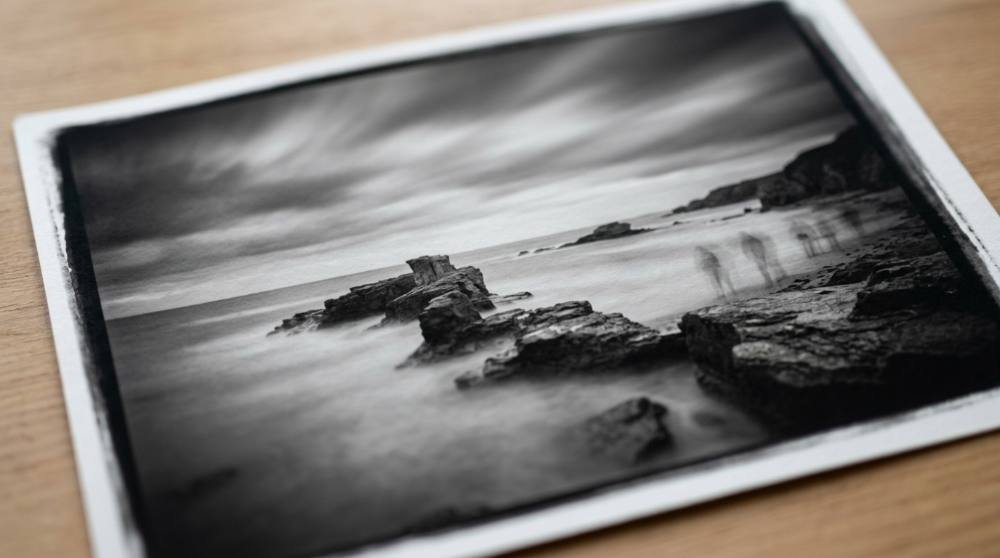
Punch a hole about half a millimetre across into thin metal, tape it over a light-tight tin, and you've built a working camera. Light creeps through that hole and paints an upside-down picture onto whatever light-sensitive paper you've taped to the back — no lens, no shutter mechanism, no battery. People do this on kitchen tables, on allotment fences and on windowsills, and the lensless box is older than photography itself; painters used the same trick as a drawing aid for centuries before anyone worked out how to keep the image. Here's the part nobody believes until they see it: some of these cameras get taped in place and left there for six months or more, and the sheet comes back with every sunny day drawn across the sky as its own separate arc. There's even a worldwide day for it on the last Sunday in April, when strangers everywhere shoot on the same afternoon and pile the results into one gallery.

The odd thing about starting here is that the camera is the cheapest part of it. A clean coffee tin costs nothing. The hole is a few square millimetres of brass. What actually costs money is the light-sensitive paper and the liquids that make the image appear, and that's also where beginners quietly overspend — buying enlargers, thermometers and timers they won't touch for a year, for a process that mostly needs a dark bathroom and a bit of patience.

So the philosophy on this page is to buy as little as you can get away with. A tin, a scrap of thin brass, one packet of paper, a developer, a fixer and a red bulb will get you a picture; everything after that is comfort rather than requirement.

Everything below sits at the boring end of the price range on purpose, because your first three sheets are almost certainly coming out blank.

Worth knowing what you're signing up for before you spend anything: long waits, a lot of guessing, and the occasional sheet that lands perfectly for reasons you can't reproduce. If you've never handled film or paper in the dark, the habits from shooting a first roll of 35mm film carry over almost completely. What follows is the shortest route from an empty tin to something you can pin on a wall.

The Five Things Standing Between You and a Picture

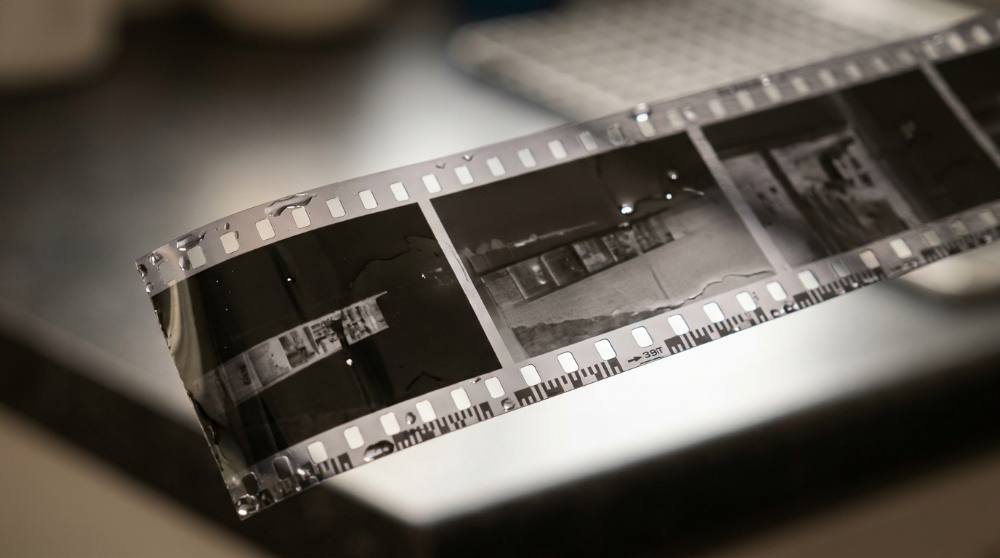
Here's what trips almost everyone up at the start: photo paper records a negative. Expose it in the camera and you get a sheet where the sky is black and the shadows are pale, and you flip it in a scanner afterwards. It's a different quirk from the orange cast on colour film negatives, but it lands on a beginner the same way — you develop your first sheet, see something that looks wrong, and assume you've failed. You haven't. Paper is also extremely slow, somewhere around ISO 3 to 6, which is exactly why exposures run into minutes and clouds smear into streaks.

Disclosure: This section may contain affiliate links to Amazon. We may earn a small commission from qualifying purchases at no extra cost to you.
thin brass shim sheet for punching a clean pinhole aperture

Pick 01 of 09

thin brass shim sheet for punching a clean pinhole aperture

Shim stock is metal rolled thin enough to pierce with a sewing needle while still holding a clean, round edge. You punch the aperture through a small square of it, sand the burr away, and tape that square behind a larger opening cut in the camera body. Go for an assortment with several thicknesses so you can work with the thinnest foil in the pack — the same reason people cut their pinholes out of drink cans rather than card.

Why we picked this exact one: The twecoinp brass shim assortment covers six thicknesses from 0.002 to 0.016 inches in 1 x 6 inch strips, so a single cheap pack buys you several attempts at a good hole instead of one. It holds a 4.7-star average, and brass sands flat easily after piercing. The strips are narrow, so cut carefully — there isn't much spare material if the first two holes come out ragged.

See it on Amazon
black-and-white resin-coated darkroom paper used as an in-camera negative

Pick 02 of 09

black-and-white resin-coated darkroom paper used as an in-camera negative

Variable-contrast resin-coated paper is the cheapest light-sensitive surface you can load into a lensless camera. Loaded in the dark and exposed through the pinhole, it records a negative that you scan and invert to get a normal picture. Resin-coated stock washes and dries quickly and stays flat, which matters when you're taping a sheet against the inside curve of a tin.

Why we picked this exact one: The Ilford Multigrade 44M pearl paper in 5x7 is the size that drops into a coffee tin without trimming, and it holds a 4.7-star average across the largest review count of any darkroom paper on this list. Pearl hides handling marks better than gloss does. It is print paper, so contrast runs high for a negative — you flatten that in the scan rather than in the camera.

See it on Amazon
liquid paper developer for bringing a pinhole exposure out of the sheet

Pick 03 of 09

liquid paper developer for bringing a pinhole exposure out of the sheet

Paper developer is a concentrate you dilute with water and pour into a tray. The exposed sheet goes in face up and the image rises out of the white over roughly a minute. A 500 ml bottle makes up enough working solution for a great many 5x7 sheets, and measuring a capful is far easier than mixing a whole gallon of powder you'll never finish.

Why we picked this exact one: Ilford's Multigrade paper developer is the liquid concentrate matched to the Multigrade paper above, and it carries a 4.8-star average. Liquid means you pour a capful rather than dissolving powder in warm water. Stock on this bottle size runs thin, so it's worth putting in the same order as the paper instead of a week later.

See it on Amazon
photographic fixer that makes a developed sheet safe to view in daylight

Pick 04 of 09

photographic fixer that makes a developed sheet safe to view in daylight

Fixer dissolves the light-sensitive silver the developer didn't use, so the sheet stops reacting to light. Until a print has been fixed and washed, carrying it into a lit room will darken it to a grey rectangle within minutes. Powder that mixes a gallon is the cheapest way to buy it, and one batch covers a long run of small sheets.

Why we picked this exact one: Kodak's powder fixer mixes a full gallon and works out at the lowest cost per sheet of anything on this page. Powder wants warm water and patience to dissolve properly, so mix it the day before rather than the evening you want to print. Decant the working solution into a dark bottle and it stays usable for weeks.

See it on Amazon
deep red darkroom safelight for handling photo paper without fogging it

Pick 05 of 09

deep red darkroom safelight for handling photo paper without fogging it

A safelight puts out a narrow band of deep red that black-and-white paper can't record, so you can see what you're doing while loading and developing. An adjustable head lets you bounce the light off a ceiling rather than aim it into the tray. Look for something you can mount well back from the work surface — proximity and brightness fog paper, not the colour itself.

Why we picked this exact one: The YCCLDIPL red darkroom lamp is a screw-fit E27 bulb on a 180 cm cord with a 360-degree head, so you can clamp it high and point it at a wall. It sits at 4.5 stars, though from only a few dozen buyers so far. Whatever red lamp you end up with, run a coin test before trusting it — lay a coin on a sheet, leave it under the lamp for a few minutes, develop it, and look for a shadow.

See it on Amazon

With those five in a box you can shoot, develop and look at a photograph the same evening, and the moment the image swims up out of the white in the developer tray is the whole reason people keep doing this. One thing that genuinely helps: photo paper is orthochromatic, blind to deep red, so you get to watch it appear under the safelight. Film isn't, so if you later move on to developing film at home in a changing bag, you'll be doing all of that by feel in total darkness instead.

What Shortens the Guessing

Once you've made a few frames the fun quietly turns into arithmetic. Your camera's f-number is just the distance from hole to paper divided by the diameter of the hole, so a 0.5 mm hole with the paper sitting 47 mm behind it works out at roughly f/95. Until you know both numbers you're genuinely guessing. Ready-made pinhole cameras land anywhere from about f/75 to f/233, which is why one person's twenty seconds is another person's three minutes. Plenty of the mistakes beginners make with film show up here too, just stretched out over much longer exposures.

handheld exposure meter for working out long lensless exposures

Pick 06 of 09

handheld exposure meter for working out long lensless exposures

A handheld meter reads the light in a scene and hands you a shutter speed at a chosen aperture. For a lensless camera you meter at a normal f-number and convert to your own, and the gap between f/22 and f/150 is what turns a fraction of a second into several minutes. Analog meters with a dial let you read the whole scale at a glance instead of clicking through a screen.

Why we picked this exact one: The Sekonic L-208 Twin Mate is the entry point into the brand and reads both incident and reflected light off a dial, with no screen or menu, at a 4.2-star average. It's easily the most expensive thing on this page, and a phone metering app honestly does the same job for nothing — buy this only if you'd rather turn a dial than unlock a screen with cold hands.

See it on Amazon
light-tight changing bag for reloading the camera away from home

Pick 07 of 09

light-tight changing bag for reloading the camera away from home

A changing bag is a double-layered fabric sack with elasticated sleeves, giving you a portable pocket of total darkness. Camera, paper and both your hands go inside and you load by feel. The medium size takes a small camera and a stack of 5x7 sheets comfortably; larger formats need the oversized version.

Why we picked this exact one: The eTone medium changing bag is a double-layer zippered design roughly 22 inches square, big enough for a tin camera and a box of paper, and it holds a 4.6-star average. It's fabric, so it does pass a little light in direct sun — use it in shade or indoors. It's the cheapest item here that actually changes how much you shoot.

See it on Amazon
digital caliper for measuring your pinhole and deriving its f-number

Pick 08 of 09

digital caliper for measuring your pinhole and deriving its f-number

A caliper measures small distances to a hundredth of a millimetre, which is the scale a pinhole lives at. You can't get the jaws into the hole itself, so the usual trick is to push a needle in until it sticks, mark the needle where it meets the metal, and measure the needle at that mark. The same tool gives you the hole-to-paper distance, which is the other half of the calculation.

Why we picked this exact one: The Jiavarry stainless caliper reads millimetres, inches and fractions off a large LCD and has gathered thousands of ratings at 4.5 stars. It's a general workshop tool rather than a photographic one, which is precisely why it costs a fraction of anything sold for darkroom use. The battery drains if you leave it switched on, so check it before a session.

See it on Amazon
bamboo print tongs for moving wet sheets between developer and fixer

Pick 09 of 09

bamboo print tongs for moving wet sheets between developer and fixer

Tongs lift a sheet out of one tray and into the next without putting your fingers into the chemistry. A set of four means a dedicated pair per tray, which is the entire point — the pair that touched the fixer never goes back into the developer. Bamboo is soft enough that it won't mark a wet emulsion.

Why we picked this exact one: The eTone bamboo print tongs come four to a pack, so you get a pair per tray plus a spare, at a 4.3-star average. Bamboo grips a wet sheet more gently than the sprung metal type does. They stain over time, which turns out to be useful — you stop mixing up which pair belongs to which tray.

See it on Amazon

None of this makes the pictures better on its own; it just means fewer wasted sheets and shorter arguments with yourself on a cold pavement. If the waiting is the part that puts you off, an instant camera setup gives you the opposite trade — a picture in your hand in ninety seconds and none of the arithmetic. Pinhole is the slow end of the same instinct, and the wait is doing a lot of the work.

The Part Where Your First Three Sheets Come Out Wrong

My sheet came out of the developer almost blank — is the paper dead?

Almost always it's underexposure, and the reason is a rule that nobody mentions until you hit it: once an exposure passes about a second, film and paper stop responding proportionally to light. Double the time and you get much less than double the effect. People have run eleven-hour and thirty-three-hour exposures in dim rooms and got nothing at all back, which feels impossible until you know the effect has a name. Work out your metered time, then multiply it generously rather than adding a few seconds, and bracket the first few sheets far wider than feels sensible.

Why is everything soft and grey when I made the hole as small as I possibly could?

Two things fight each other at that scale. Too small a hole and light spreads as it passes the edge, so the whole frame goes mushy rather than merely unsharp; a ragged hole does the same thing for a different reason, because fibres and burrs around the rim scatter light everywhere. Cardboard is the usual culprit — the torn edge is never clean. Punch the hole in thin metal instead, sand both faces gently with 600 to 800 grit to take the burr off, and hold it to a light to check that it actually looks round.

Do I have to work in complete darkness, or is a red bulb enough?

A red bulb is normally fine for paper, but people trust the wrong ones. Any red LED will look red; that's not the same as emitting nothing the paper can record, and a bulb that's slightly off will fog every sheet slightly, which reads as flat, muddy prints rather than obvious damage. Test before you rely on it: put a coin on a sheet of paper, leave it under your lamp for several minutes, develop it, and look for a coin-shaped shadow. If you can see one, move the lamp further away or replace it.

Should I just buy direct positive paper so I don't have to invert anything?

It's tempting, because direct positive paper gives you a right-way-round picture straight out of the fixer with no scanning step. In practice it's much more expensive per sheet, slower still, and has spent long stretches out of stock, so people build a workflow around it and then can't buy any. Start on ordinary resin-coated paper and invert the scan; it costs a couple of clicks and you can shoot ten times as many sheets for the same money. Save the direct positive stock for a picture you already know is going to work.

How do people keep a camera still for an exposure that lasts months?

They don't hold it — they abandon it. Long solargraphs are taped, strapped or screwed to a fence, a post or a drainpipe and left for anything from a few months to a year and a half, and the camera has to survive rain and curious strangers the whole time. That means the failure mode isn't camera shake, it's water getting in and someone taking it away. Fix it somewhere unappealing and out of easy reach, seal every seam, and accept that a decent proportion of them simply never come back.

Love what you see here? Save individual picks with on any item, or copy everything to a list of your own in one click — great for coming back to later, or dropping as a not-so-subtle hint.

Disclosure: This section may contain affiliate links to Amazon. We may earn a small commission from qualifying purchases at no extra cost to you.