Oil Pastels: Bold, Buttery Color With No Learning Curve
Color You Can Push Around With Your Thumb
Oil pastels were invented in 1925, when Japan's Sakura company pressed pigment into a crayon-pastel hybrid gentle enough for schoolchildren. Twenty-four years later Picasso wanted a grown-up version he could drag across any surface, so he talked the Paris color house Sennelier into an artist-grade line that's still made today. That's the strange arc of this medium: born for classrooms, upgraded for one of the most famous painters of the twentieth century. And unlike nearly every other paint, oil pastel never fully dries — a piece from decades back can still smudge under a careless thumb. You draw like it's a crayon, but it layers and blends like paint, with nothing to rinse and no waiting between sessions.
Here's the catch nobody mentions: the pastels in most school supply aisles are hard, waxy, and stingy with color, and they've convinced plenty of people they "can't do" this medium. Soft artist-grade sticks are a different animal — they glide, they layer, they smear like lipstick. If you've browsed our soft pastels beginner setup, think of oil pastels as the sturdier sibling: no dust cloud, no sneezing, and the color stays put on the page instead of ghosting onto everything nearby.
Start smaller than you think. One soft set, one pad with a little tooth, a few paper stumps — that's honestly the whole kit. Your fingers do the rest, and they came free.
Every pick below costs less than a takeout dinner for two, chosen so that if oil pastels turn out not to be your thing, you've lost an evening, not a paycheck.
Where This Little Kit Can Take You
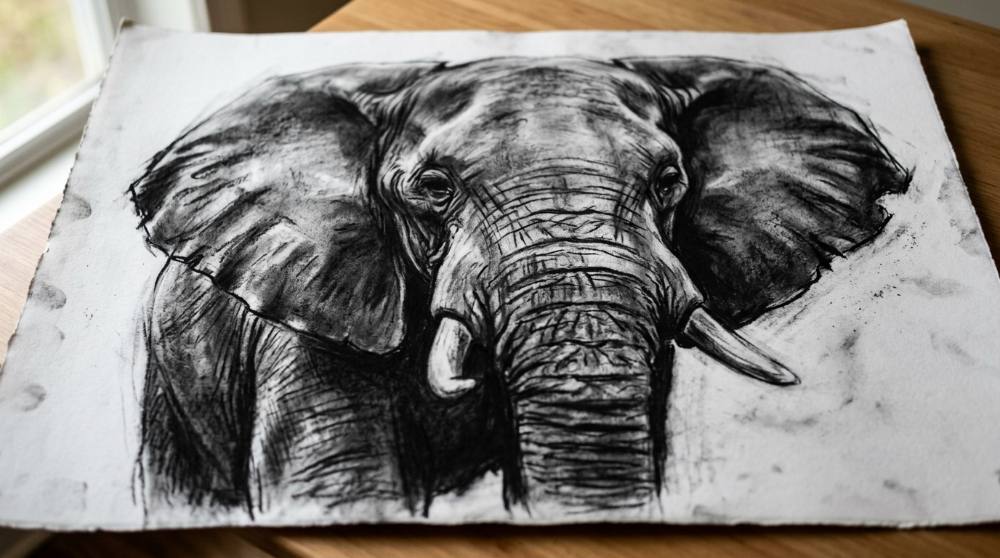
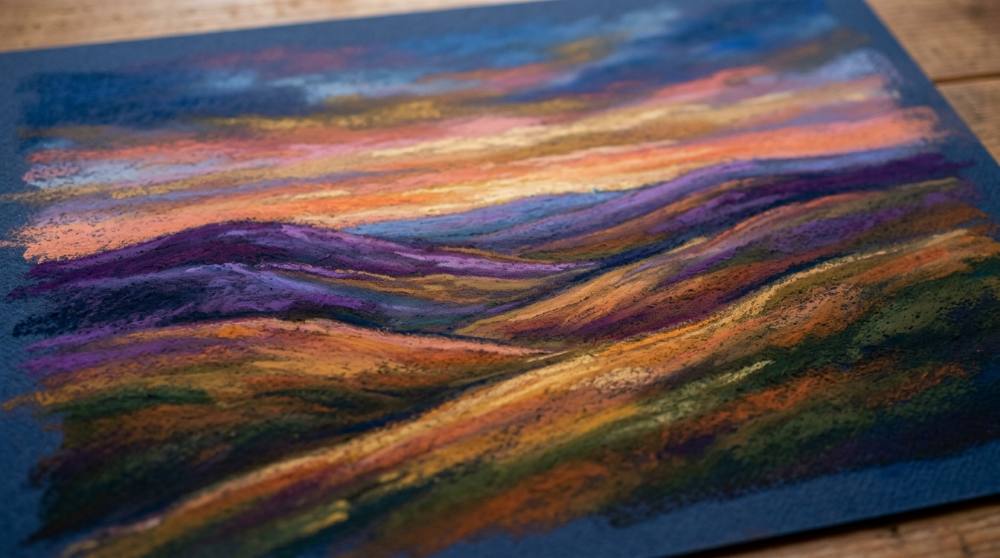
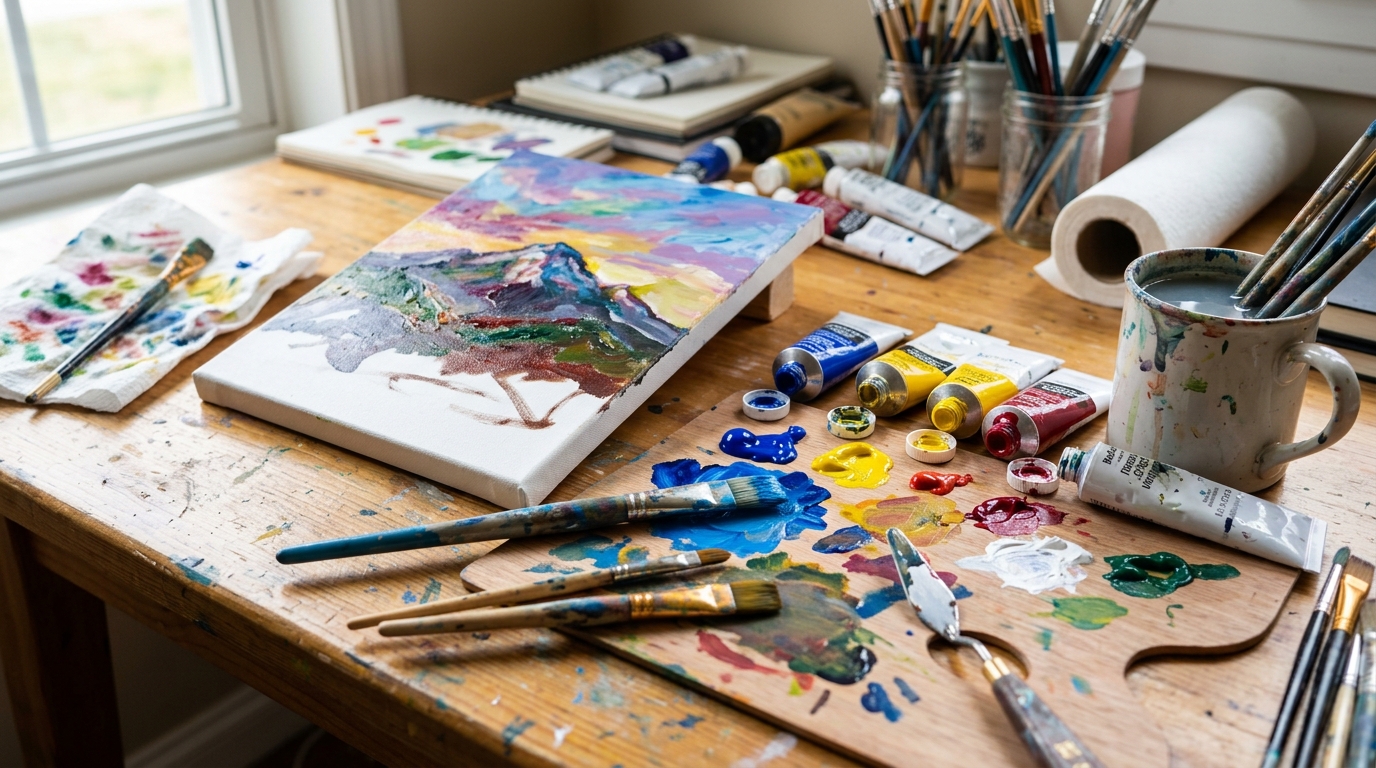
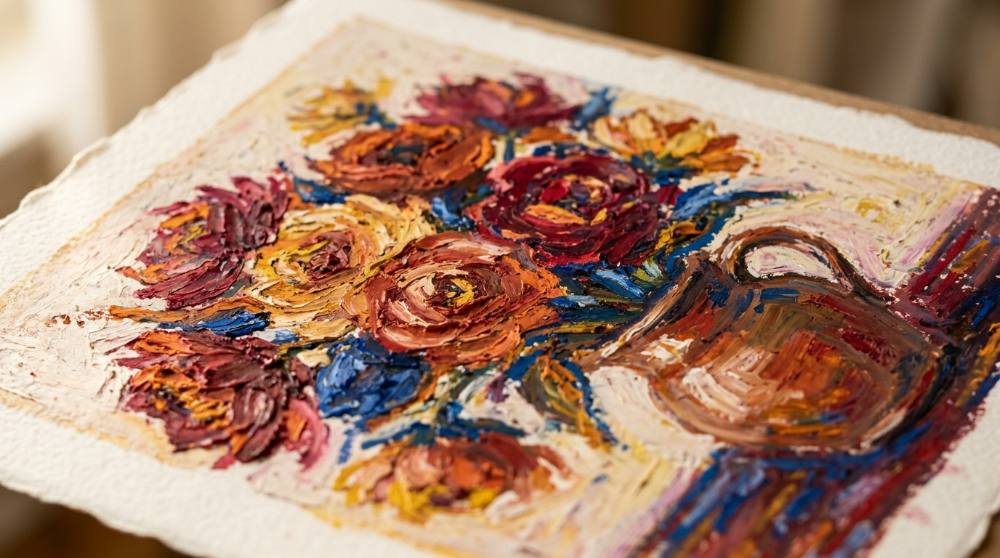
A few real moments and results from this hobby — made with tools no fancier than the ones below.
Pick 01 of 07
Professional Soft Oil Pastel Set
soft artist-grade oil pastel set for layering and blending


Soft oil pastels are chubby sticks of pigment bound in wax and non-drying oil, creamy enough to spread and layer with light pressure. A good beginner set covers a wide range with plenty of lights and darks, because mixing happens right on the paper. Softness is the spec that matters most — a stick that fights back turns blending into a chore.
The pastels themselves decide whether this hobby feels magical or maddening. Hard, waxy sticks barely blend, so a genuinely soft set is the one purchase a beginner can't skip.
Pick 02 of 07
Oversized Mixed Media Art Pad
heavyweight lightly textured mixed-media paper pad for oil pastels


A mixed-media pad sits between drawing and painting papers: heavier than a sketchbook page, with a light texture that gives pastel something to grip. For oil pastels the sheet needs to stay flat under real pressure and accept several layers without giving up. Smooth office paper does neither — the color slides instead of sticking.
Paper with tooth is half the blending equation: the surface holds the first layer in place so the next one has something to melt into. On thin slick paper the same pastels feel greasy and uncontrollable.
Pick 03 of 07
Artist Blending Stumps and Sharpeners
paper blending stumps and tortillons for detail blending


Blending stumps are tightly rolled paper sticks with pointed ends; tortillons are their thinner, hollow cousins. They move and soften color in places where a fingertip is too big or too messy — edges, corners, small shapes. When a tip gets saturated, a quick rub on sandpaper cleans it for the next color.
Fingers blend broad areas beautifully, but detail work needs a precise point, and a paper stump is the cheapest precision tool in all of art. It also keeps at least some of the pigment off your hands.
These three purchases will carry you through your first dozen pieces and well past them. Expect the first session to feel clumsy — the sticks are fatter than anything you've drawn with since kindergarten, and tiny details simply aren't on the menu yet. Work bigger than feels natural. Sketch shapes lightly in pencil first, then let the color do the talking. If dragging pigment around with your bare hands turns out to be the part you love, a beginner charcoal drawing setup scratches that same itch in dramatic black and white.
The Cheap Extras That Solve Real Problems
None of this is required on day one. Each tool here fixes a specific annoyance that tends to show up during the first week or two — smeared edges, stained fingertips, a botched sky you wish you could lift clean off the paper. Painters who've worked through our beginner acrylic painting setup will recognize the palette knife immediately, and yes, it's just as satisfying here. The classic mistake is buying every accessory before making a single drawing; I'd flip that and let each tool earn its spot. Waiting for a real need to appear is also the fastest lesson in which art supplies deserve real money and which don't.
Pick 04 of 07
Silicone Clay Sculpting Tool Set
silicone-tip shaper tools for precise oil pastel blending
Silicone shapers look like paint brushes with soft rubber tips where the bristles would be. The tips push oil pastel around like tiny squeegees — silicone absorbs nothing, so color moves exactly where the tool goes and wipes off with a paper towel. Different tip shapes handle edges, dots, and tight curves.
Once layers build up, a non-absorbent tip gives a level of edge control that paper stumps and fingertips can't match. Crisp details on top of thick color are what make oil pastel work look finished rather than fuzzy.
Pick 05 of 07
Professional Stainless Steel Palette Knives Set
metal palette knives for scraping, texture, and fixing mistakes


Painting knives have thin, springy metal blades on offset handles. With oil pastels they do double duty: the flat of the blade spreads and presses color, and the edge scrapes back mistakes or carves lines through layers for texture. An assortment of blade shapes covers most jobs from broad sweeps to fine ridges.
Because oil pastel never locks in place, a knife can lift a botched area right off the paper and leave a workable surface behind. Knowing mistakes are reversible changes how bravely a beginner works.
Pick 06 of 07
Translucent Protective Paper Sheets
glassine interleaving sheets that protect finished oil pastel work


Glassine is a smooth, dense, semi-transparent paper that pastel pigment doesn't cling to. Slipped between finished pieces, it stops stacked work from smearing together in a drawer or portfolio. Large sheets can be trimmed to any pad size or folded around a single favorite piece.
An oil pastel painting stays smudge-able for years — there is no drying day when it becomes safe. A barrier sheet is the difference between a stack of finished work and a stack of accidental prints.
Pick 07 of 07
Disposable Nitrile Exam Gloves
disposable nitrile gloves for mess-free finger blending


Thin nitrile gloves fit snugly enough to keep full fingertip control while blending. Latex-free, powder-free versions avoid allergy trouble and stray dust on the artwork. A box of a hundred sits happily beside any messy hobby and disappears one pair at a time.
Finger blending is the best tool in oil pastel work and also the messiest — pigment packs under fingernails and transfers to everything you touch afterward. Thin gloves keep the technique and lose the cleanup.
Scrape gently, blend in small passes, and save the gloves for big saturated backgrounds — bare fingertips will teach you more about pressure than any tool. There's no rush to own all of this at once. Before anything fancier joins the box, skim the art supplies beginners waste money on; oil pastel has its own shelf of skippable gadgets.
Why Did My Sunset Just Turn Brown?
Why do my colors turn muddy when I blend?
Mud is what happens when too many fresh layers get worked at once — the oil hasn't settled, so every new stroke drags up the ones underneath. The counterintuitive fix is patience: set the piece aside for a few hours or even a couple of days and let the paper absorb some oil. The surface firms up and accepts fresh color again. Fewer colors, placed deliberately, blend cleaner than a dozen swirled together.
My pastels barely smear. Am I doing something wrong?
Probably not — your sticks are. Hard budget pastels just don't move the way soft artist-grade ones do, and no finger pressure fully rescues them; people who upgrade routinely describe it as discovering a different hobby. If blending feels like dragging a crayon across cardboard, blame the stick, not your hands. This is the one place in the whole kit where quality genuinely gates what you can do.
Can I just use printer paper or a cheap sketchbook?
You can for throwaway warmups, but thin smooth paper turns slippery almost immediately — the first layer seals it, and everything after slides around like wax. A heavier sheet with a little texture grips the pigment and keeps accepting layers; a sturdy mixed-media pad or 200gsm watercolor paper is the usual budget answer. It also buckles far less when you press hard. Save the flimsy stuff for pencil.
Which colors go down first when I layer?
Think firmness, not color: harder sticks belong in the bottom layers, the softest ones on top. Soft over firm glides and blends beautifully; firm over soft just gouges tracks through what you've built. This is also why owning two sets isn't silly — a budget set as the workhorse base and a few soft premium sticks for final highlights is a combination plenty of experienced hobbyists settle on.
When does a finished piece finally dry?
It doesn't — oil pastel stays touch-soft for years, and that surprises almost everyone. Treat finished work like paint that never fully cures: slip a smooth barrier sheet over anything you keep, and frame favorites behind glass that doesn't touch the surface. Never stack bare pieces face to face unless you want accidental prints of each one on the back of the next.
Love what you see here? Save individual picks with on any item, or copy the whole list to your own wishlist in one click — great for coming back to later, or dropping as a not-so-subtle hint.