Sculpt Without a Kiln: Air Dry Clay for Total Beginners

Sculpt Without a Kiln: Air Dry Clay for Total Beginners

Daria AparinaCurated by Daria Aparina

Start Here: The Four Things You Actually Need

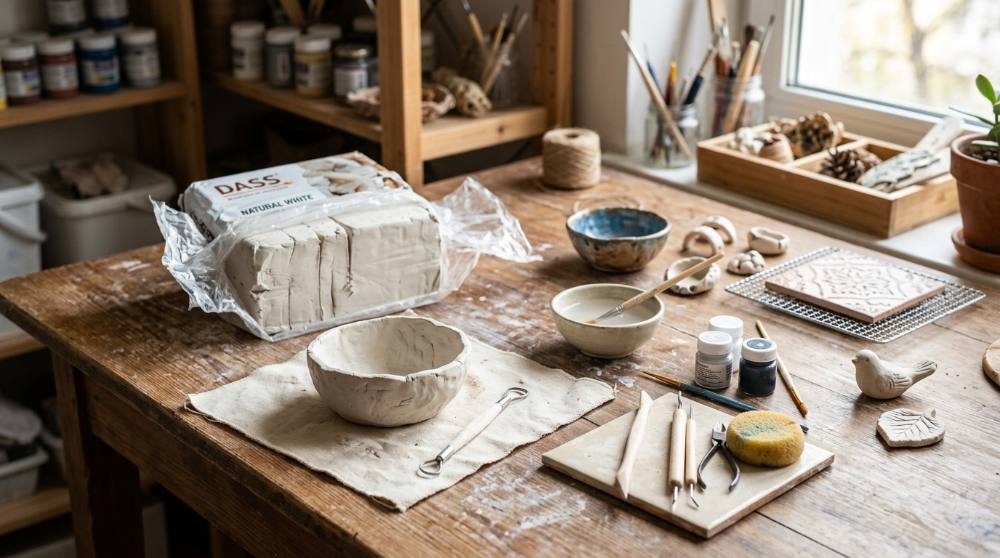
Open a fresh pack of air dry clay and the first surprise is how fast the surface skins over; within fifteen or twenty minutes the exposed edges turn matte and stiffen while the centre stays soft. That clock shapes how you work, so you keep what you are not using wrapped, mist your hands instead of drowning the piece, and commit to a shape before the clay decides for you. For a first session you genuinely need very little, and most of it does double duty.

My honest take after watching beginners load up their carts: begin with four things and nothing else. A small block of white clay, a smooth mat to work and lift from, one roller, and a single set of basic modelling tools will carry you through your first dozen projects, from bowls and beads to little dishes and ornaments, before you feel a single gap. If you are still weighing this against its oven-baked cousin, the trade-offs are laid out in our comparison of air dry and polymer clay before you commit to a material.

Every pick below was checked for being easy to find, friendly to a first-timer's hands, and priced so a false start costs you a coffee rather than a weekend's wages.

White air-hardening modeling clay for kiln-free sculpting

White air-hardening modeling clay for kiln-free sculptingWhite air-hardening modeling clay for kiln-free sculpting

Air-hardening clay is a natural, mineral-based modeling material that firms up on its own as the water in it evaporates, with no oven or kiln involved. A white block takes paint cleanly and is more forgiving for a beginner than terracotta, which shows every fingerprint. Look for a smooth, lump-free body and a block you can rewrap easily so the unused portion does not dry out between sessions.

Why is this important?

The clay is the one thing you cannot improvise; its self-hardening, fine-grained body is what lets a beginner shape and cure a piece on an ordinary table with no studio equipment.

Why this choice?

The DAS Air-Hardening Modeling Clay in the 2.2 lb white block is the long-standing default for good reason: a 4.6-star rating across more than 65,000 reviews, a fine Italian-made body that sands smooth, and a price under fifteen dollars that makes early mistakes painless.

Non-stick silicone work mat for clay and crafts

Non-stick silicone work mat for clay and craftsNon-stick silicone work mat for clay and crafts

A silicone craft mat gives you a smooth, non-stick surface to roll and shape on, then peel your work away without it sticking or tearing. It shields the table beneath from scratches and dried-on clay and wipes clean in seconds. For clay work, pick a mat with a matte or lightly textured finish and enough room to roll out a slab comfortably.

Why is this important?

Working straight on a bare table makes clay stick and cleanup miserable; a dedicated non-stick surface lets you lift delicate pieces intact and keeps the whole hobby to something you can roll up and put away.

Why this choice?

The ELEGOO Silicone Mat (400 x 300mm) earns a 4.6-star rating and is sold expressly for paint, clay, and dough work; at under ten dollars it is heat- and stain-resistant, lies flat without curling, and is large enough for slab rolling without taking over a small table.

Clear acrylic roller for flattening clay into even slabs

Clear acrylic roller for flattening clay into even slabsClear acrylic roller for flattening clay into even slabs

An acrylic roller is a smooth, seamless rod that flattens clay into even sheets, and clay releases from acrylic far more cleanly than it does from wood. The clear material also lets you see the surface underneath as you roll. A good one is perfectly straight with no mould seam, since any ridge transfers straight into the clay.

Why is this important?

Even slab thickness is the foundation of crack-free drying, and a dedicated roller produces a far more consistent sheet than a bottle or jar improvised from the kitchen.

Why this choice?

The SaisaiTan Acrylic Clay Roller ships with a matching clear acrylic sheet to roll on, holds a 4.5-star rating, and costs under seven dollars; this seam-free, non-stick rod does the one job a beginner needs better than makeshift alternatives.

Double-ended clay sculpting and modeling tool set

Double-ended clay sculpting and modeling tool setDouble-ended clay sculpting and modeling tool set

A modeling tool set bundles the wire-ended, pointed, and flat-bladed tools used to carve, trim, smooth, and detail clay. Double-ended wood and metal tools cover most early needs, from hollowing a small bowl to scoring two pieces so they join. A compact set serves a beginner better than a giant one, since only a handful of shapes see regular use.

Why is this important?

Hands alone cannot trim a clean edge, hollow a form, or carve a fine line; a basic tool set is what turns rough handwork into controlled shaping and joining.

Why this choice?

The Luney Clay Tools Kit (25 pieces) is aimed expressly at air dry clay for adults, rates 4.7 stars across more than 3,000 reviews, and at about six dollars covers carving, smoothing, and dotting without the clutter of a 40-piece kit you will not use.

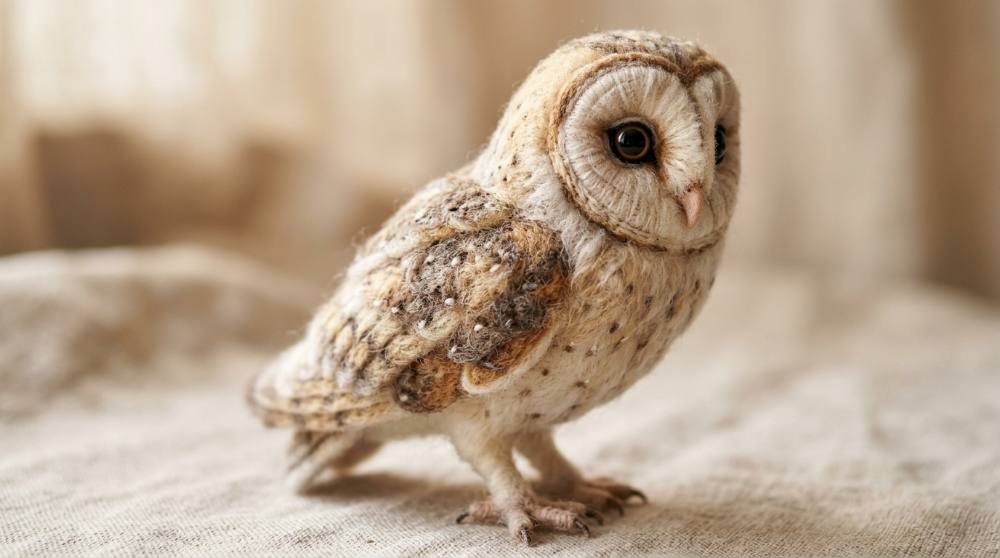
With these four in hand you can roll an even slab, cut clean shapes, press in a little texture, and smooth the joins with a damp fingertip, which is the whole foundation of the craft. The one habit worth building from day one is rolling to a consistent thickness, because uneven walls are the single biggest cause of cracking as a piece dries. If the tactile, no-kiln appeal is what drew you in, you may also take to the equally equipment-light craft of sculpting wool through needle felting, which scratches the same itch to make small objects by hand.

Painting, Sealing, and Smoothing the Result

Here is what nobody warns you about: raw, dried air dry clay looks a little sad. It is chalky, faintly uneven, and the seams show. The transformation happens in finishing, where a coat of paint and a protective seal turn a rough lump into something you would actually set on a shelf. This is also where patience pays, because rushing a piece that is dry on the outside but damp in the core leads to flaking paint and blotches.

None of this calls for a dedicated studio. A corner of a table, decent daylight, and a way to keep dust contained is plenty, and if you are carving out a permanent spot our notes on setting up a small art space at home cover the essentials. The items here are about decoration and protection rather than shaping, so they sit a step beyond the basics.

24-color acrylic paint set for decorating clay pieces

24-color acrylic paint set for decorating clay pieces24-color acrylic paint set for decorating clay pieces

Acrylic paint grips cured clay, dries quickly, and cleans up with water, which makes it the standard choice for decorating air dry pieces. A 24-color set gives you ready-mixed shades plus the white and black to adjust them, so you are not boxed into a handful of colors. Choose non-toxic, reasonably thick paint with strong pigment so a single coat covers the pale clay.

Why is this important?

Bare dried clay is chalky and uneven in tone; paint is what gives a finished piece its character and hides the small imperfections every beginner's early work carries.

Why this choice?

The Caliart 24-Color Acrylic Paint Set holds a 4.7-star rating across more than 20,000 reviews and includes a dozen brushes; the rich, non-toxic pigments cover white clay in one or two coats, and at around twenty-six dollars there is no reason to ration colors.

Fine detail paintbrush set for small clay pieces

Fine detail paintbrush set for small clay piecesFine detail paintbrush set for small clay pieces

Detail brushes have very fine, tightly bound tips for painting small areas, thin lines, and tiny accents that broad craft brushes smear. On clay work such as beads, faces, lettering, and trim, that control is what makes painted detail look deliberate. Look for brushes that hold a sharp point when wet and have well-anchored bristles that will not shed into the paint.

Why is this important?

Most clay projects are small, and the brushes bundled with a paint set are usually too broad for fine work; a set of pointed detail brushes is what lets you paint accents without flooding the area around them.

Why this choice?

The Golden Maple 10-Piece Detail Paint Brushes Set rates 4.7 stars across nearly 17,000 reviews; the fine, springy tips hold their point for line work, and at under seventeen dollars it covers the close detailing beginners underestimate until their first painted bead.

Clear matte acrylic sealer spray for finished clay

Clear matte acrylic sealer spray for finished clayClear matte acrylic sealer spray for finished clay

A clear acrylic sealer lays a thin protective film over painted or bare clay, guarding the surface from scuffs, dust, and light handling. A spray version coats evenly without brush marks and reaches into textured areas. It is worth remembering that sealing improves durability and finish but does not make a piece waterproof or food safe.

Why is this important?

Unsealed clay and acrylic can chalk, scuff, or pick up grime over time; a sealing coat gives a finished piece a consistent matte or satin surface and protects the paint underneath.

Why this choice?

Mod Podge's 1469 Clear Acrylic Sealer in matte is a spray finish that avoids brush streaks, rates 4.6 stars across more than 2,000 reviews, and costs under ten dollars; the even, non-yellowing coat suits decorative clay without the gloss some beginners find plasticky.

Wet/dry fine-grit sandpaper assortment for smoothing cured clay

Wet/dry fine-grit sandpaper assortment for smoothing cured clayWet/dry fine-grit sandpaper assortment for smoothing cured clay

An assortment of grits lets you smooth a fully dried piece in stages: a coarser sheet knocks back rough edges and seams, a finer one polishes the surface before painting. Wet/dry paper can be used damp, which keeps the fine clay dust down. The medium-to-very-fine range covers everything from levelling a lid to feathering a join.

Why is this important?

Air dry clay almost never dries perfectly smooth, and sanding is the step that removes ridges, fingerprints, and seam lines so paint sits evenly; without graded grits you cannot move from rough shaping to a clean finish.

Why this choice?

The Shineboc Sandpaper Assortment spans 120 to 2000 grit across 21 wet/dry sheets, rates 4.5 stars, and costs under six dollars; the graded range covers both the 240-grit shaping and 400-grit smoothing beginners are pointed toward, and wet-sanding the finer sheets keeps dust manageable.

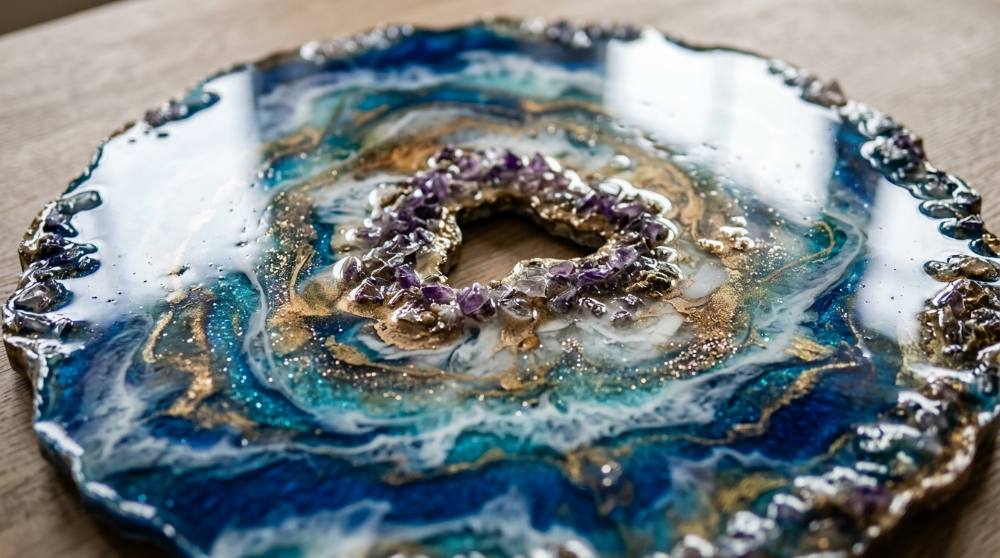
Paint, brushes, a sealer, and a few grades of sandpaper take your pieces from raw to finished, and they last across dozens of projects rather than getting used up in one. A point worth absorbing early: sealing does not make air dry clay waterproof or food safe, so keep your bowls and dishes firmly in the decorative category. If the glossy, poured-finish look that a sealer only hints at appeals to you, the dedicated world of beginner resin art carries that finish much further.

Adding Texture, Pattern, and Detail

Once the basics feel comfortable, the urge to make pieces look less handmade-in-a-rush sets in, and that is exactly where texture and detail tools earn their place. Pressed patterns, repeated shapes, stamped words, and extruded coils are what separate a flat disc from something that looks designed. None of this is needed to enjoy the craft, and buying it on day one is the classic beginner overspend, but as a second wave of purchases these tools open up real range. If you are still sampling crafts to find your fit, our roundup of approachable starter hobbies for adults sets air dry clay alongside other low-barrier options.

Embossing texture sheets for pressing patterns into clay

Embossing texture sheets for pressing patterns into clayEmbossing texture sheets for pressing patterns into clay

Texture sheets are flexible mats carved with repeating patterns, from lace to geometric and botanical, that emboss a design into rolled clay when pressed or rolled over. They produce a uniform, designed-looking surface that is hard to achieve freehand. Deeper, cleanly cut patterns release from the clay better and read more clearly once the piece dries.

Why is this important?

Repeating texture is what makes a flat tile, pendant, or dish look designed rather than plain, and a patterned sheet gives consistent results that would take far longer to carve by hand.

Why this choice?

The Keoker Polymer Clay Texture Sheets in the A+B+C set rate 4.7 stars and supply several pattern styles on flexible mats for about sixteen dollars; they press cleanly into air dry clay and cover far more ground than buying single-pattern stamps.

Silicone push molds for shaping clay flowers and accents

Silicone push molds for shaping clay flowers and accentsSilicone push molds for shaping clay flowers and accents

Push molds are small silicone forms you press clay into to pop out a detailed, repeatable shape such as flowers, leaves, and small motifs that are fiddly to sculpt by hand. The flexible silicone releases the clay without distorting it. Finely cut molds with gentle undercuts give the crispest impressions and the easiest release.

Why is this important?

Tiny, symmetrical details like petals are slow and frustrating to model freehand; a mold lets a beginner add convincing, consistent embellishments to jewelry and decorations in seconds.

Why this choice?

The meeeyya Flower Polymer Clay Molds (a two-piece set covering eleven daisy, sunflower, and rose shapes) rate 4.5 stars across 280 reviews and cost about six dollars; the soft silicone releases air dry clay cleanly and adds decorative flowers with no sculpting skill required.

Letter and number stamp set for impressing words into clay

Letter and number stamp set for impressing words into clayLetter and number stamp set for impressing words into clay

A stamp set carries the full alphabet, numbers, and symbols on small blocks you press into soft clay to leave a crisp imprint. They are the simplest way to personalize tags, keepsakes, and ornaments with names, dates, or short words. Even, gentle pressure on freshly rolled clay gives the cleanest impression without distorting the surrounding surface.

Why is this important?

Hand-carving legible letters into clay is genuinely difficult, so a stamp set is what makes personalized words and dates achievable for someone who has never lettered before.

Why this choice?

The UCEC 70-Piece Alphabet Stamps set covers letters, numbers, and symbols, rates 4.3 stars across more than 2,300 reviews, and costs around twelve dollars; the rubber faces press clean impressions into soft clay, making it the most practical way to add names to a first batch of keepsakes.

Hand clay extruder for uniform coils, ropes, and strands

Hand clay extruder for uniform coils, ropes, and strandsHand clay extruder for uniform coils, ropes, and strands

A clay extruder is a tube you load with soft clay and press to push out uniform strands through interchangeable shaped discs, from round coils to flat ribbons and stars. It produces consistent lengths for handles, borders, and decorative ropes that are tedious to roll by hand. A stainless steel barrel resists bending and cleans up more easily than plastic.

Why is this important?

Evenly sized coils and strands are the basis of coil-built pots, handles, and trim, and an extruder produces them identically every time where hand-rolling drifts in thickness.

Why this choice?

The YAMHOHO Stainless Steel Clay Extruder includes a range of shape discs, rates 4.4 stars across more than 1,100 reviews, and costs about eight dollars; the metal barrel presses stiff air dry clay more easily than flimsy plastic models and adds coil-and-rope work for very little outlay.

These four add range without much cost or clutter, and they store flat in the same caddy as the rest of your kit. Add them gradually as a specific project calls for them rather than all at once, and you will actually use each one instead of letting it gather dust.

Why Did My First Piece Crack Overnight?

My piece cracked while it dried even though I barely touched it. What went wrong?

Cracking is rarely about handling and almost always about uneven thickness and uneven drying, which beginners cause by building thick or lumpy walls. As the outer shell dries and shrinks faster than the still-damp core, the tension pulls the surface apart. Roll and build to a consistent, moderate thickness, and let pieces dry slowly somewhere cool and out of direct sun or a heat vent. Loosely tenting a piece with plastic for the first day slows the surface down so the whole thing dries at one pace.

I keep smearing on water to smooth cracks and they come back worse. Why?

Flooding the surface with water is the instinctive fix, and it backfires because too much water makes the clay sticky, weak, and prone to deeper cracks as that moisture later evaporates. A soaked repair often reopens within a day. Use water sparingly, smoothing with a barely damp fingertip while the clay is still workable. For cracks in fully dried clay, fill them with a thick paste of clay and a little water, let it cure completely, then sand it flush.

Why does my paint go patchy and lift at the edges?

This almost always means the piece was painted before it had fully cured. The surface can feel dry within hours while the core stays damp for days, and that trapped moisture works its way out, lifting paint and leaving blotches. A cured piece feels light, uniformly hard, and at room temperature rather than cool to the touch. Depending on thickness that can take one to three days, so wait it out before the first brushstroke.

Should I sand the rough surface, and why does everyone insist on a dust mask?

Sanding is the right call, but only on fully cured clay; sanding a piece that is still slightly damp just gums up the paper and rounds off detail. The reason for the mask is that cured clay sands into a very fine, respirable dust you do not want in your lungs. Wait until the piece is hard all the way through, use a finer grit, and wherever possible wet-sand so the grit lifts away as slurry instead of floating into the air.

Love what you see here? Save individual picks with on any item, or copy the whole list to your own wishlist in one click — great for coming back to later, or dropping as a not-so-subtle hint.

Disclosure: Some product links may be affiliate links. If you make a purchase through one of these links, we may earn a small commission at no extra cost to you.