Begin Oil Painting Without the Overwhelm or Guesswork
The Five Things You Actually Need to Start
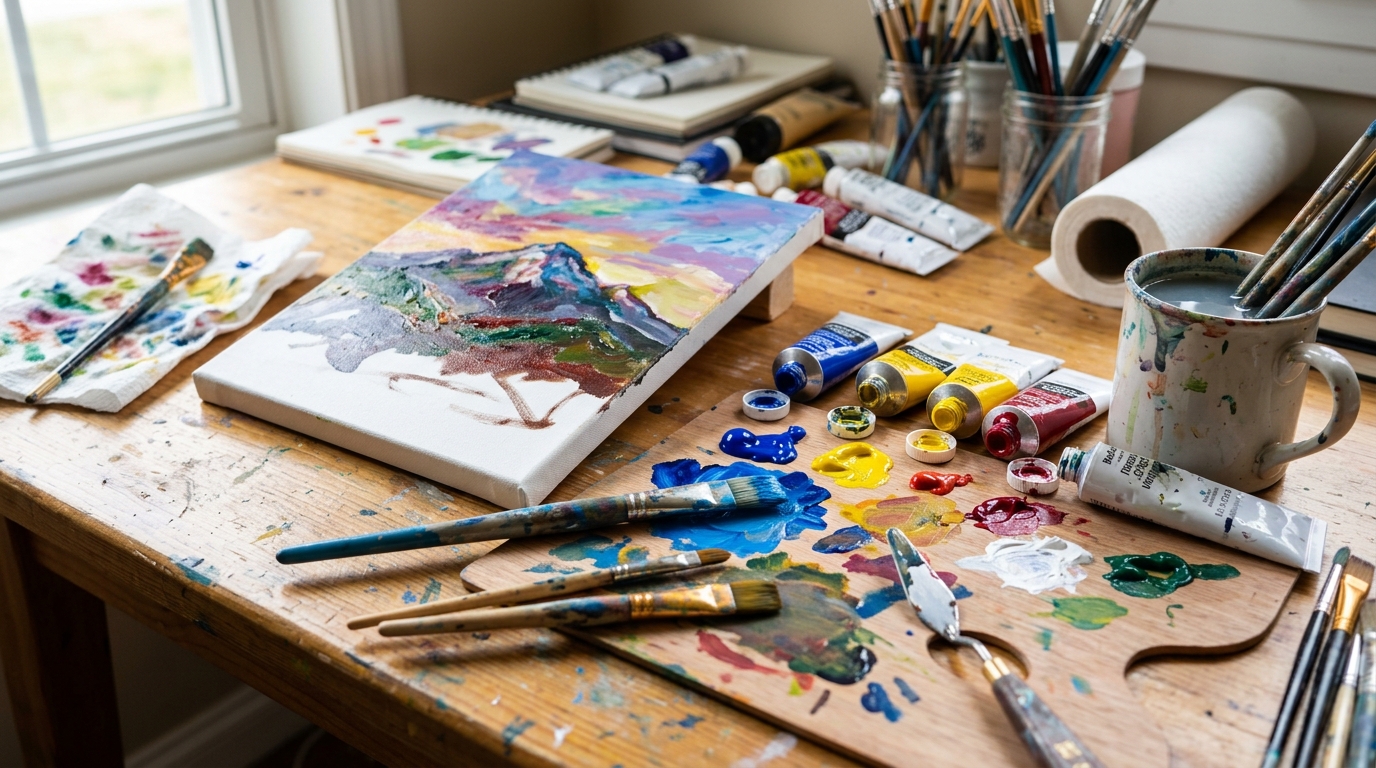
Oil paint stays wet for days, and that single fact shapes everything about how you begin. You can walk away from a canvas, come back tomorrow, and still blend yesterday's sky into today's clouds, but it also means a finished-looking painting stays fragile and smudgeable far longer than beginners expect. The starter list is short: paint, brushes, a surface to paint on, something to mix with, and a solvent to thin and clean. Get those five right and nothing in the materials will fight you while you learn.
My advice is to resist the kits that promise forty pieces. A handful of paints heavy on white, three or four stiff brushes, a few canvas boards, one palette knife, and a small bottle of odorless mineral spirits will carry you through dozens of paintings before you outgrow them. If you are still weighing the medium itself, it helps to read how the two stack up in our look at choosing between acrylic and oil paints as a beginner before spending a cent.
Every product below was checked for genuine beginner usability, steady availability, and a price that respects a first-timer's budget rather than an aspirational one.
Student-grade oil paint set with warm and cool primaries plus white


A student-grade oil paint set gives a beginner real pigment in a forgiving formula at a fraction of professional prices, which is the right place to learn before committing to costlier tubes. Look for a set built around warm and cool versions of red, yellow, and blue plus a generous white, since white is the tube you empty fastest. Twelve-milliliter tubes are large enough to mix freely without the waste of a tiny travel set.
Stiff hog-bristle brush set for moving and shaping oil paint


Stiff hog-bristle brushes hold thick oil paint and drag it across a textured surface in a way soft synthetic brushes cannot, which is why bristle is the traditional choice for oils. A small range of shapes covers blocking in, blending, and detail without crowding your hand. For a first set, prioritize springy bristles that hold their shape over a large piece count.
Gesso-primed cotton canvas boards for oil practice paintings


Canvas boards are rigid cotton panels primed with gesso so oil paint sits on a sealed, slightly toothy surface instead of soaking into raw fabric. The rigid backing will not flex or warp the way stretched canvas can, which makes them practical and inexpensive for the many practice pieces a beginner works through. Look for panels primed and ready for both oil and acrylic in a comfortable small size like 8 by 10 inches.
Stainless steel palette knives for mixing and applying oil paint


A palette knife is a flexible steel blade used to mix paint cleanly on the palette and, when you want it, to lay paint down in thick textured strokes. Mixing with a knife instead of a brush keeps colors from going muddy and spares your bristles from the grinding that wears them out. A small set with a few blade shapes and break-resistant handles covers mixing and basic knife work.
Odorless mineral spirits for thinning oil paint and cleaning brushes


Odorless mineral spirits is a low-odor solvent used to thin the first lean layers of paint and to rinse oil from brushes before washing. It is the safer everyday alternative to turpentine, with far less smell and lower toxicity, though it still needs ventilation and careful disposal. A small bottle lasts a long time because most of it gets reused after the paint settles out.
With these five categories covered you can carry a painting from blocking in shapes to final highlights, and you will quickly learn that the white tube empties first. One caution worth stating plainly: cheap paint and cheap canvas teach bad habits, because chalky color and warping boards make you blame yourself for problems the materials caused, and there is a real gap worth understanding between art supplies that last and the bargain versions that don't. Once your core kit is in hand, a few small additions make the actual sessions smoother.
Small Additions That Make Sessions Smoother
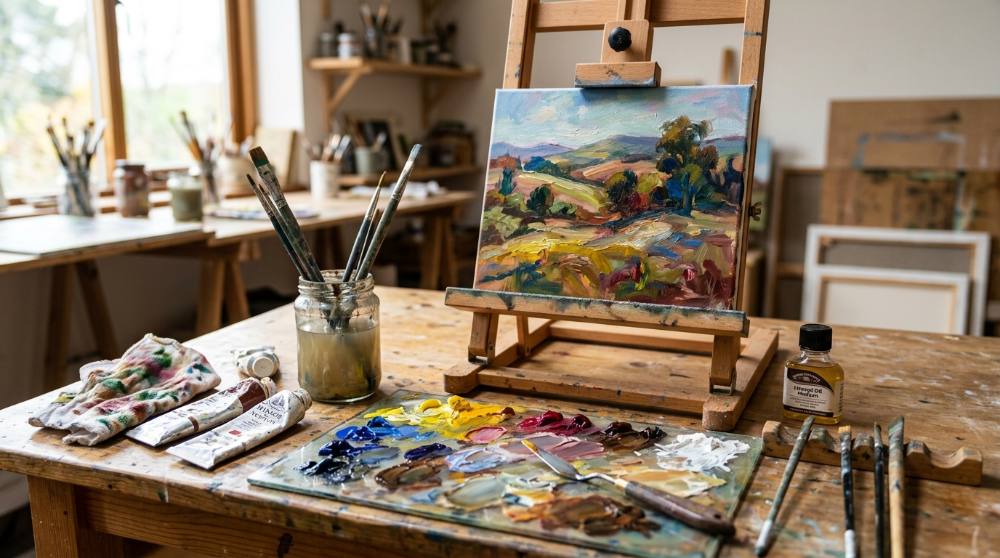
None of these are required to make a painting, but each removes a specific friction that beginners hit within their first few sessions. A tear-off palette saves you from scrubbing a wooden one, a drop of linseed oil loosens stiff paint without flooding it with solvent, a proper brush cleaner rescues the bristles you would otherwise ruin, and a tabletop easel saves your neck from hunching over a flat table. If you have painted in acrylics before, you will recognize some of this from a starter acrylic painting setup, though the slower drying time changes how each item gets used.
Tear-off disposable palette paper pad for mixing oil colors


A tear-off palette is a pad of coated, non-absorbent sheets you mix on and then peel away when the session ends, sidestepping the chore of scraping and cleaning a wooden palette. The waxy surface keeps oil from sinking in, so colors stay true while you mix. Look for heavyweight sheets large enough to spread out a working range of color.
Refined linseed oil medium for thinning and extending oil paint


Refined linseed oil is the traditional medium added in small amounts to make oil paint flow more smoothly and to extend its working and drying behavior. Adding oil rather than more solvent in later layers is how painters keep upper layers flexible and crack-free. A little goes a long way, so a small bottle is plenty for a beginner.
Brush cleaner and restorer for reviving oil-painting brushes


A dedicated brush cleaner breaks down oil paint and conditions the bristles, reaching the dried paint that ordinary soap leaves behind at the base of the brush. Regular use is the difference between brushes that stay supple for years and ones that splay and stiffen within weeks. Look for a cleaner that both removes paint and reconditions natural hair.
Adjustable beechwood tabletop easel for upright oil painting


A tabletop easel holds your panel upright and at an adjustable angle so you can sit back and judge the whole image instead of hunching over a flat surface. Working vertically also keeps your drawing in proportion, because you see the painting the way a viewer eventually will. A folding beechwood model stores flat and travels easily for a beginner short on space.
Add these gradually rather than all at once, because you will understand what you actually want only after a painting or two reveals the gaps. The easel in particular changes more than people expect, since seeing your canvas upright and at arm's length is how you catch a drawing that has quietly drifted out of proportion. Carving out even a small dedicated corner for the work, along the lines of our notes on building a beginner-friendly art space at home, is often the difference between painting often and painting never.
Keeping Solvent, Hands, and Clothes Out of Trouble
Oil painting is not dangerous, but it is messy in ways that catch new painters off guard, and a little setup here prevents the small disasters that make people quit. Used solvent needs a home so you are not pouring it down a drain or leaving an open jar to evaporate across the room, your hands will find pigment no matter how careful you are, and oil stains on clothing are effectively permanent. The same handling care beginners pick up elsewhere, since many of the avoidable problems in a rundown of common beginner painting mistakes are really cleanup and handling issues, matters doubly once slow-drying oils enter the picture.
Airtight stainless steel brush washer for solvent cleaning


A brush washer is a sealed metal container, often with an inner coil, that holds solvent for rinsing brushes and keeps the fumes contained between sessions. The lid lets used spirits sit so pigment settles to the bottom and the clear solvent on top can be poured off and reused. An airtight seal is the feature that matters most, both for safety and for making a bottle of solvent last.
Disposable nitrile gloves for handling oil paint and solvent


Disposable nitrile gloves keep pigment and solvent off your skin, which matters more with oils because some colors carry heavy metals and oil paint does not simply wash off. They let you wipe a brush or move wet paint with your fingers without a scrubbing session afterward. A box of powder-free gloves in your size lasts through many painting days.
Cotton canvas bib apron with pockets for messy paint sessions


A canvas apron takes the smears and fingerprints that would otherwise end up permanently on your clothes, since dried oil paint does not come out in the wash. Pockets keep a rag and a knife within reach while you work. Look for sturdy cotton canvas with adjustable straps that fits comfortably over normal clothing.
Set this corner up once and cleanup stops being the reason you avoid painting. A sealed solvent container also lets the same spirits settle and clear overnight so you can reuse them for weeks, which quietly lowers the running cost of the hobby. Treat the cleanup gear as part of the kit rather than an afterthought, and the whole practice feels lighter.
What Nobody Warns You About Your First Few Oil Paintings
Why is my painting still wet and smudging a week later?
Oil paint does not dry by evaporation the way water-based paint does; it cures by slowly reacting with air, so a thin layer can take days and a thick passage weeks. Beginners frame the finished piece or stack canvases face-to-face far too early and ruin the surface. Leave a painting flat and untouched somewhere with airflow and light, and test an edge with a fingertip before you move it. Thin your first layers and save the thick paint for last so the surface cures more evenly.
Why did my bright colors turn into gray mud?
Muddy color almost never comes from bad paint, it comes from overmixing on the canvas and from a brush still carrying the last color into the next. Every stroke you fuss back into the wet paint underneath blends toward neutral gray. Mix your color fully on the palette before it touches the canvas, wipe the brush between colors, and lay the stroke down once instead of stirring it. Your color will stay far cleaner than you expect.
Do I really need to follow the "fat over lean" rule?
Yes, and ignoring it is why some beginner paintings crack within a year. The rule means each layer should hold a little more oil than the one beneath it: start lean with paint thinned by solvent, then add oil rather than more solvent as you build up. A flexible oily layer over a brittle solvent-heavy one stays intact, while the reverse tears itself apart as it cures. In practice, use solvent only in your first block-in and let later layers be straight paint or paint with a touch of linseed oil.
My white looks fine, so why does everything I mix with it look chalky?
Beginners reach for white to lighten every color, but white both desaturates and cools a mixture, so a lighter color often ends up pale and lifeless. Lighten with a related warm color or a naturally lighter pigment where you can, and use white deliberately rather than as a default brightener. This is also why a starter palette wants warm and cool versions of each primary, because you can mix luminous tints without leaning on white for all of them.
Why do my brushes go stiff and ruined after only a few sessions?
Dried paint at the heel of the brush, where the ferrule meets the hair, is what kills brushes, because beginners rinse the tip and miss the base, and the paint hardens into a wedge that splays the bristles permanently. Clean all the way down to the metal with solvent, then wash with a brush soap and reshape the head while it is still damp. A few minutes of cleanup saves brushes that cost more than the cleaner ever will.
Love what you see here? Save individual picks with on any item, or copy the whole list to your own wishlist in one click — great for coming back to later, or dropping as a not-so-subtle hint.