New to Embroidery? Stitch Your First Piece This Week
The Five Items Every Embroidery Beginner Actually Needs
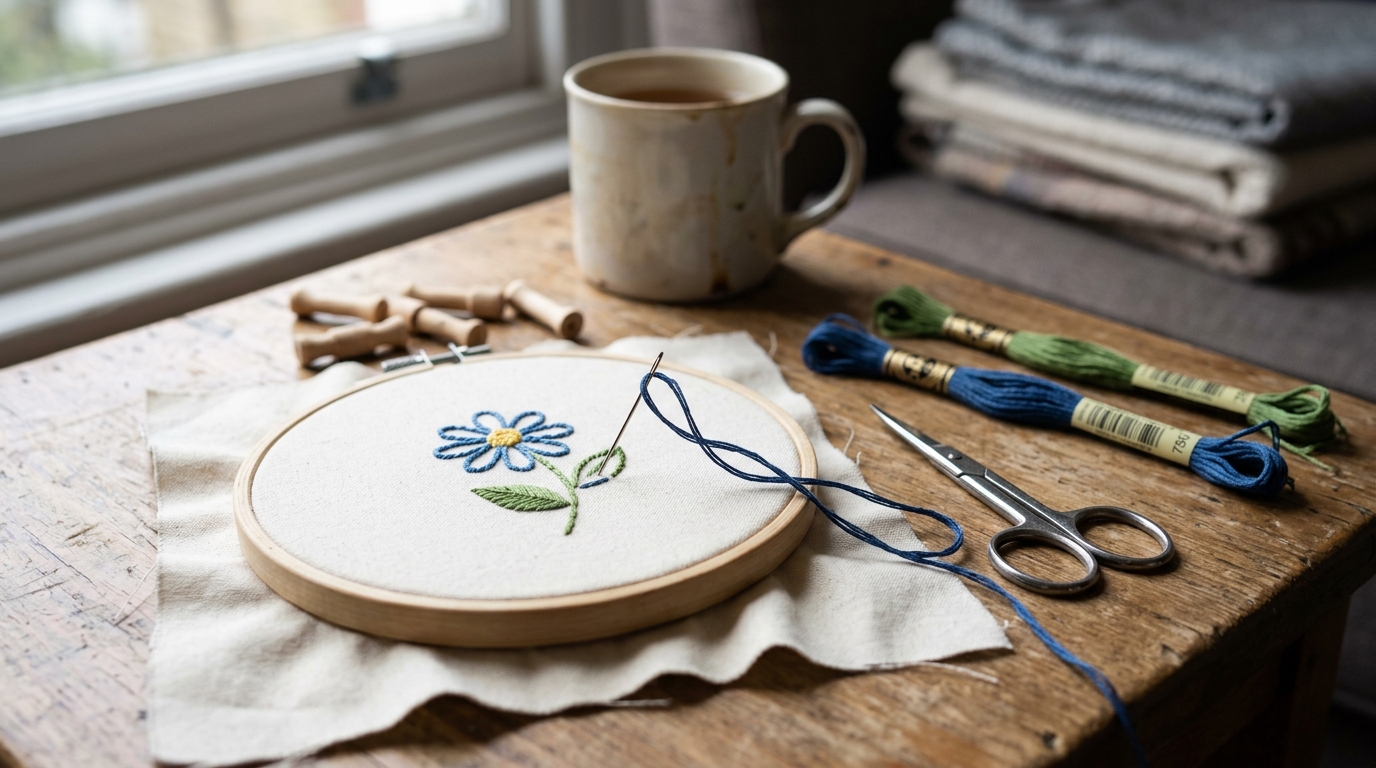
Hand embroidery has an unusually short supply list for a craft hobby. Five items cover everything you need to complete your first project: a hoop to hold the fabric taut, floss for color, needles that fit the thread, scissors sharp enough for precise cutting, and fabric with a weave that takes stitches cleanly. That’s it. The challenge is making sure each item is actually suited to embroidery work rather than a cheaper general-purpose substitute — a hoop that warps, a needle that skips, or fabric that puckers will make a beginner’s first session feel harder than it is. The items in this section are the choices most recommended by beginner craft instructors, chosen specifically for their reliability at the entry level.
Caydo Bamboo Embroidery Hoop Set, 8 Sizes (4–10 Inch)
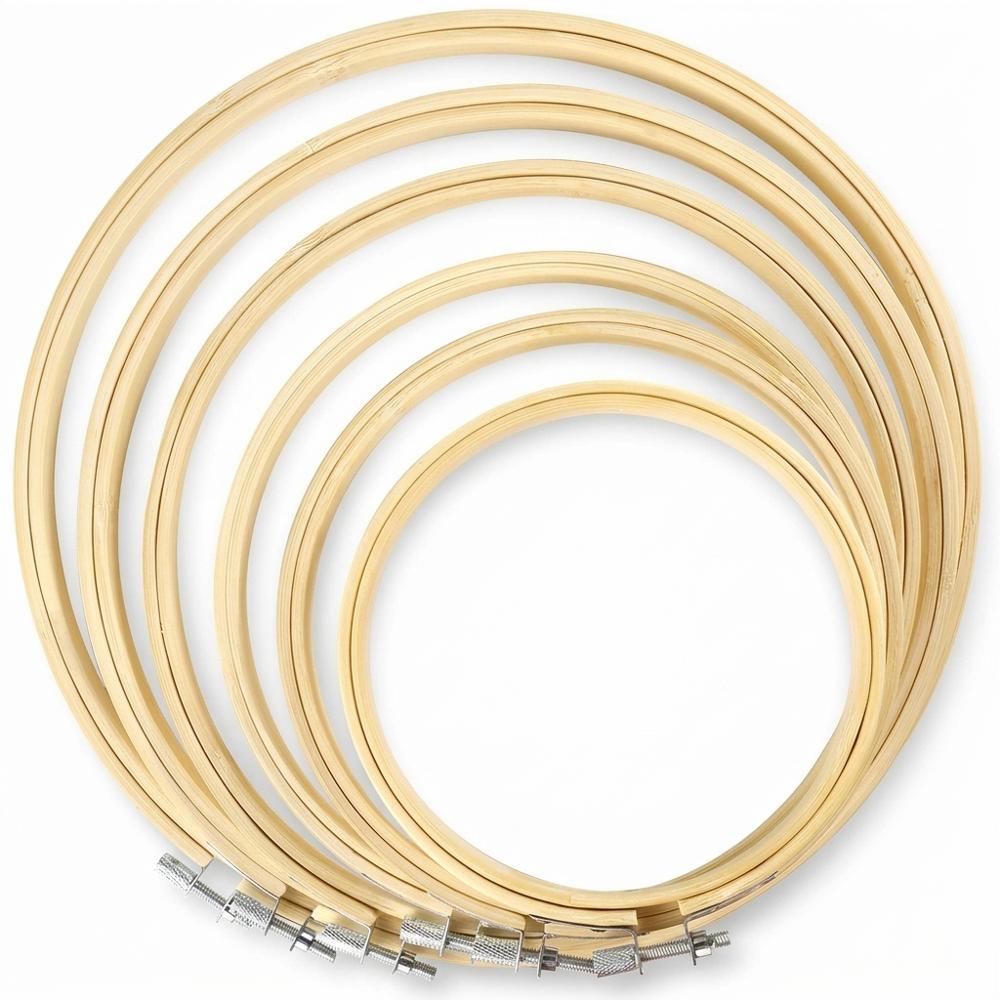
A set of eight bamboo embroidery hoops in sizes from 4 to 10 inches, covering the range beginners need from small ornament-sized projects to standard wall-art formats. The inner and outer rings are machined to a close fit that holds fabric securely without leaving pressure marks. Bamboo is the preferred material over plastic at this price point because it grips fabric more consistently and does not distort over time from heat or repeated tightening.
DMC Embroidery Floss Starter Pack, 36 Skeins
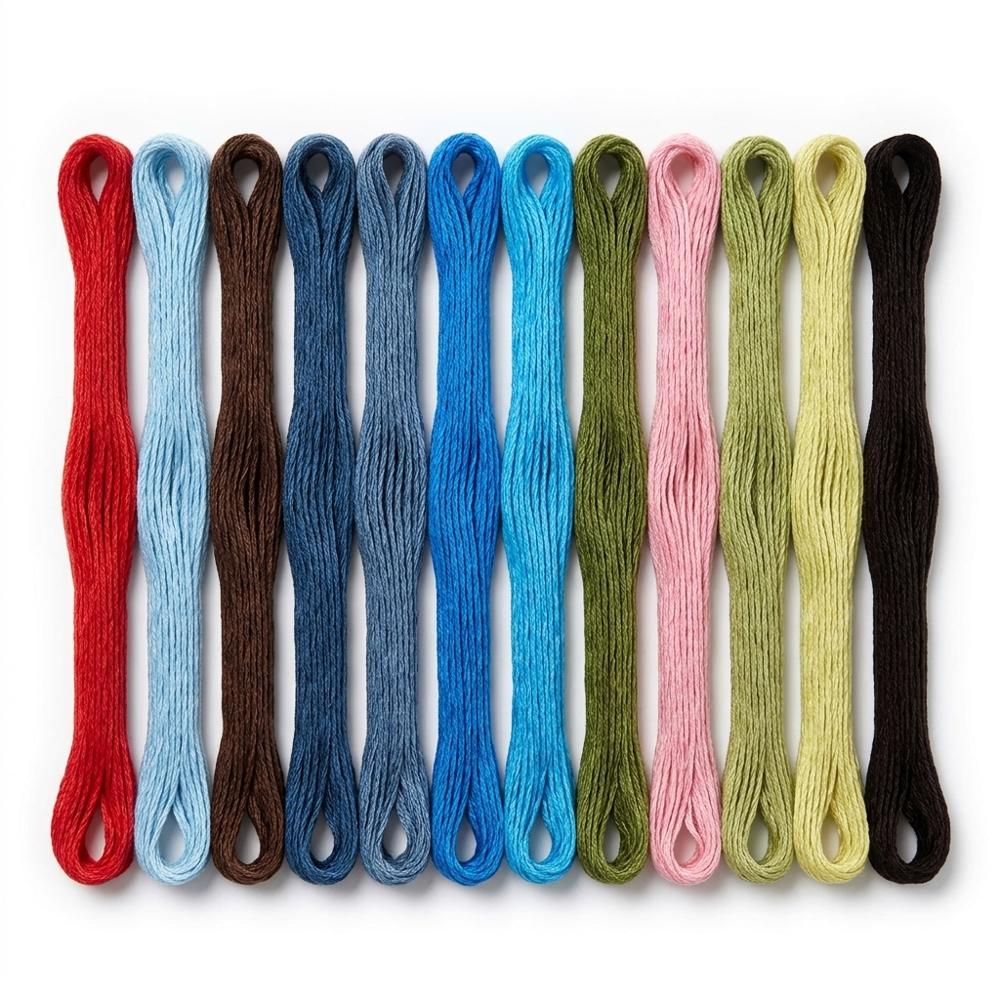
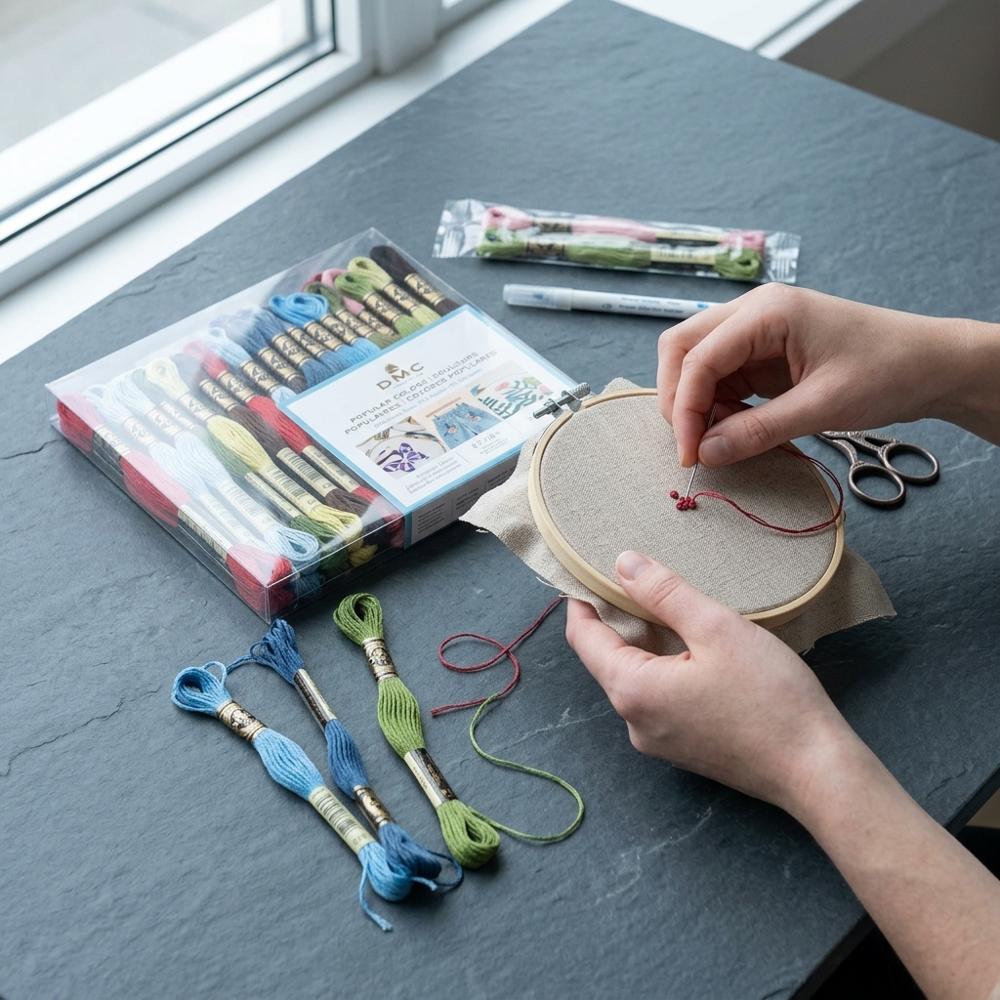
A collection of 36 individually wound skeins of DMC six-strand embroidery floss in a curated assortment of colors. DMC’s floss is mercerized cotton, which gives it a smooth, slightly lustrous finish that catches light well and produces clean, crisp stitching at any strand count from one to six. The color range in this starter assortment covers warm and cool tones, neutrals, and enough variety to complete a wide range of first projects without needing to buy individual colors.
Clover Gold Eye Embroidery Needles, Sizes 3/9
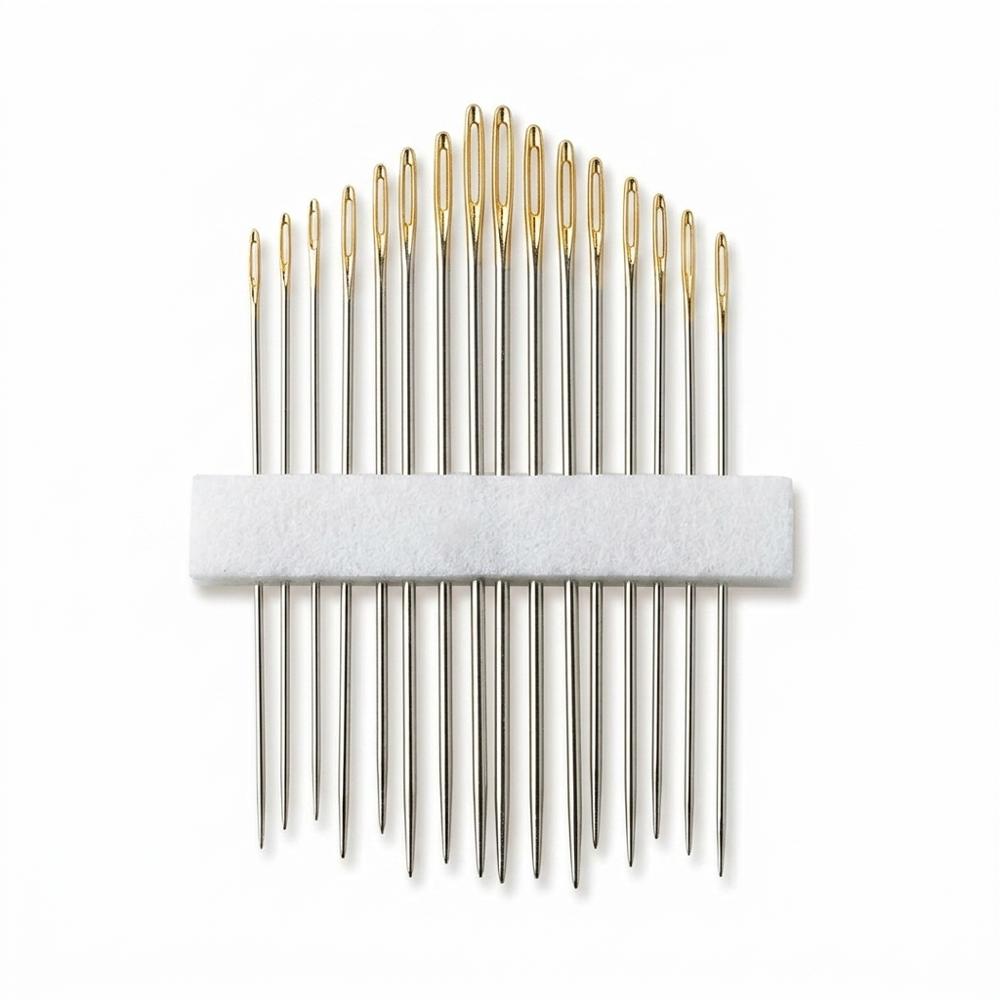
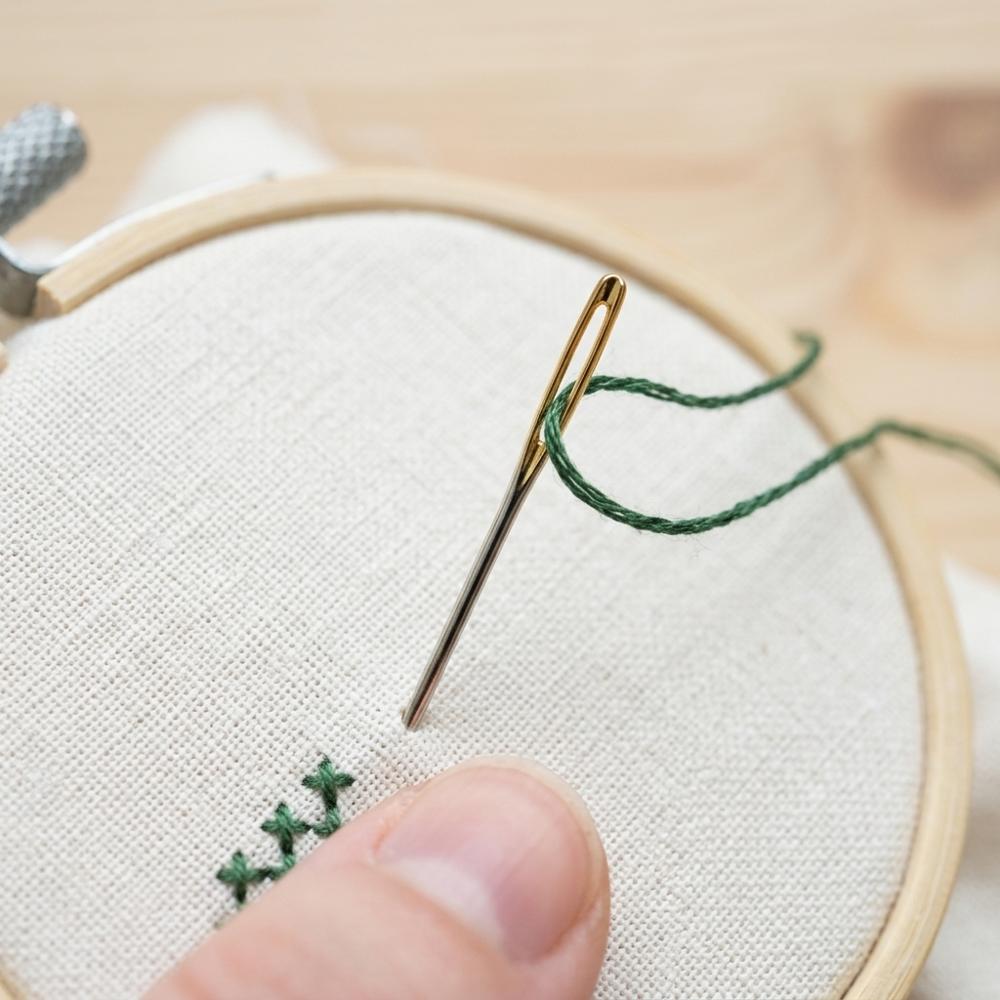
A pack of 16 embroidery needles in sizes 3 through 9, covering the full range from thick needles for multiple-strand work on coarse fabric to fine needles for single-strand detail on tightly woven cloth. The gold-plated eye is slightly larger than a standard needle eye, making threading multiple strands of floss significantly easier. Clover’s machined tip is sharp enough to part fabric threads cleanly without splitting them.
BIHRTC Vintage European Style Embroidery Scissors
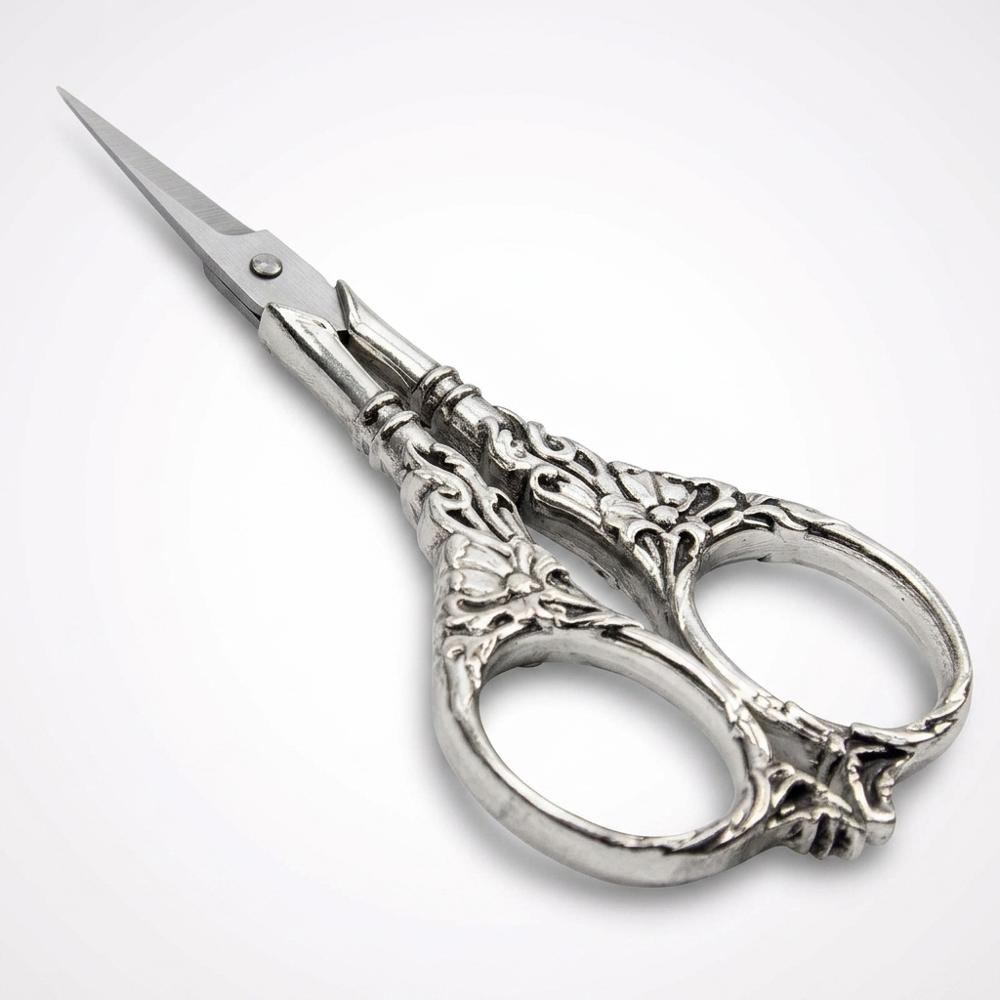
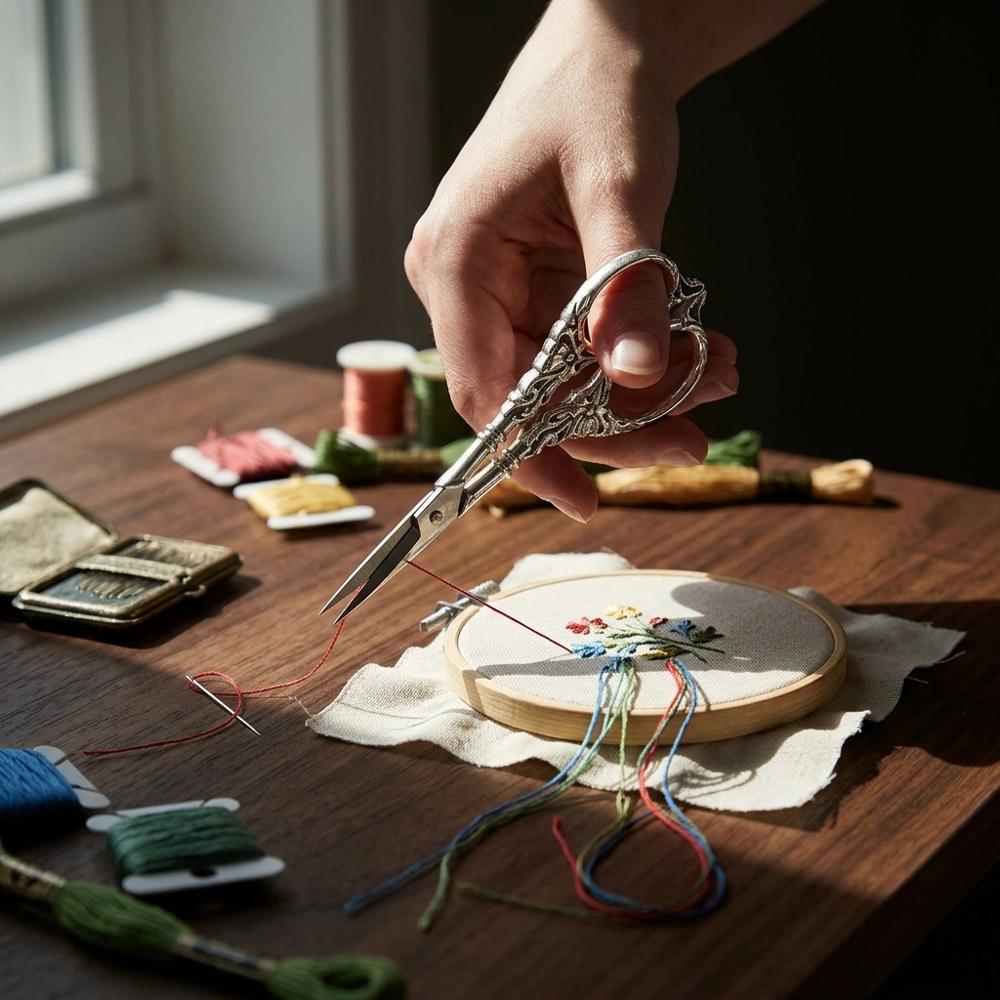
Small-bladed stainless steel scissors with a pointed tip, designed for the close cutting work that embroidery requires — trimming thread ends close to the fabric surface, snipping between stitches, and making precise cuts near finished stitchwork. The vintage European aesthetic makes them pleasant to leave on the work surface as part of a setup. The pointed tips allow accurate placement for cutting in tight areas.
XEmbro 12-Pack Pre-Cut White Cotton Embroidery Fabric, 4 Sizes
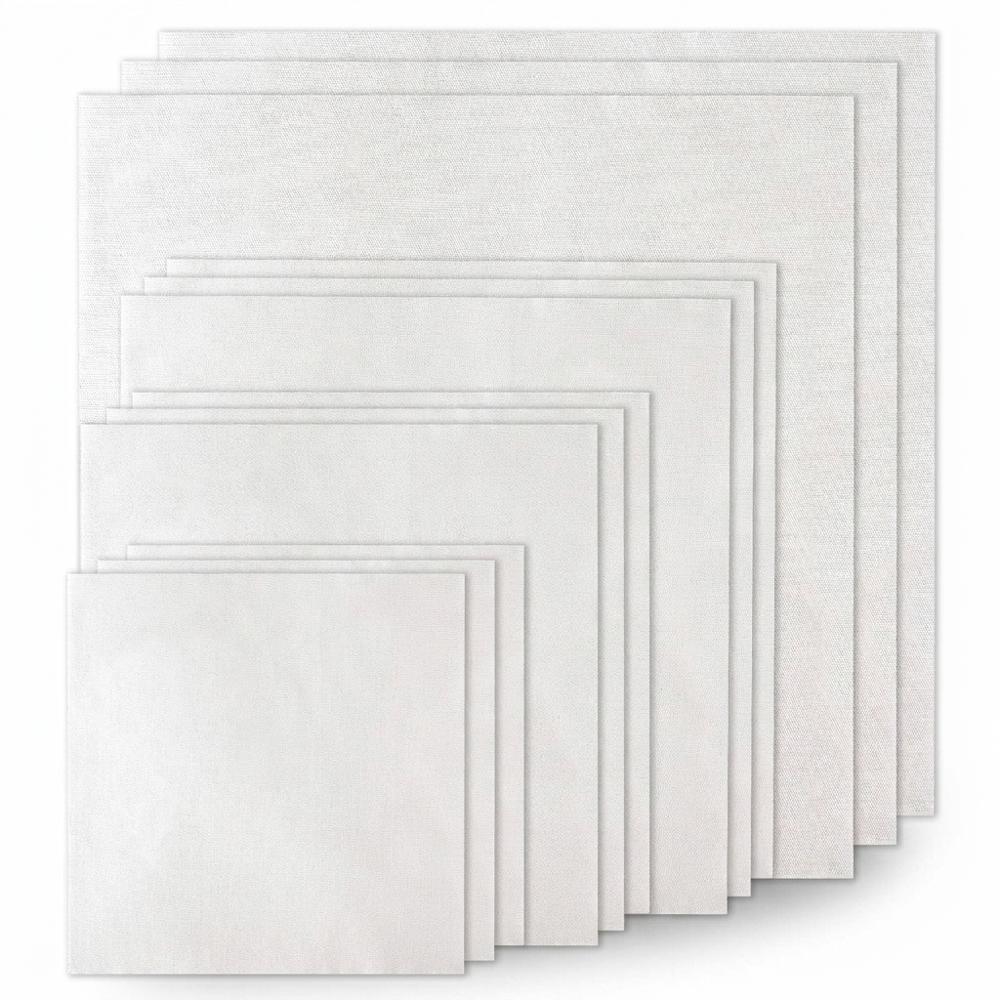
A pack of 12 pre-cut squares of natural cotton embroidery fabric in four sizes from 5.9 to 11.8 inches, providing a set of practice and project pieces without requiring yardage cutting. The plain-weave cotton has enough body to hold taut in a hoop without sagging and enough surface texture for stitches to grip, while remaining fine enough for detailed work. Having multiple sizes allows beginners to match fabric square to hoop diameter for each project.
These five items carry a beginner through their first several months of practice and cover the full range of standard embroidery projects. Once you’ve completed a few pieces and developed a feel for your tension and stitch size, you’ll have a clear sense of what additional tools you actually want. If you’re drawn to counted stitching on evenweave fabric, the beginner cross-stitch setup covers the specialized materials that discipline requires. The next section covers the additions that most embroiderers find themselves wanting once they’re stitching regularly.
Tools That Make a Real Difference Once You’re Stitching Regularly
None of the items in this section are required before your first session. What they share is specificity — each one solves a particular problem that comes up repeatedly once embroidery becomes a regular practice. A marking pen lets you transfer designs directly onto fabric without tracing paper or guesswork. A needle minder keeps your needle in a visible, safe spot whenever you’re not actively stitching. Bobbins and a storage box turn a tangled mass of loose floss into an organized system you can work from quickly. Wash-away stabilizer makes pattern transfer practically effortless for any design you want to print and stitch. And a reference book gives you a durable, illustrated resource that’s more useful at the work surface than a phone screen. These are the additions most experienced embroiderers wish they’d had from the start. If you’re still figuring out which creative direction suits you best, the guide on how to choose your first hobby is a useful starting point.
LEONIS Disappearing Ink Fabric Marking Pen, 10-Count × 3 Packs
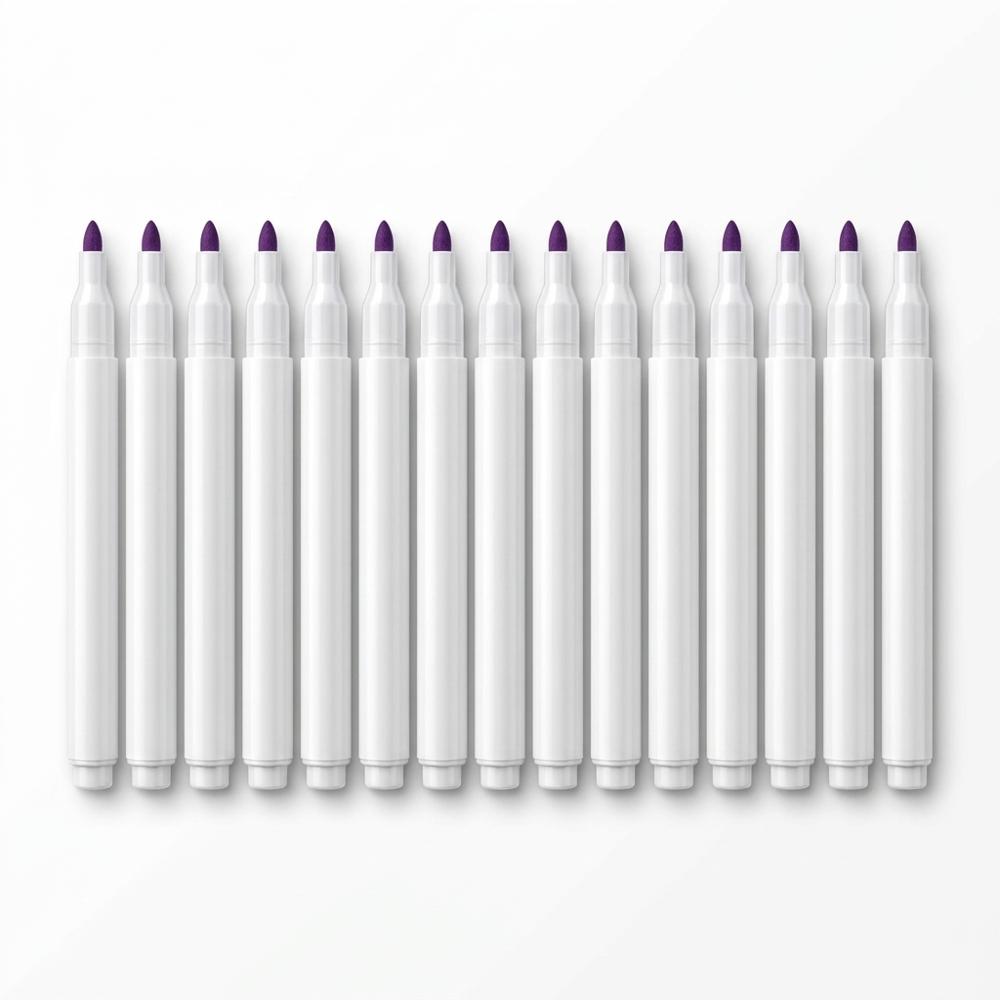
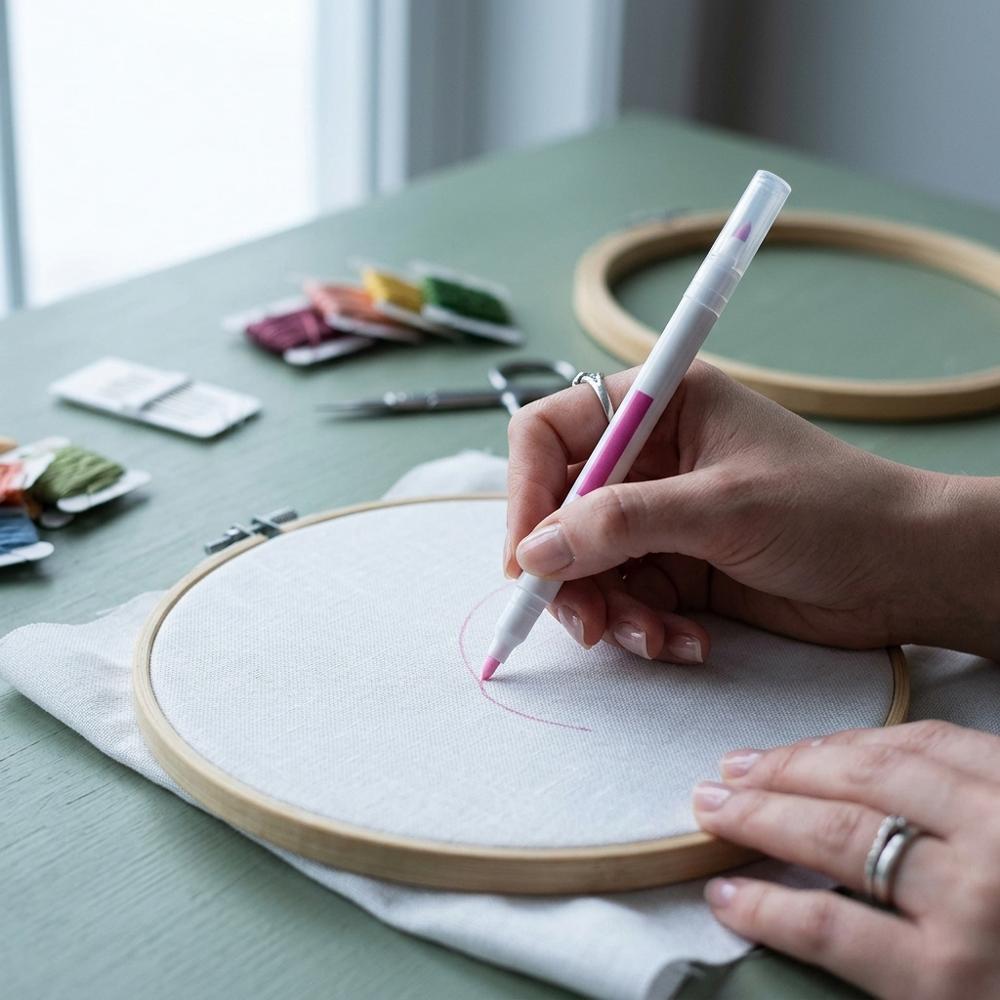
Water-activated disappearing ink fabric marking pens, 30 pens total across three packs. The ink fades on exposure to water or evaporates on its own within 24 to 48 hours, leaving no residue on fabric. Used for transferring embroidery patterns by tracing directly onto fabric freehand or over a lightbox, and for marking registration points, stitch lines, or design elements that need to be visible while working but invisible in the finished piece.
The Quilted Bear Magnetic Needle Minder
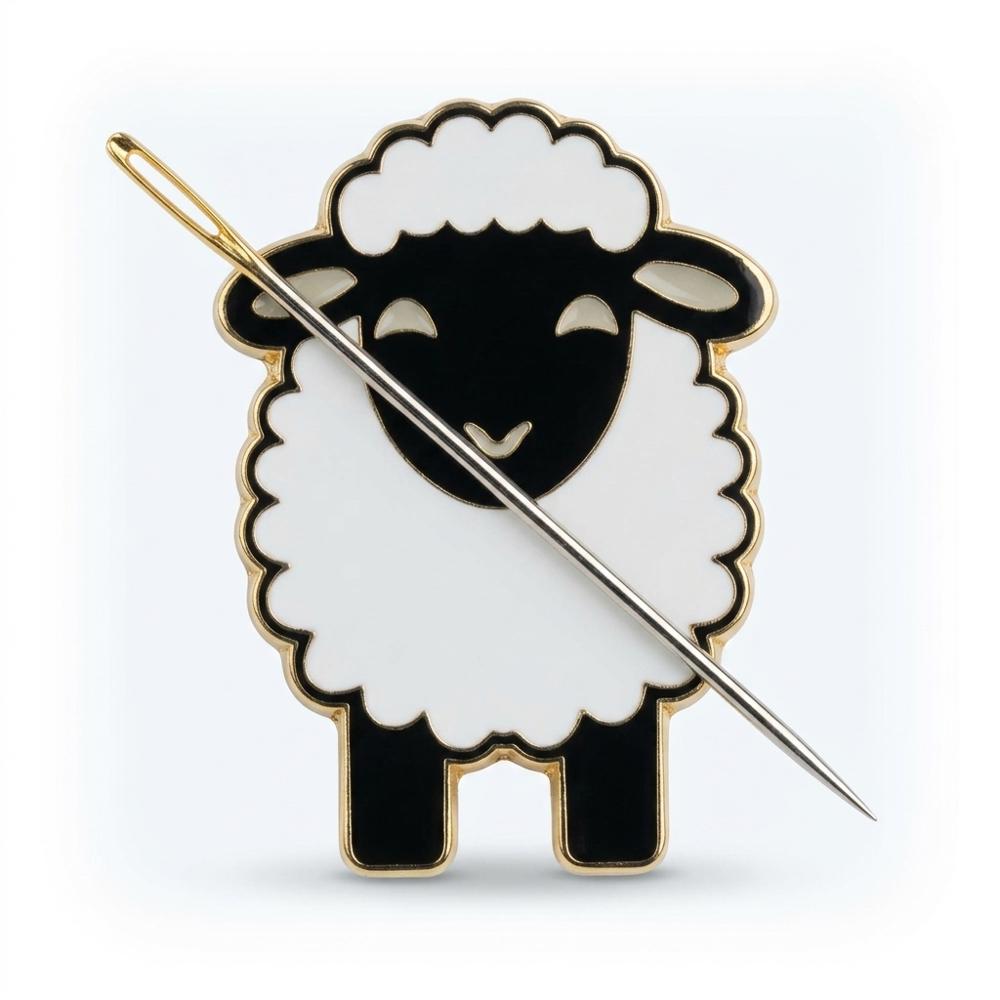
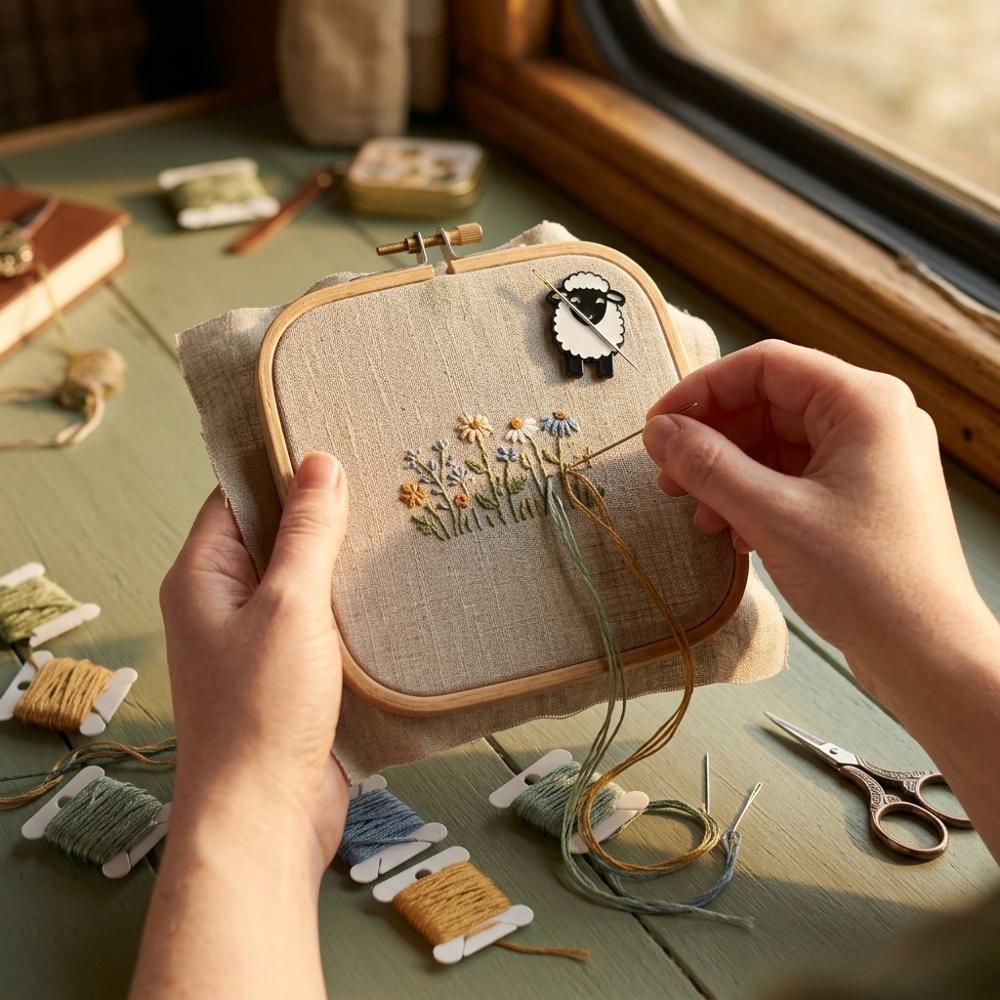
A two-piece magnetic needle keeper with a decorative front piece and a flat magnetic backing that clamps through the fabric of an embroidery hoop. The front magnet holds needles securely against the fabric surface between stitches, keeping them visible and preventing losses into cushions, carpet, or the inside of a bag. The sheep design makes it a pleasant addition to any stitching setup.
SYMPABASIC 120-Piece Floss Bobbins with 36-Grid Organizer Box
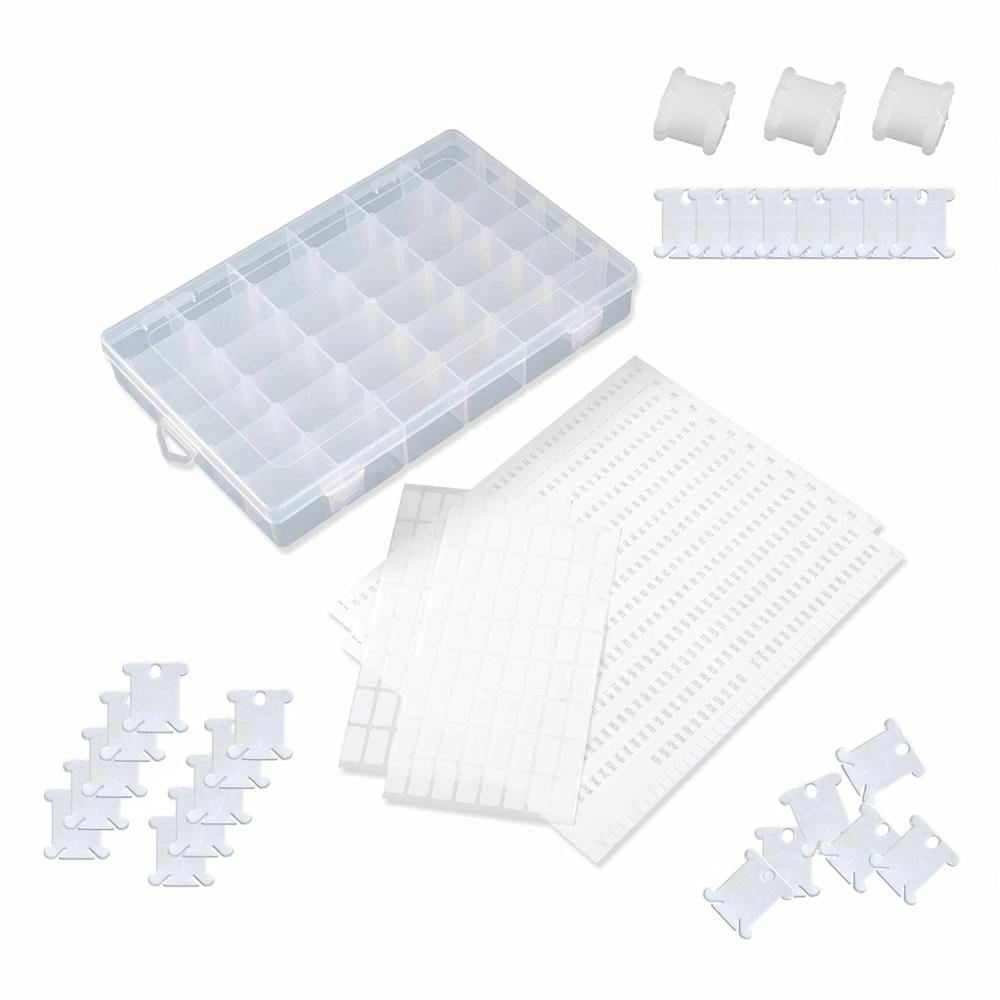
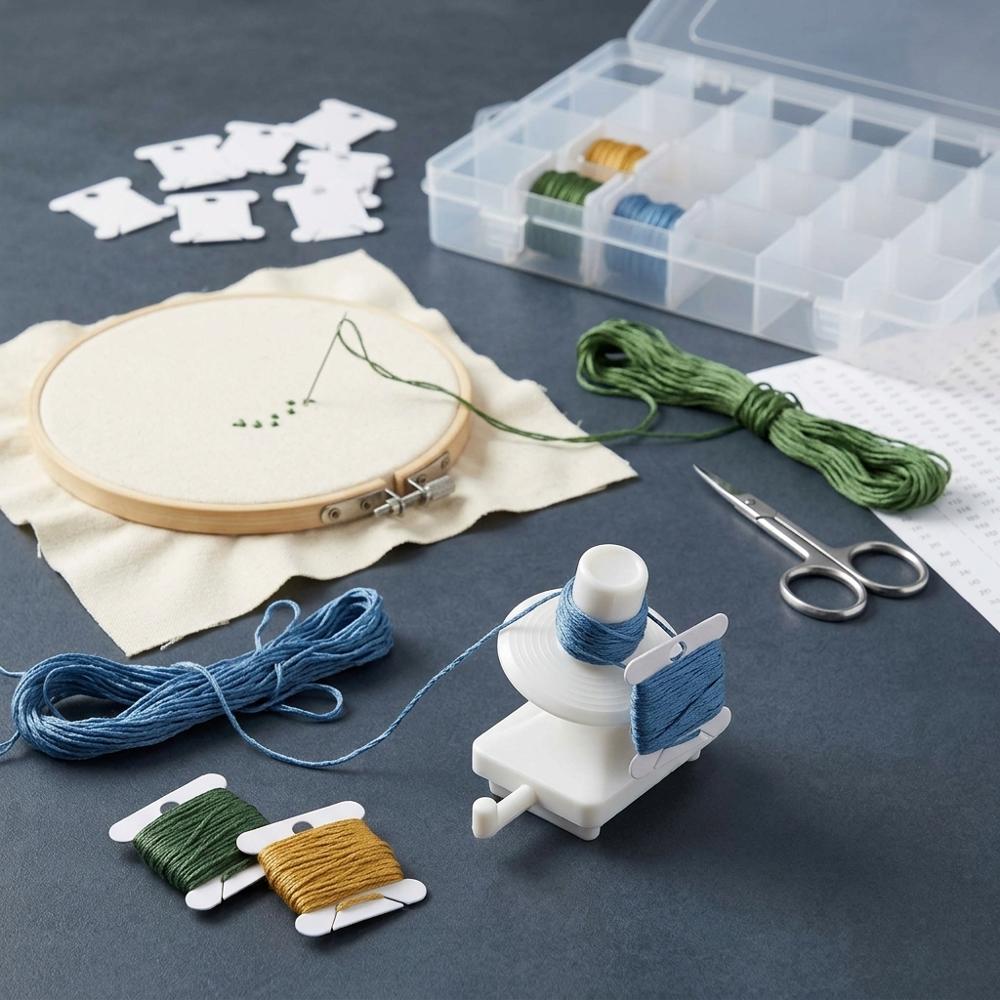
A set of 120 white plastic embroidery floss bobbins with a dedicated 36-grid storage box. Each bobbin is sized to hold a full skein of DMC floss wound into a flat, manageable card that fits into its assigned grid slot. The system converts loose skeins into an organized, labeled collection where each color can be found in seconds. The box closes securely and is compact enough to keep on a work surface or store in a tote bag.
NUITPY Stick & Stitch Water-Soluble Embroidery Stabilizer, 15 Sheets

A pack of 15 sheets of printable, self-adhesive water-soluble stabilizer, sized 8.5 by 11 inches. Print or trace any embroidery pattern onto the stabilizer, peel and stick it directly to the fabric surface, stitch through the paper as normal, then dissolve the stabilizer away with water once the embroidery is complete — no tracing, no transfer paper, no lightbox required. The adhesive holds the stabilizer flat against the fabric during stitching and releases cleanly in water without residue.
Embroidery: The Ideal Guide to Stitching (DK)

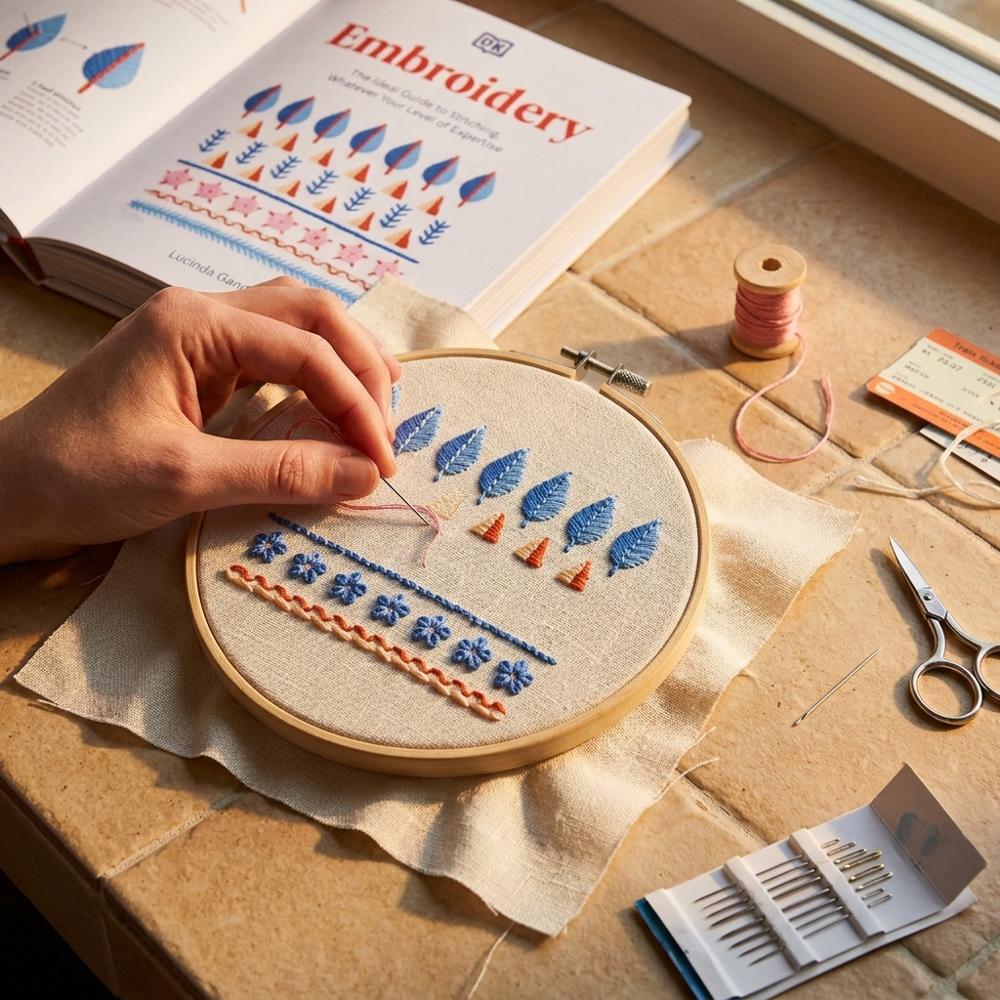
A comprehensive, visually organized embroidery reference book covering over 100 stitches with step-by-step illustrated instructions for each. The DK format uses large, clear photography and diagrams organized by stitch type — outline stitches, filling stitches, textured stitches, and more — making it easy to find the technique you need while working at the hoop. The book covers both the stitches themselves and the underlying principles of design, color, and composition that determine how finished work looks.
These five additions together cost just over $50 and resolve the logistical friction points that cause most beginners to stitch less frequently than they’d like: not knowing where to put the needle, spending minutes untangling floss before each session, struggling to transfer patterns accurately, and not having a reliable stitch reference when a new technique comes up. With both sections complete, the full setup covers everything from first stitch to long-term practice. For more context on building a first creative practice, the guide on how to choose your first hobby walks through how to match a craft to your available time and space.
What Beginners Don’t Expect When They Start With Embroidery
Why do my stitches look uneven even when I’m being careful?
Uneven stitches almost always trace back to inconsistent thread tension — pulling each stitch to a different tightness rather than letting the thread settle at the same level each time. The fix is to develop a consistent hand rhythm: pull each stitch until the thread lies flat against the fabric with no puckering, then stop. Don’t tug it tight. Once you find that feel, consistency follows naturally. Working with the hoop flat on a table rather than held in the air also helps, because both hands are free to guide the thread from above and below with equal control.
Why does my fabric keep puckering around stitches?
Puckering happens when stitches are pulled too tight, when the fabric is not taut enough in the hoop, or when both problems combine. Tighten the hoop until the fabric is drum-taut — tapping it should produce a light resonance — before you begin. When pulling each stitch through, stop as soon as the thread lies flat rather than drawing it snug. If puckering has already occurred, loosen the hoop, re-tension the fabric, and gently tug the fabric from the edges to redistribute the pucker before re-tightening. For a broader overview of what new crafters typically get wrong, the common embroidery beginner mistakes guide covers the most frequent issues in detail.
Why does my thread keep tangling and knotting beneath the fabric?
Thread twists as you stitch because every pass of the needle through the fabric rotates the strand slightly. Over the course of several stitches, this accumulated twist creates a spiral that kinks and knots underneath. Every few stitches, let your needle hang freely and allow the thread to untwist under its own weight — this single habit eliminates most tangling. Also separate your six-strand floss and recombine only the number of strands you need; pulling strands apart after cutting a length straightens them and significantly reduces twist from the start.
Why does my thread fray when I pull it through the fabric?
Fraying is caused by using a needle that is too small for the number of thread strands, which forces the eye to grip the thread as it passes through — a repeating abrasive action that wears the fibers. Match your needle size to your strand count: one or two strands uses a size 8 or 9 needle, three or four strands uses a size 5 or 6, and five or six strands uses a size 3 or 4. Also keep your working length of floss to around 18 inches — longer lengths pass through the fabric more times before being used up, giving each section of thread more wear cycles before it’s retired.
Why do the ends of my stitching show through on the front of the work?
Visible thread ends on the front are nearly always caused by starting and finishing with a knot tied at the back of the fabric. Knots are bulky, create bumps visible through the front surface, and often pull through under tension. The away waste knot method is the standard replacement for beginners: bring the needle through from the front a few inches away from your starting point, leaving the knot on top of the fabric. Stitch toward it, and as your working thread is secured by stitches on the back, cut the waste knot off cleanly. On the finishing end, weave the thread through the back of completed stitches rather than knotting it.
Love what you see here? Save individual picks with on any item, or copy the whole list to your own wishlist in one click — great for coming back to later, or dropping as a not-so-subtle hint.