Colored Pencils: What to Buy First When You Begin
Start With Pencils That Actually Behave
The first thing most beginners get wrong about colored pencils is underestimating how much the quality of the pencil itself matters. Cheap colored pencils have hard, waxy cores that sit on top of the paper rather than bonding with it. You press harder trying to get more color, the paper surface breaks down, and the results look scratchy and thin. Prismacolor Premier pencils have a soft core with a high wax content that lays down rich color with minimal pressure. They blend together without hard seams and respond predictably — which means you learn the right habits from the beginning rather than compensating for the tool. A 48-count set gives you warm and cool versions of each major hue, a full range of browns, greys, and skin tones, and enough variety to explore different palettes without restricting your subject matter. If you want to understand what each type of pencil is designed for, the beginner pencil sketching setup explains pencil grades and cores in detail. For this setup, all you need to know is that Prismacolor Premier is the closest thing colored pencil art has to an industry standard at the student-grade level.
Prismacolor Premier Soft Core Colored Pencils, 48-Count
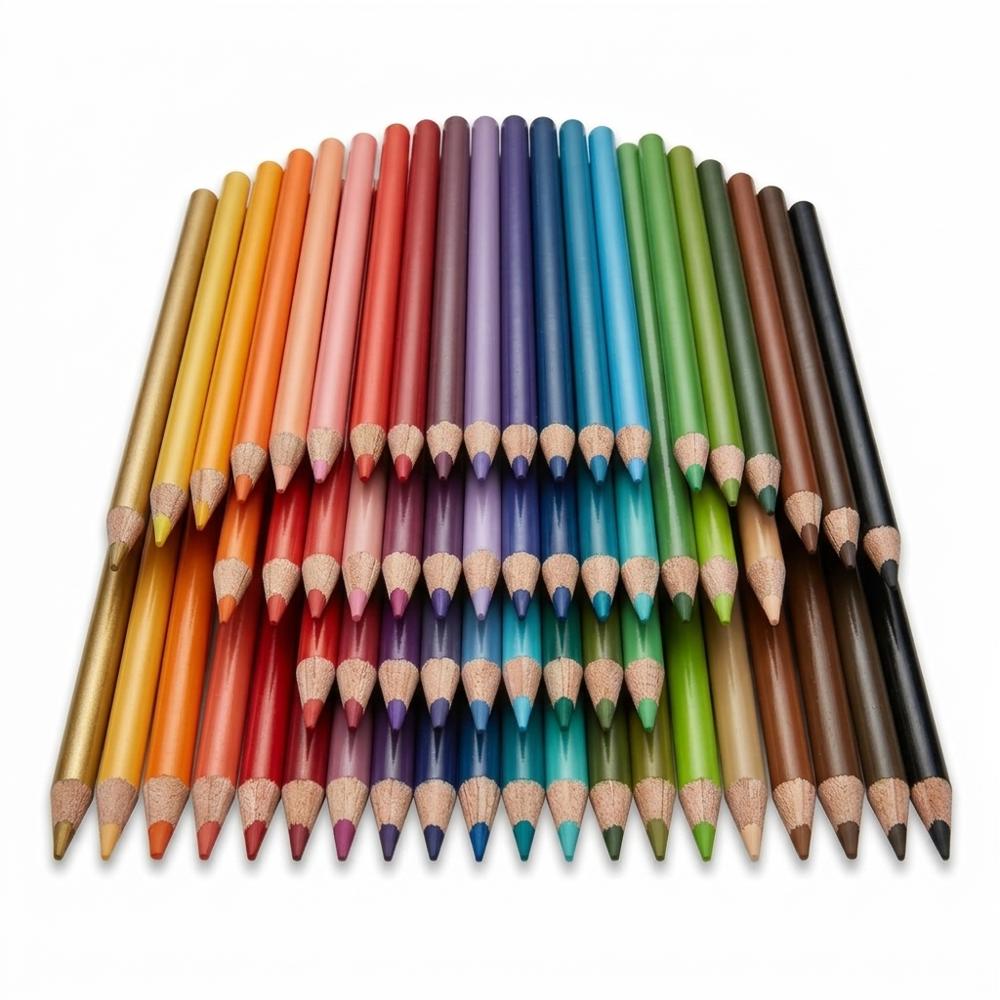
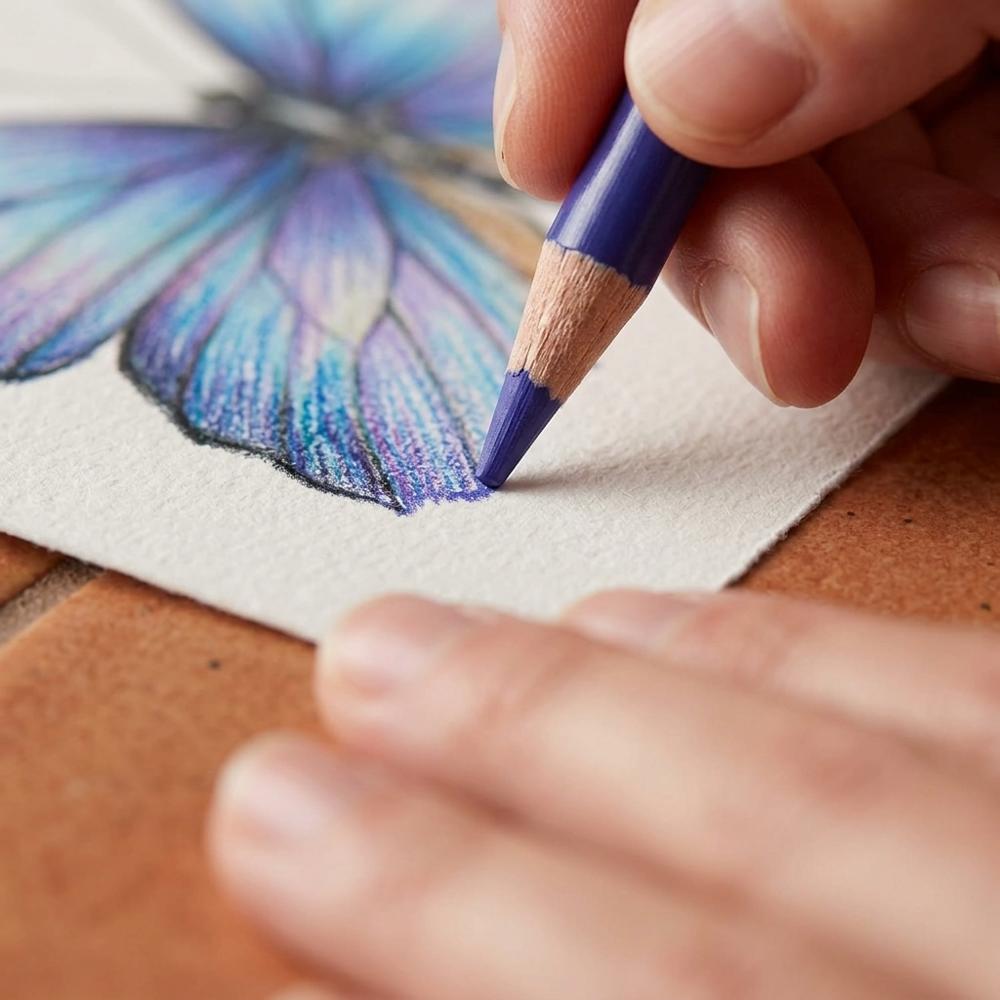
The Premier line is Prismacolor's signature student-to-professional colored pencil, built around a thick, soft wax-based core that delivers smooth, rich pigment with very light pressure. The 48-count set includes a well-balanced selection of hues — warm and cool primaries, a full range of earth tones, skin tones, greys, and neutrals — giving beginners enough variety to explore still life, portrait, botanical, and landscape subjects without buying additional pencils. The barrels are labeled with the color name and code number, which makes reordering individual pencils straightforward as they wear down.
A 48-count set will feel overwhelming to open for the first time — try not to think about using all of them at once. Most colored pencil artists start every piece by selecting just eight to twelve colors in advance, choosing a limited palette that keeps the piece harmonious. The pencils you skip will still be there when you need them.
Paper With Enough Tooth to Hold the Layers
Colored pencil art is fundamentally a layering medium. You build up thin transparent layers of color that optically blend in the eye rather than on the surface. For that process to work, the paper needs texture — what artists call tooth. Smooth paper fills up almost immediately and then starts rejecting new pigment before you've built enough depth. The Strathmore 400 Series Colored Pencil pad is designed specifically for this medium with a slightly textured surface that grips each layer of wax without wearing down your pencil tips unnecessarily. The 9x12 size is the right scale for finished work that has enough room for detail. Larger paper takes much longer to cover and can make early attempts feel unfinished; smaller paper restricts detail too quickly. This is exactly the kind of supply where it pays to get it right from the start — the guide on which art supplies are worth spending on versus going cheap covers paper as one of the most impactful quality decisions in any drawing medium.
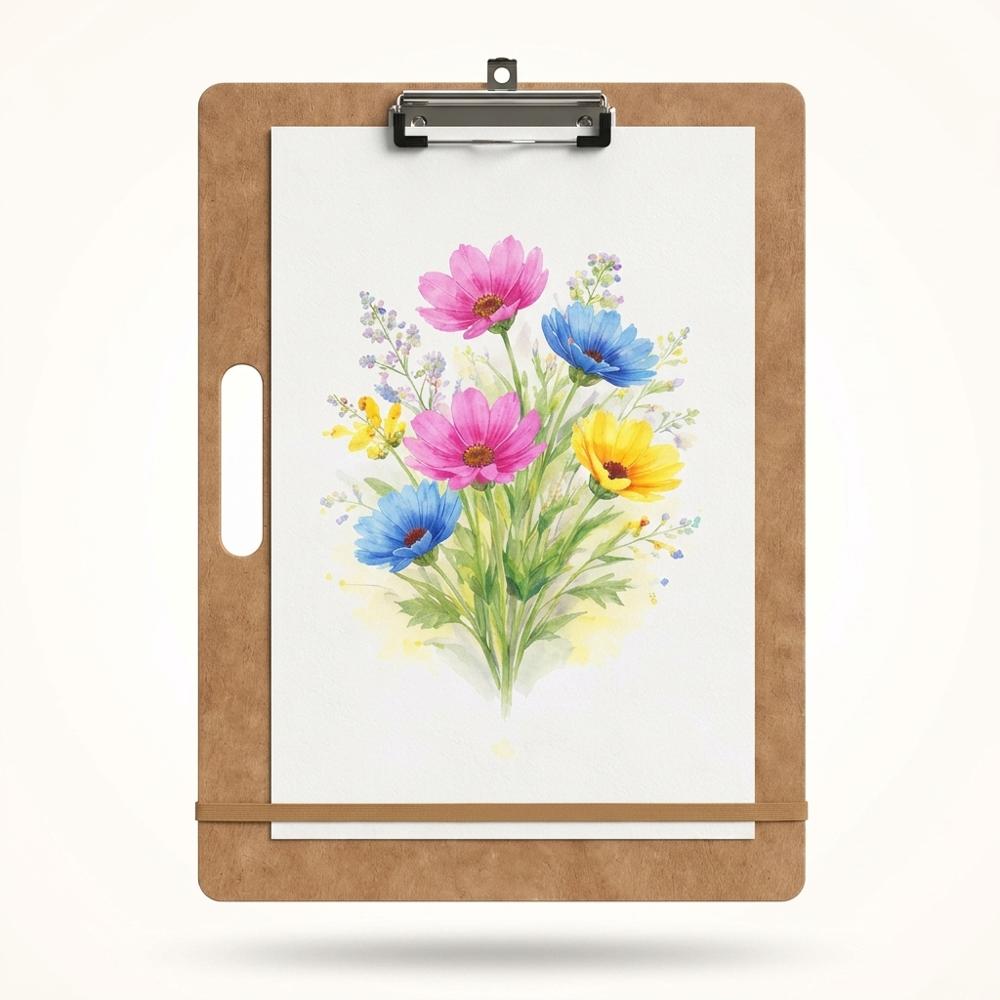
Strathmore 400 Series Colored Pencil Pad, 9x12

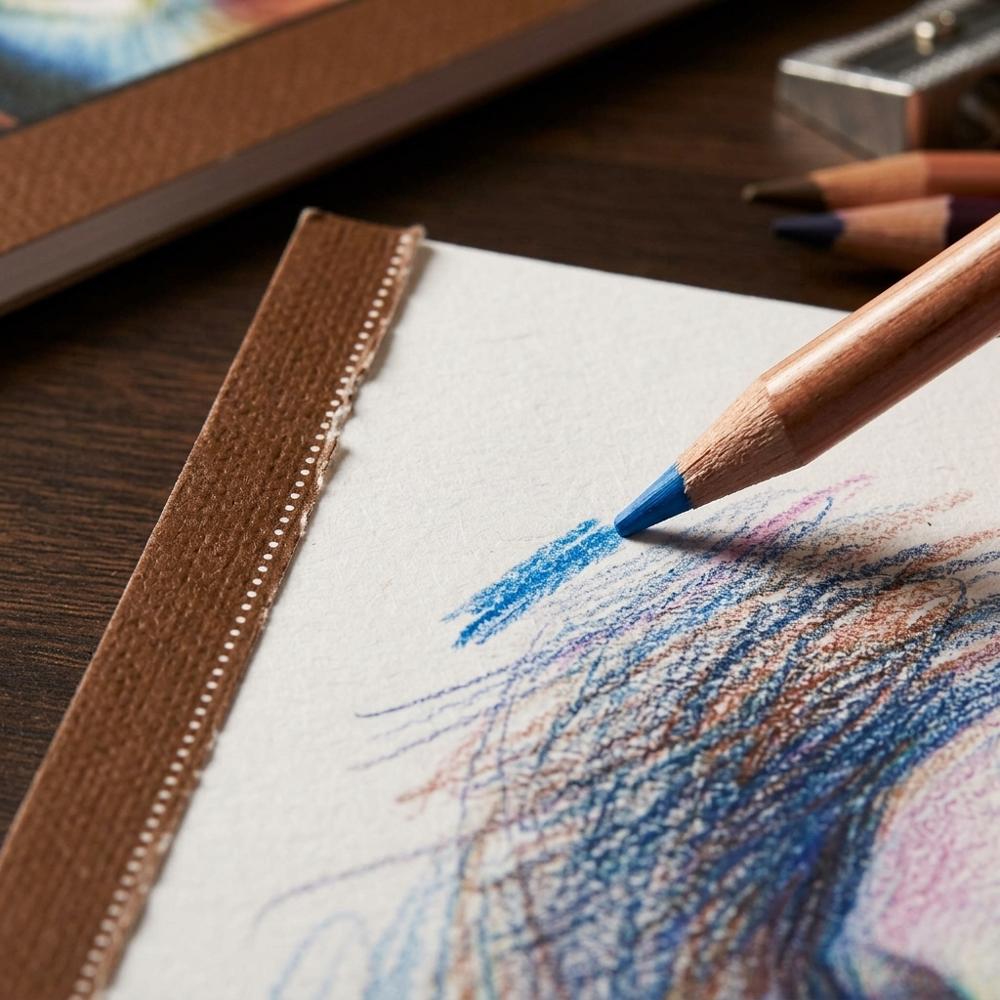
The Strathmore 400 Series Colored Pencil pad is specifically engineered for wax and oil-based colored pencil work, with a fine-tooth surface that holds pigment layer after layer without pilling or breaking down. At 9x12 inches the sheets are a comfortable working size for finished pieces — large enough to develop composition and detail, manageable enough for desk work. The wire-bound format keeps pages flat while working and makes removal clean for framing or display.
Start every piece working light — much lighter than you think you need to. With colored pencil you can always darken, but lifting color from textured paper is difficult and often damages the surface. The most common beginner mistake is pressing too hard in the first layer and running out of paper tooth before the depth is built.
Sharp Points and the Right Erasers for Every Situation
Colored pencil is a precision medium. A blunt point produces wide, uncontrollable strokes that are useful for covering large areas but useless for fine detail, fur texture, hair, or crisp edges. Keeping your pencils sharp is not optional — it is a regular part of the process, done every few minutes during detailed work. A standard pencil sharpener will work for harder graphite pencils but tends to snap the soft wax cores used in Prismacolor Premiers. The Prismacolor Premier sharpener is designed specifically for soft-core pencils with a helical blade geometry that cuts the wood casing gradually without putting lateral stress on the core. For corrections, two erasers serve completely different purposes. The Faber-Castell kneadable eraser lifts light layers of pigment gently by dabbing rather than abrading — ideal for softening areas without disturbing the paper tooth. The STAEDTLER Mars vinyl eraser is for firmer corrections where you need more friction. Having both means you have a full range of correction options at every stage of a piece. For the bigger picture on how drawing fundamentals apply across media, the beginner portrait drawing setup covers the essential techniques that translate directly into colored pencil portraiture.
Prismacolor Premier Pencil Sharpener
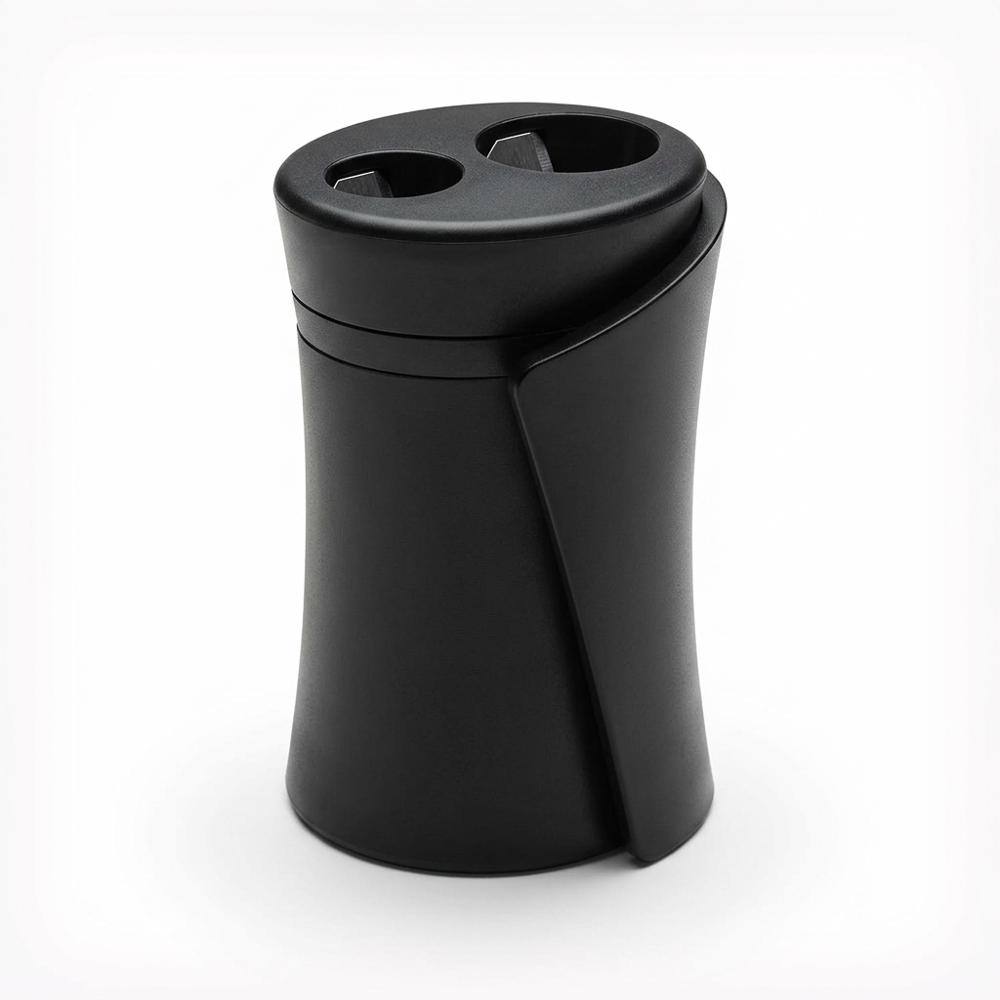
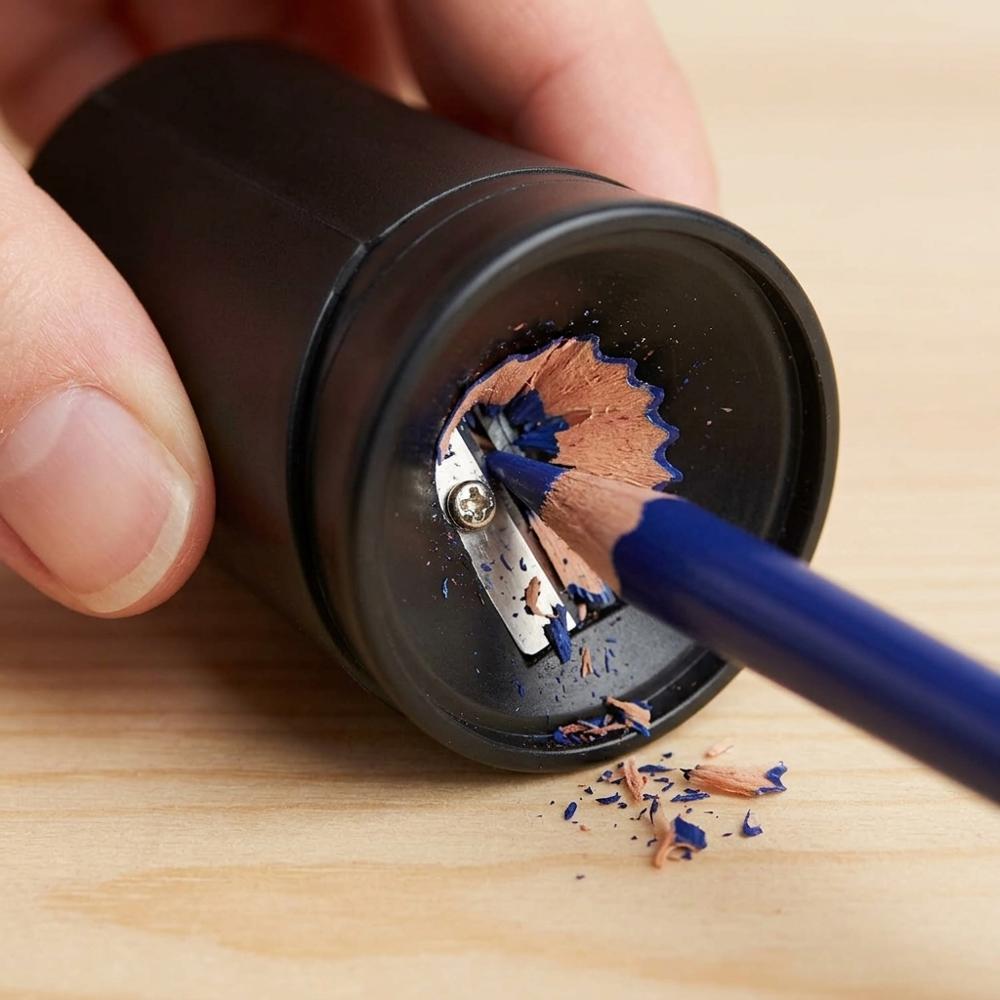
The Prismacolor Premier sharpener uses a helical blade specifically designed for the soft wax cores of colored pencils. The helical geometry cuts the wood barrel progressively around the pencil rather than applying pressure from multiple sides simultaneously, which is what causes soft pigment cores to fracture and snap in standard sharpeners. The sharpener produces a long, fine point suited to detailed colored pencil work and handles pencils up to 8mm in diameter.
Faber-Castell Kneaded Eraser, Large
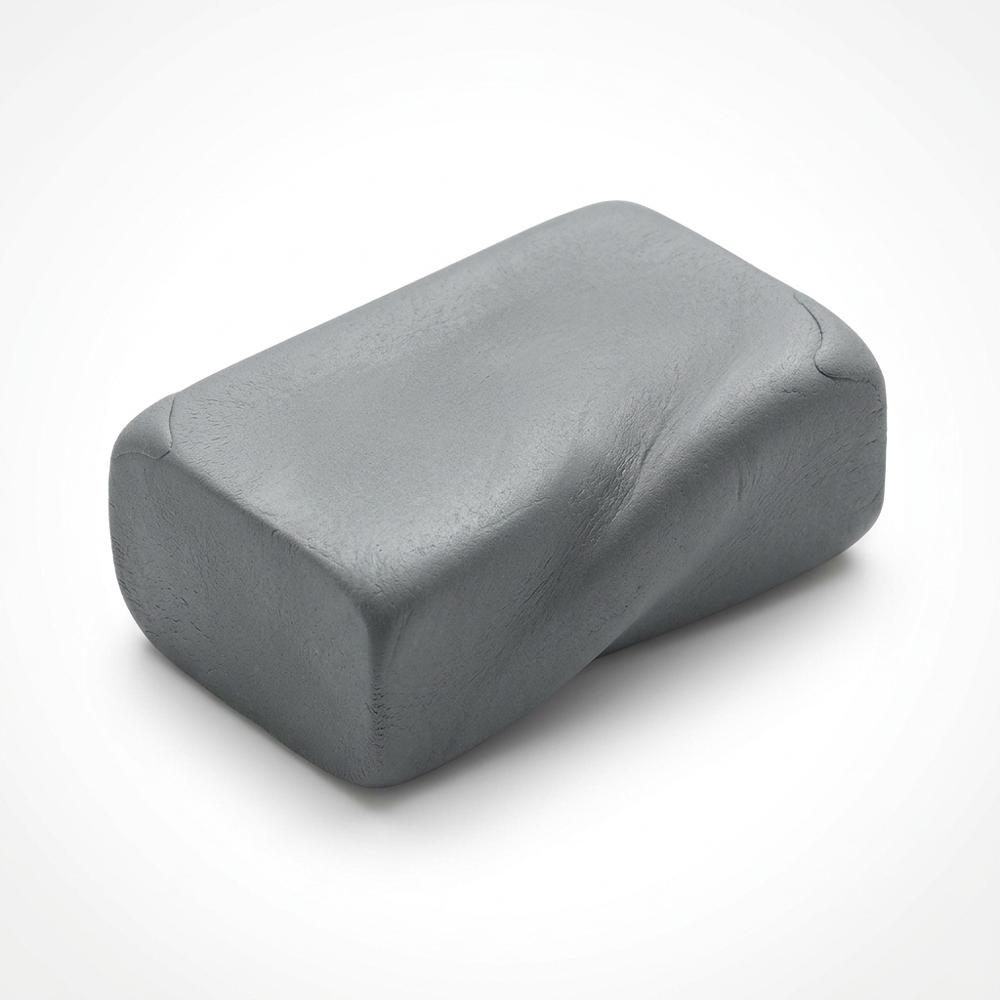
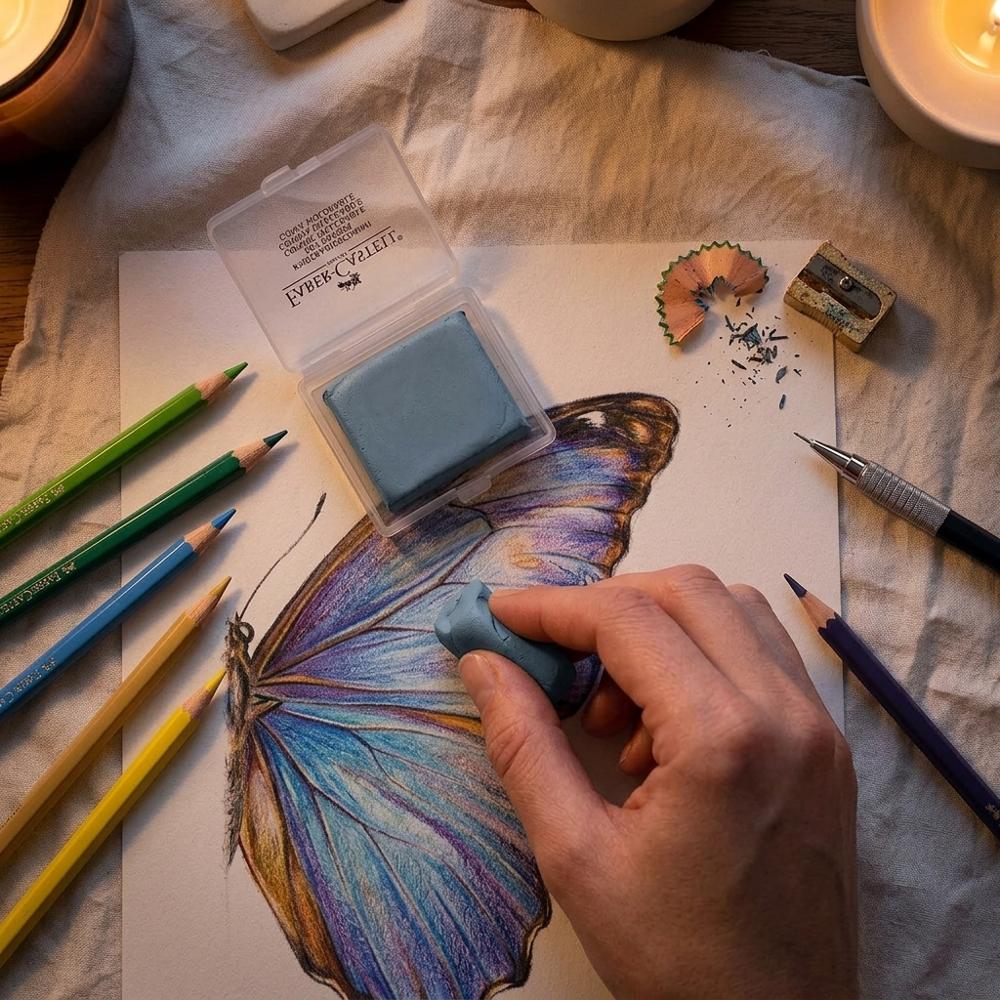
A pliable grey eraser that can be shaped by hand to a point, edge, or flat surface. For colored pencil work, the kneaded eraser lifts pigment by pressing and pulling rather than by abrasion, which means it can lighten a specific area without roughening the paper tooth or disturbing adjacent layers. Kneading it between uses cleans the surface and keeps it effective. It works best on lighter layers and early-stage corrections — once heavy wax buildup has occurred, a firmer eraser is needed.
STAEDTLER Mars Plastic Vinyl Erasers, 4-Pack
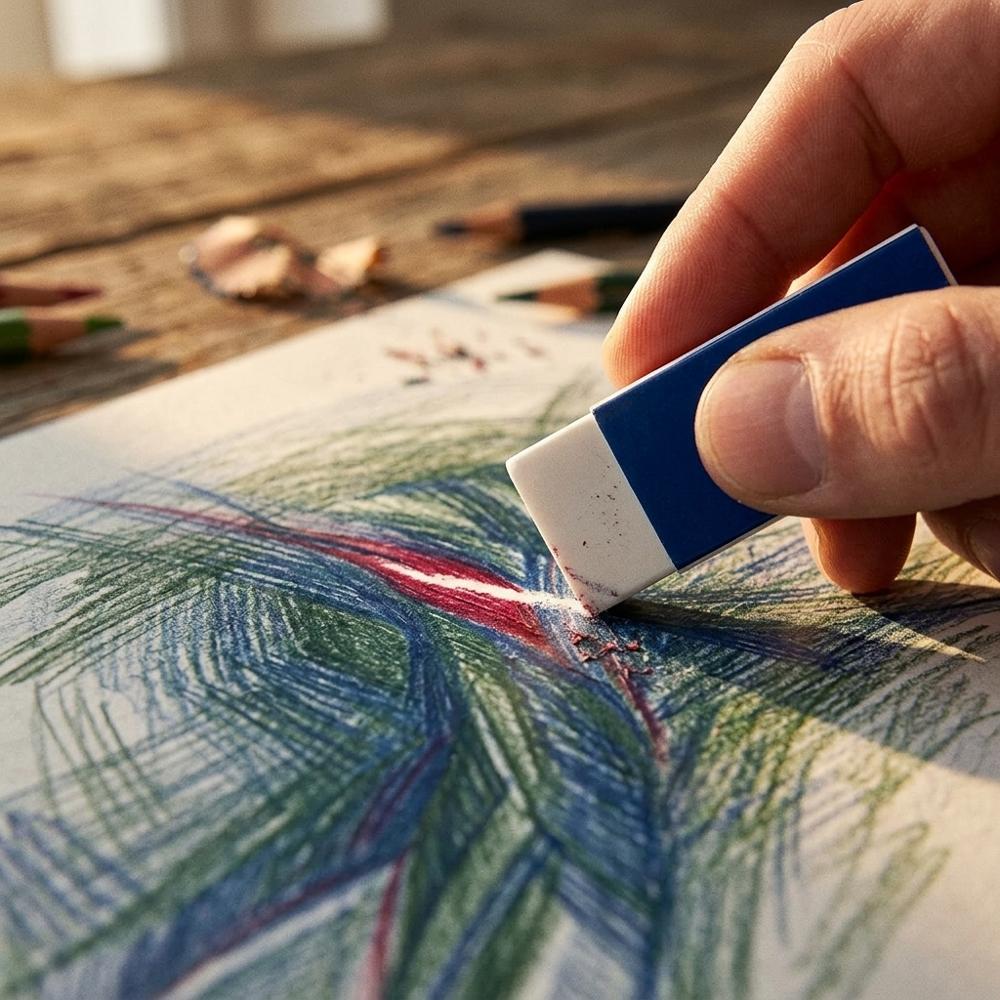
STAEDTLER Mars plastic erasers are firm, non-smearing vinyl erasers that remove pigment through abrasion more aggressively than a kneaded eraser. For colored pencil work, they are useful when a kneaded eraser cannot lift enough material — heavier wax layers, firmer corrections, or cleaning up edges and borders. The hard edge of the eraser can be used to draw a clean line through a colored area. A four-pack provides a long supply, since each eraser can be cut with scissors to expose a clean, precise edge when the working face becomes worn.
Don't skip the quality sharpener. Generic two-hole sharpeners will consistently snap Prismacolor cores, which are much softer than the barrels they sit in. Losing a half-inch of pigment core because the sharpener twisted rather than cut cleanly is a predictable frustration. The Prismacolor sharpener pays for itself the first week. And if you're wondering which supplies to prioritize, the guide on art supplies beginners commonly waste money on includes a section on sharpener mistakes specifically.
Blend Your Layers Smooth With a Colorless Pencil
A colorless blender pencil looks like a regular colored pencil but contains no pigment — just a pure wax core. When you draw over a layered area with one, the heat and pressure of the tip melts the wax layers together, evening out stroke lines and creating a smooth, almost burnished appearance. The effect is particularly useful for skies, skin tones, fabric, and any surface that should look uniform rather than textured. You don't need it on day one, but once you've completed a few pieces and noticed that your layers still look scratchy in the final stages, the colorless blender is the tool that addresses that. It works naturally with Prismacolor Premier pencils because both use a compatible wax base, so the blending response is predictable. If you enjoy the precision and layering approach of colored pencil, you may also find yourself drawn to beginner soft pastels, which blend with fingers and tortillions in a similar spirit but at a much larger scale.
Thornton's Art Supply Premium Colorless Blender Pencil, 6-Count
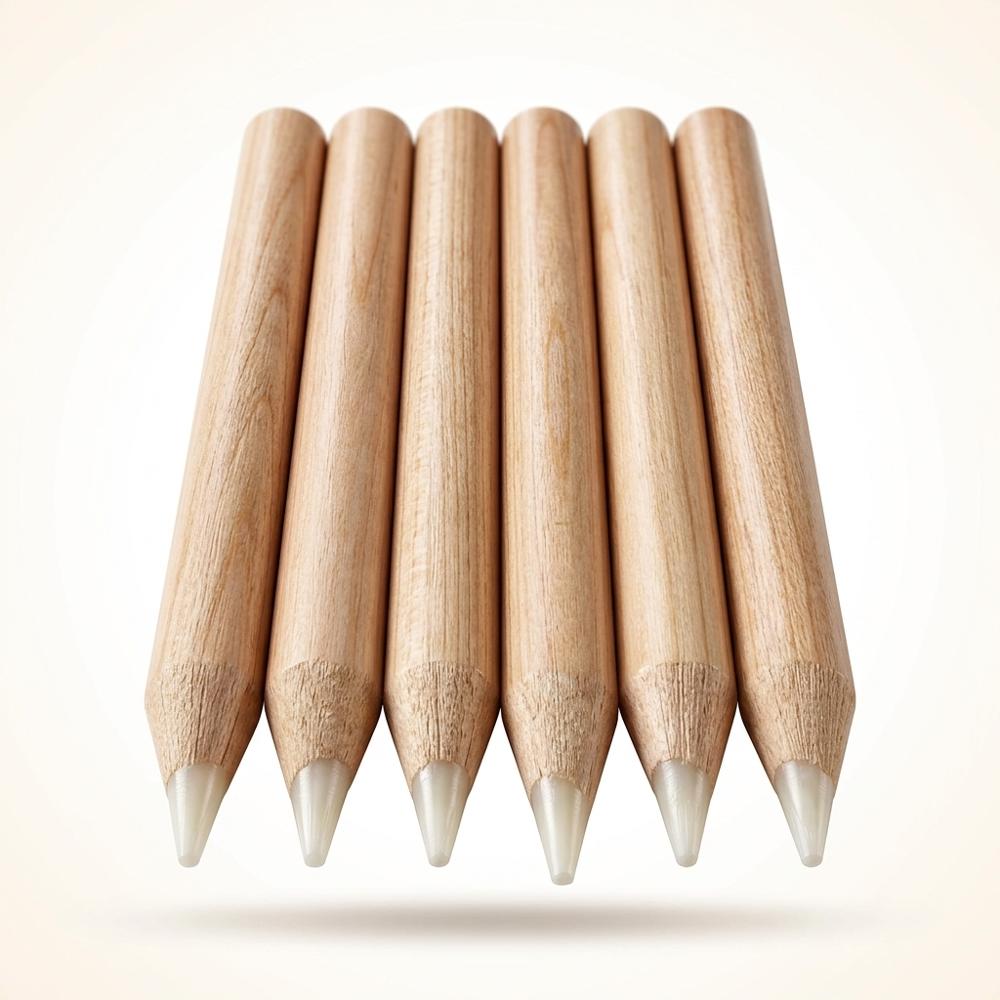

A set of six wax-based colorless blender pencils that work by melting existing pigment layers together rather than adding new color. Applied with moderate pressure over a built-up area of colored pencil, the blender redistributes the wax binder to fill visible stroke lines, reduce paper texture visibility, and create a smoother, more uniform surface. The pencils sharpen to a fine point and can be used precisely over specific areas rather than blending an entire surface at once.
Use the colorless blender in the final stages of a piece, not mid-way through. Blending early closes the paper tooth and prevents new pigment from adhering, which locks you out of further layering in that area. Finish all your color work first, then blend the areas where you want a smooth, unified finish.
A Simple Studio Setup That Keeps You Working Comfortably
Colored pencil doesn't require much setup compared to painting media — no water jars, no drying time, no ventilation concerns. But a few simple additions make a real difference to how comfortable and focused a long session feels. A wooden drawing board gives you a solid, slightly angled surface that supports your paper without flex or give. Drawing on paper that moves or sags while you work produces inconsistent pressure and makes fine lines harder to control. The Artlicious board has a handle for portability and fits in most tote bags if you work outside or in different rooms. A light coat of workable fixative spray after a completed piece prevents wax bloom — a milky haze that develops on the surface of colored pencil work over time as wax migrates to the surface — and protects finished pieces during storage or framing. And a canvas pencil roll keeps your 48-count set organized and portable without a bulky hard case: unroll it and every pencil is visible at a glance, roll it up in seconds when you're done.
Artlicious Drawing Board, 13x17 with Handle
A 13x17 inch portable wooden drawing board with a smooth MDF surface and a built-in carrying handle. The board provides a firm, flat backing that keeps paper supported and stable during detailed work, and the 13x17 size comfortably fits standard 9x12 and 11x14 paper pads with room to clip or tape the sheets. The handle makes it easy to move between rooms or carry to a different location, and the lightweight construction means it can be held at a comfortable angle without arm fatigue during long sessions.
Krylon Workable Fixatif 11 oz. Aerosol Spray, 2-Pack
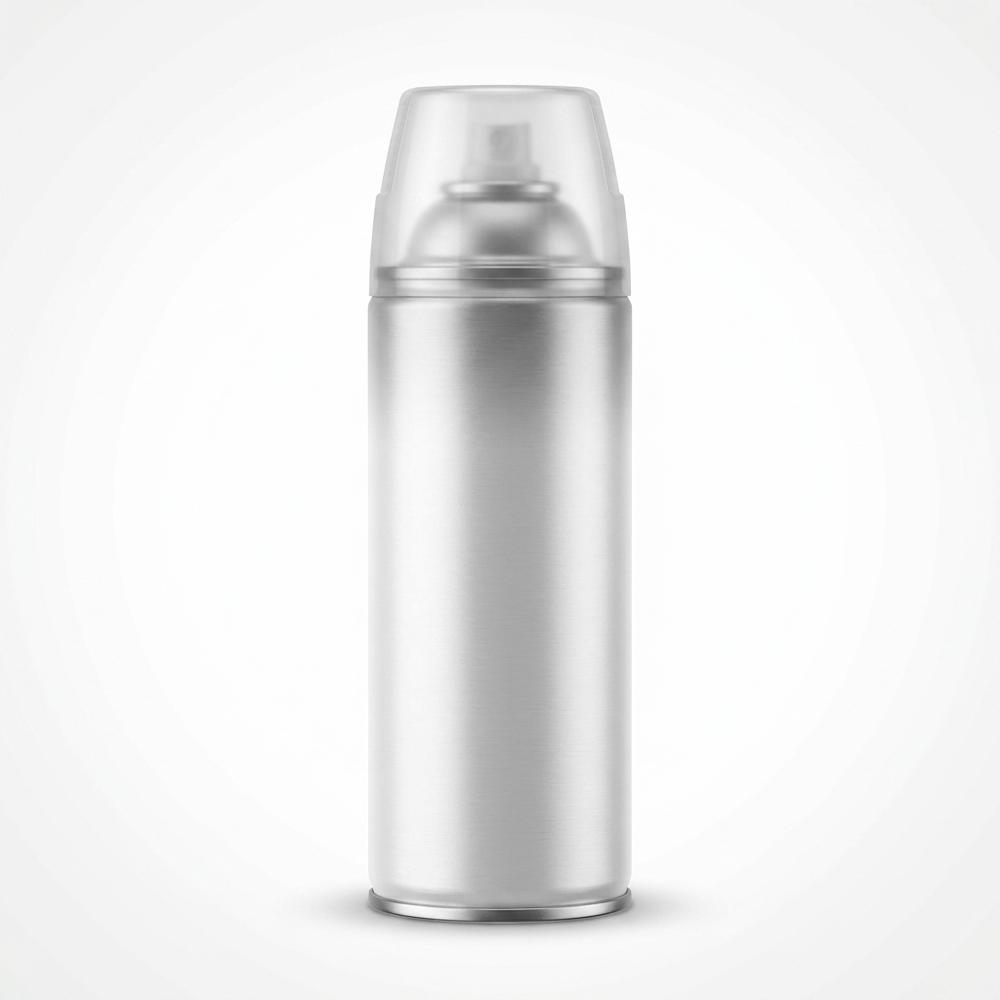
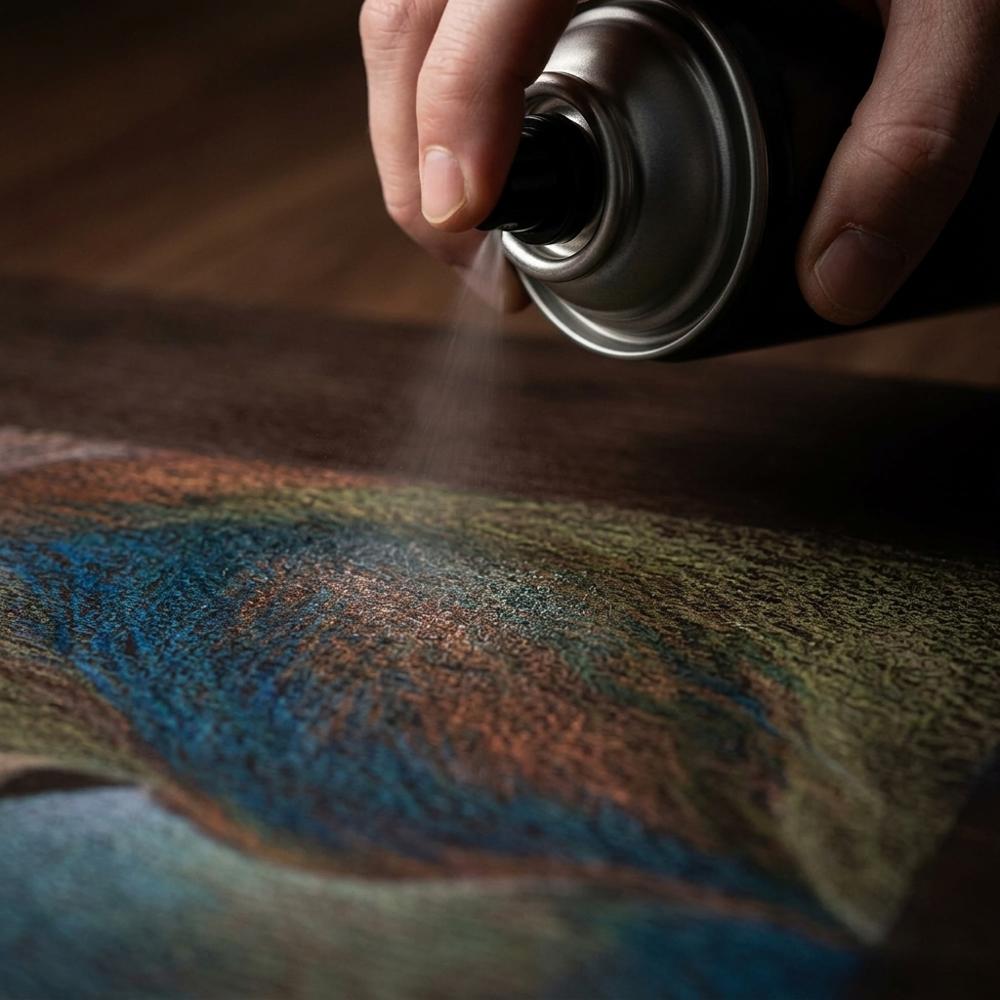
Krylon Workable Fixatif is a clear aerosol spray designed to protect drawings made with wax-based media including colored pencil, pastel, and chalk. Applied in a thin, even coat over a finished piece, it prevents wax bloom — a milky surface haze that forms on colored pencil work as the wax binder slowly migrates upward — and protects the drawing surface from smudging during storage. It is workable, meaning additional layers can be applied over a dried coat, though for colored pencil this feature is used sparingly since it slightly changes the tooth of the surface.
DIYOMR Artist Colored Pencil Roll, 72 Slots
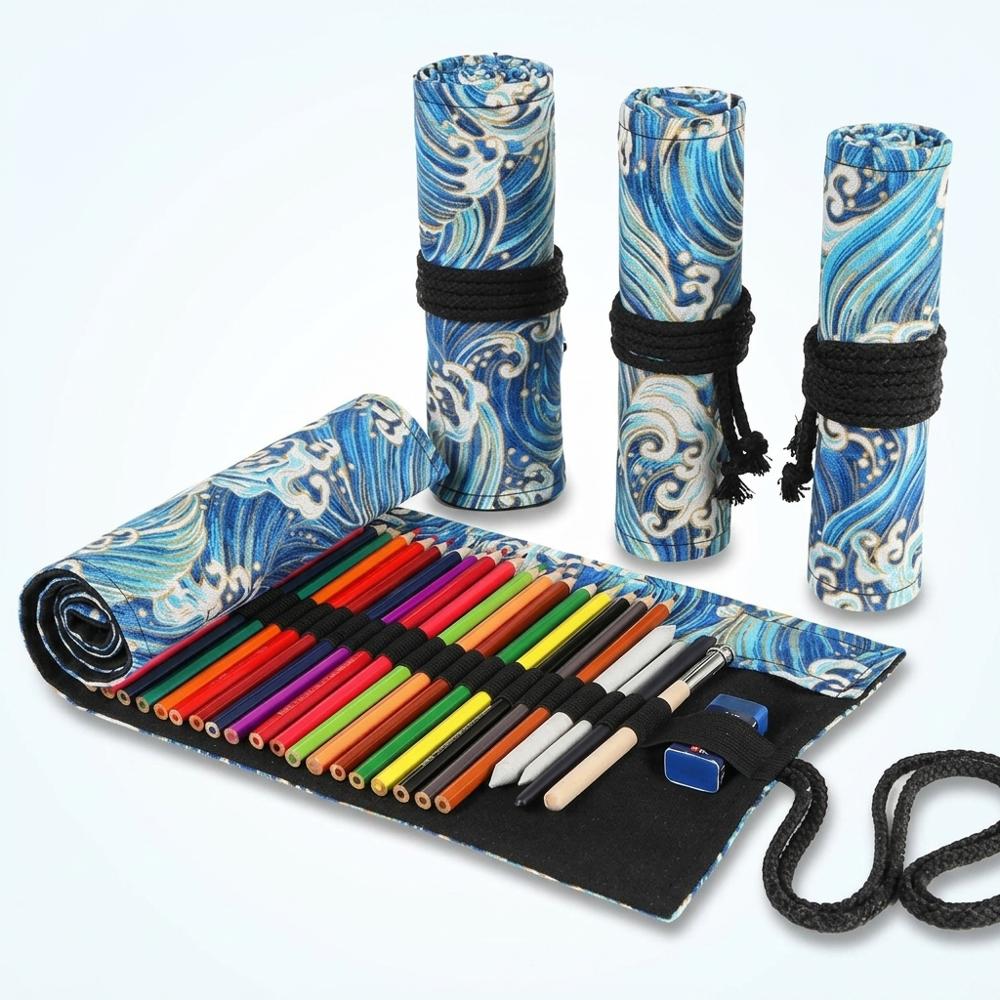
A canvas roll-up pencil organizer with 72 individual slots that hold pencils securely and keep them visible when the roll is unrolled flat. The slots are sized for standard-diameter colored pencils and hold them firmly without looseness. Rolling and unrolling takes less than ten seconds, and the ties keep everything in place for transport. The 72-slot capacity fits the 48-count Prismacolor set with room for blending tools and spare pencils. The canvas construction is durable and easy to wipe clean.
These three items add roughly $37 to the initial spend. If you're still deciding whether colored pencil is the right medium for you, start with just the first three sections and come back to this one after a few sessions. The core setup alone — pencils, paper, sharpener, and erasers — is everything you need to discover whether this is how you want to spend your time.
What Beginners Don't Expect When They Start With Colored Pencil
Why does my color look faint no matter how hard I press?
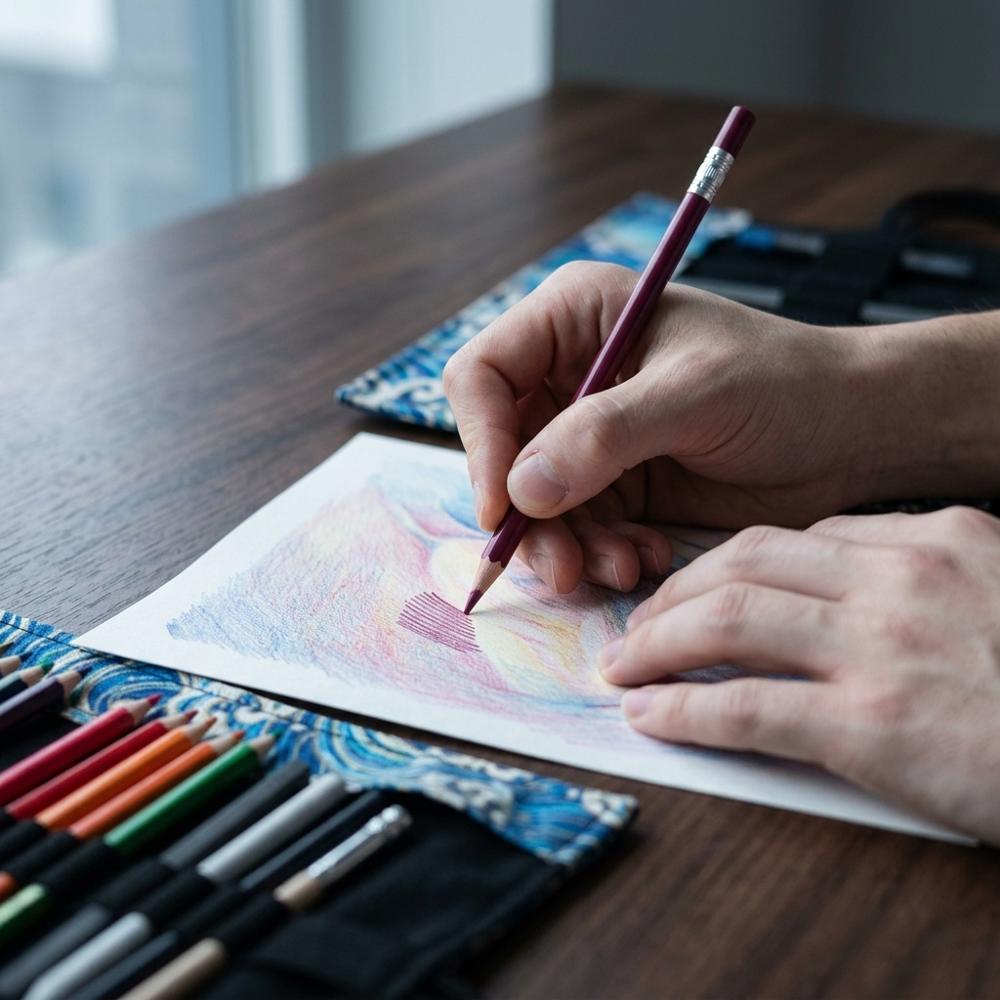
Pressing hard on colored pencils doesn't produce richer color — it fills the paper tooth too quickly and creates a shiny wax buildup that actually repels additional layers. Rich, saturated colored pencil work is built through multiple light layers with consistent gentle pressure rather than one heavy pass. Try making your first layer as light as you can while still depositing color, then build gradually over four to six passes. The depth you're looking for arrives slowly and then suddenly looks right.
Why do my colors look muddy instead of vibrant?
Muddy results almost always come from layering complementary colors without intention — reds over greens, blues over oranges — without enough of either to dominate. Colored pencil layers mix optically, so two near-complementaries applied with equal pressure cancel each other toward grey. Establish your dominant color family early and let opposing hues appear only as subtle shadows. Also check that you're using colored pencil paper specifically: smooth paper causes premature wax buildup that scatters light and makes colors look flat by the second or third layer.
Why do my pencil tips keep snapping?
The most common cause is internal fractures in the pigment core from being dropped or roughly handled during shipping. If a Prismacolor pencil keeps snapping at the same point no matter how carefully you sharpen, the core is cracked. The fix is to sharpen slowly from the very tip with a manual sharpener, removing only a small amount at a time. Storing pencils horizontally rather than tip-up also prevents gravity-induced core separation over time.
Why is my fixative spray turning my colors darker or duller?
Workable fixative applied too heavily saturates the paper and pushes the wax binder into the tooth, darkening values and flattening color. Apply from at least twelve inches away in a very light, even mist — not a soaking coat, just enough to form a thin protective film. Always test on a scrap of the same paper first. For pieces framed under glass, fixative is optional since the glass itself prevents wax migration and smudging.
Why does my drawing look grainy no matter how many layers I add?
Once paper tooth is full, additional strokes pile on top of existing wax rather than bonding to the paper, creating a rough, uneven texture — a condition called waxing out. A colorless blender pencil applied with firm pressure over a waxed-out area can redistribute the wax into a smoother surface. Prevention is more effective than correction: work lighter for longer before building toward final density, and let each layer fully settle before applying the next.
Love what you see here? Save individual picks with on any item, or copy the whole list to your own wishlist in one click — great for coming back to later, or dropping as a not-so-subtle hint.